How to Create a Home Theatre Room: Planning, Soundproofing and Design
By Cynthia Pigeon
Updated on September 30, 2026
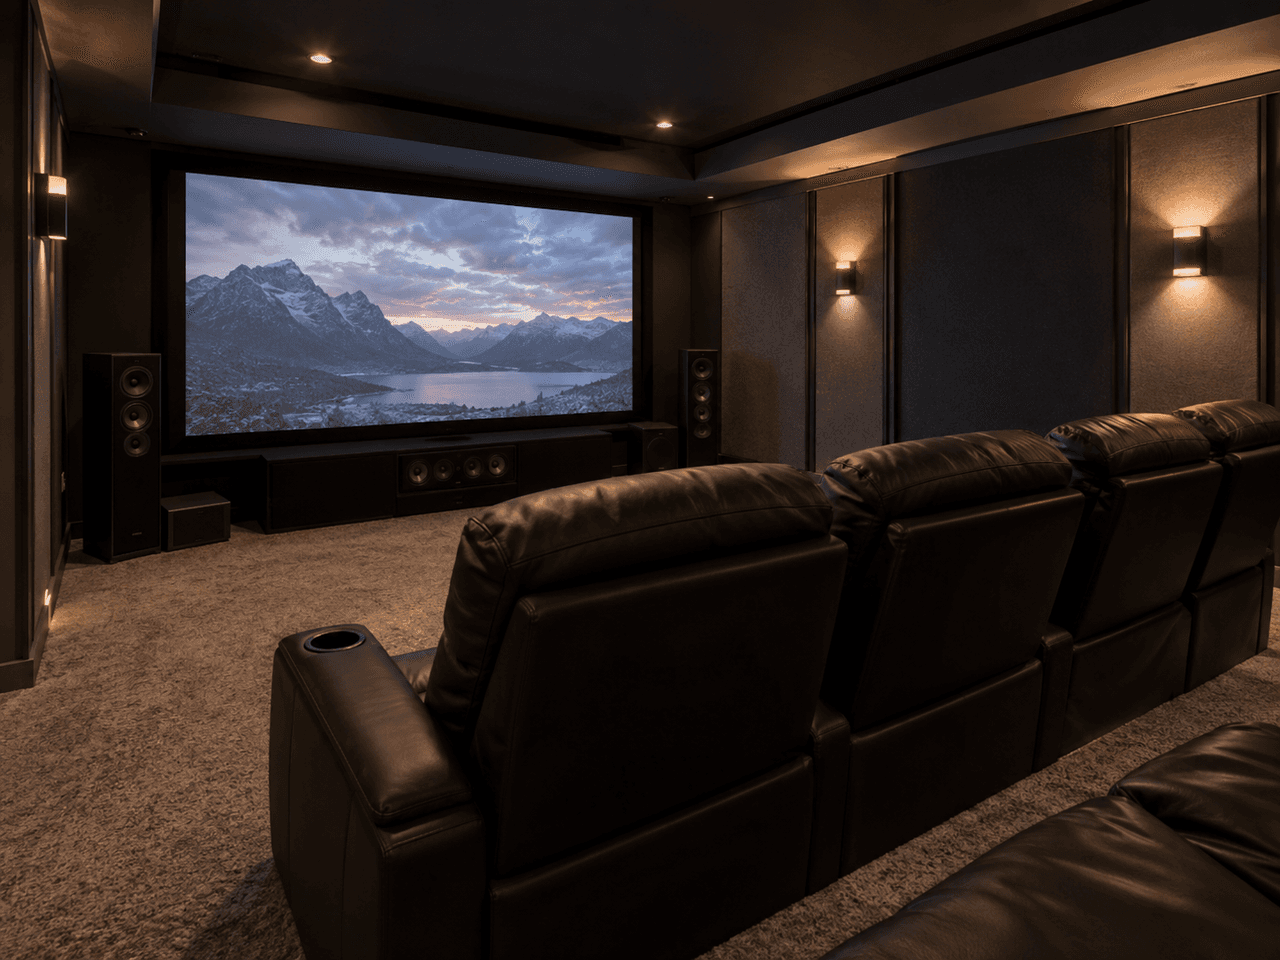
What movie lover hasn’t dreamed of having their own home theatre? Enjoying the atmosphere of a real movie theatre while benefiting from the comfort of your own home is an appealing prospect for many film enthusiasts.
Because a home theatre involves more than simply choosing a screen and a few speakers, careful planning is essential. From selecting the right room and soundproofing it to organizing the lighting, seating, and equipment, here are the main elements to consider when planning your future home theatre.
Planning Your Home Theatre Room
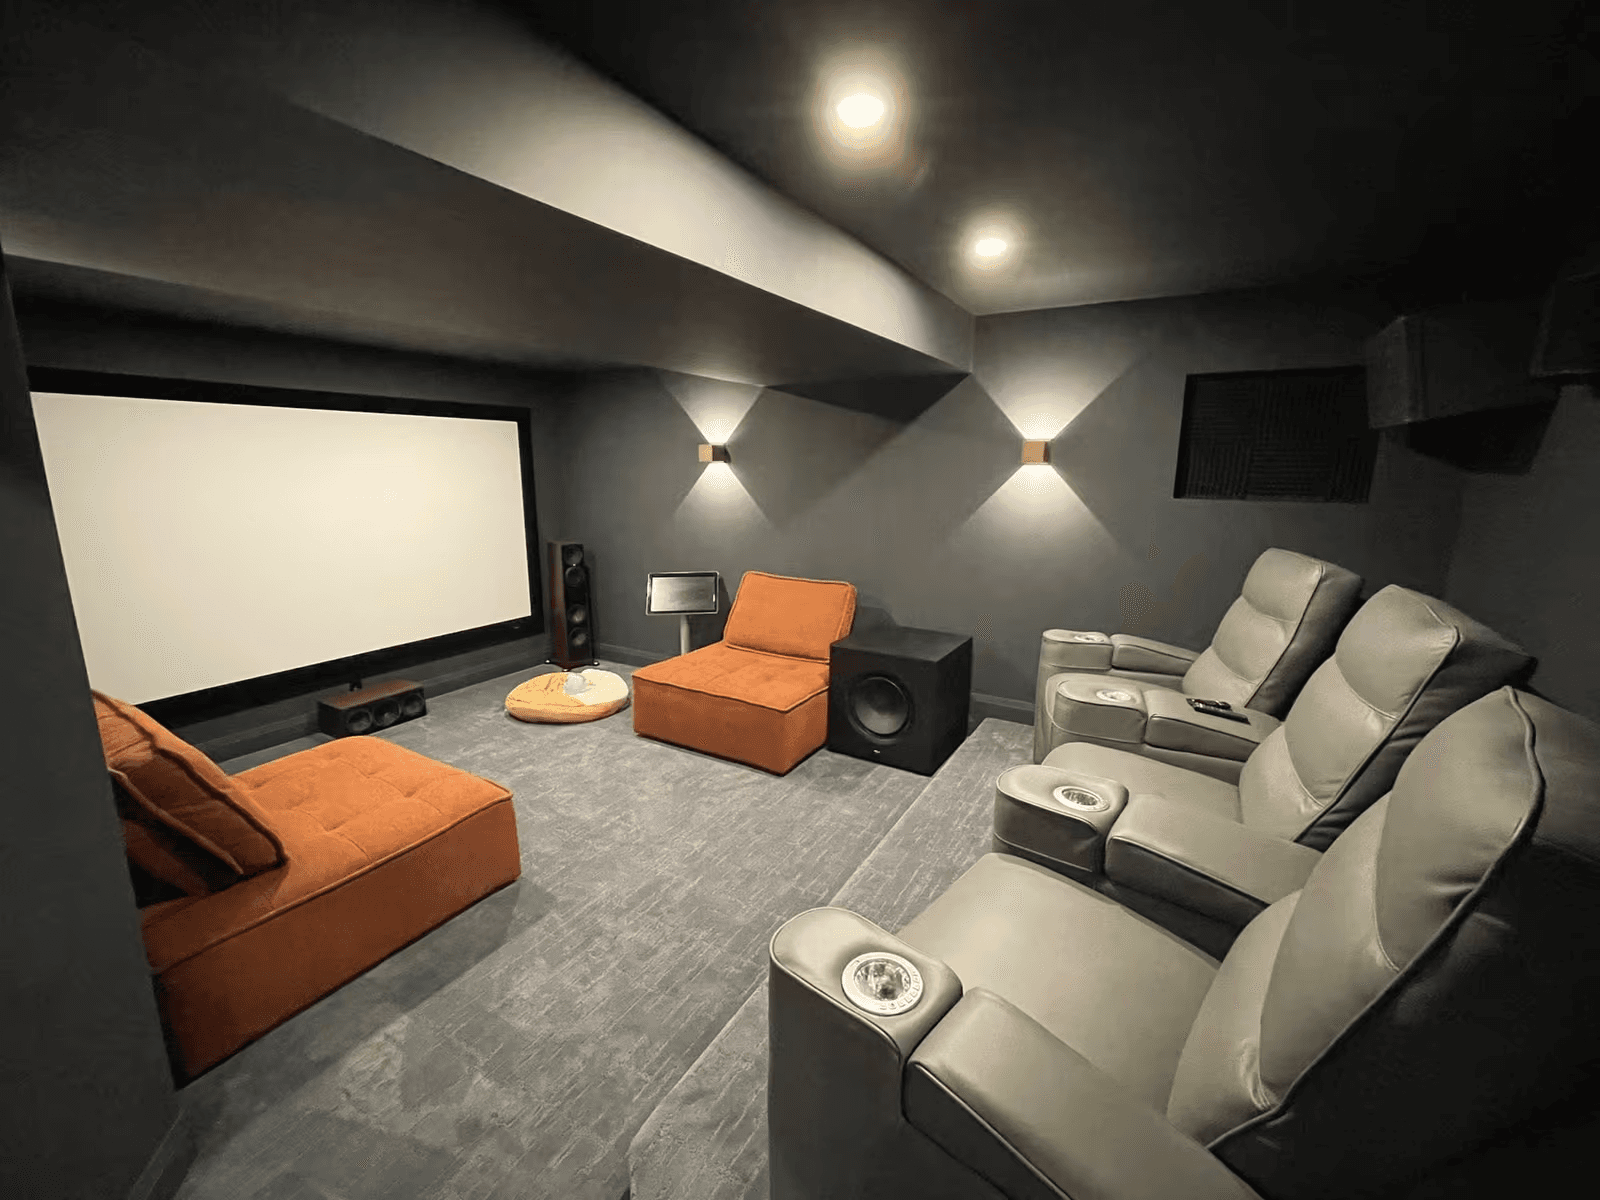
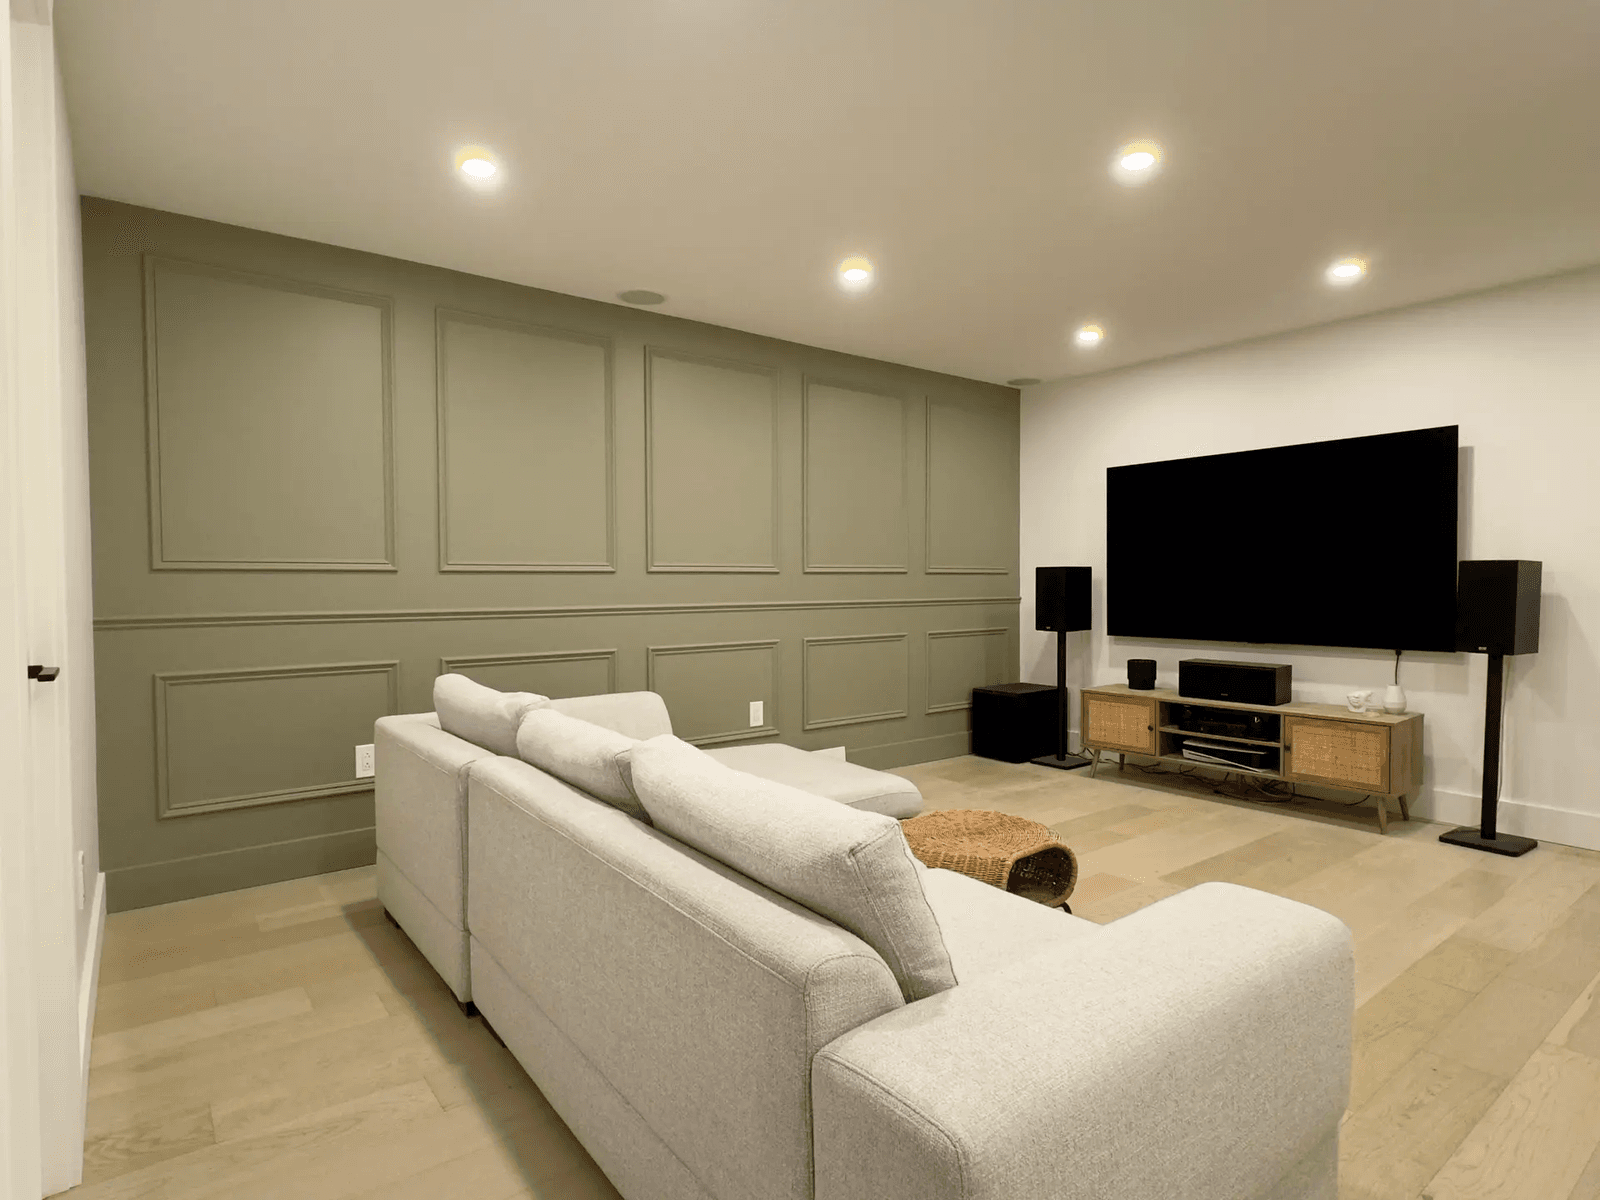
Source: R.N.S Renovations Inc
Before choosing equipment or furniture, start by determining where your home theatre will be located and how the room will be configured.
Choosing the Right Room
Although it is certainly possible to set up a home theatre somewhere other than the basement, the basement is often the best choice because of its particular characteristics. Basements are generally spacious and darker than the rest of the house, making them a natural fit for this type of project. In addition, the ceiling is often more accessible than in other rooms, making the space easier to soundproof.
It is important to know that a home theatre generally benefits from a rectangular room layout. This provides a distinct advantage over a square room by helping to prevent flutter echoes. More specifically, these occur when a sound signal is rapidly and repeatedly reflected between surfaces.
As a general guideline, a room that is approximately 30% longer than it is wide can provide favourable proportions.
Planning the Room Layout
Before beginning the renovation, consider where the main components of the room will be located, including:
Screen
Seating
Front, side, and rear speakers
Audio-video equipment
Electrical outlets
Wiring and cable routes
Planning these elements before closing the walls can make the installation process much easier and help avoid visible wiring or inconvenient equipment placement later.
Soundproofing a Home Theatre Room
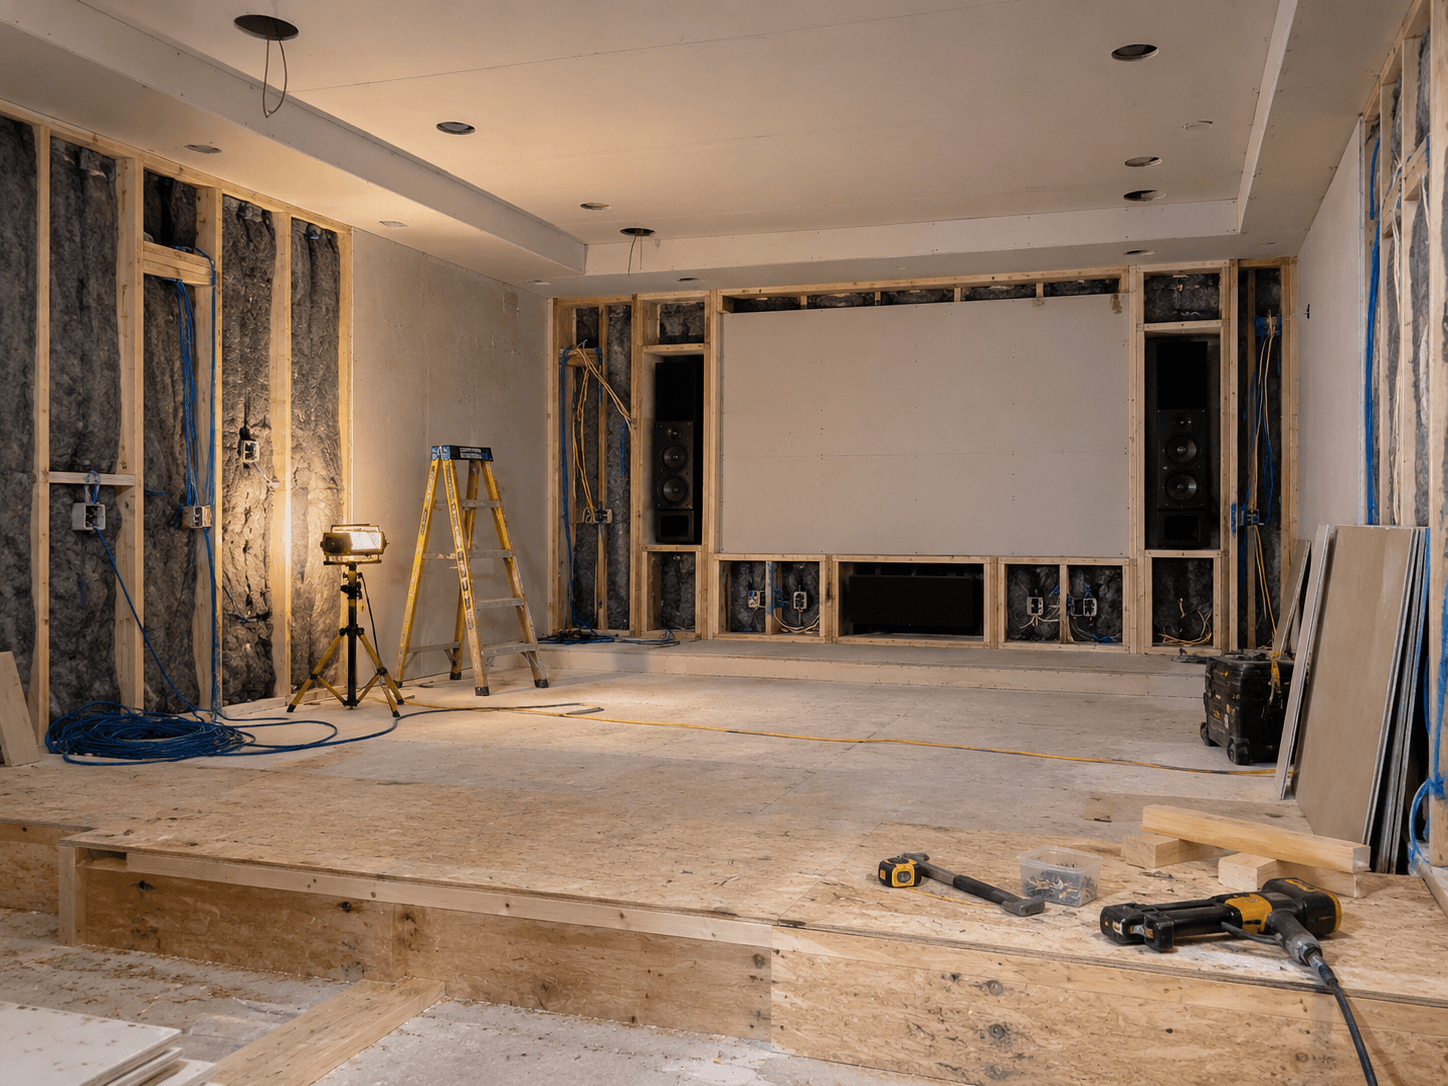
Source: RenoQuotes
Just because you enjoy watching movies at a high volume doesn’t mean everyone else in the house wants to hear them. To allow other household members to continue their activities without being disturbed, it is important to properly soundproof your home theatre.
Soundproofing the Floor, Walls, and Ceiling
Several elements should be considered, starting with the floor. It can be fitted with acoustic sealant and/or an acoustic membrane. Covering the floor with carpeting can further reduce sound transmission. A bare concrete floor, on the other hand, is not among the best options for maximizing the room’s acoustic performance.
If you want to limit sound travelling to the floor above, consider installing a door separating the basement from the rest of the home. To perform effectively, the door should be solid-core and can be fitted with acoustic padding or other soundproofing materials. Installing a soundproofing door seal is also strongly recommended.
Although wood flooring may not necessarily be the best choice, installing a soundproofing membrane beneath a floating floor can significantly improve its acoustic performance. As for the walls, they should contain soundproofing insulation.
Acoustic panels are also an effective option for the ceiling. You can install fibreglass insulation between the ceiling and a suspended ceiling, while ensuring that the insulation is at least 200 millimetres thick. In this type of installation, the space between the ceiling and suspended ceiling can also be used to run wiring.
If you plan to completely renovate your basement and start from scratch, installing soundproof drywall can provide high-quality acoustic protection.
If you want to further improve soundproofing while adding character to the room, you can cover some of the side walls with velvet. At a minimum, sound-absorbing materials should be installed on approximately half of the side walls as well as on the screen wall. Finally, electrical outlets should also be acoustically sealed.
Planning the Electrical Installation
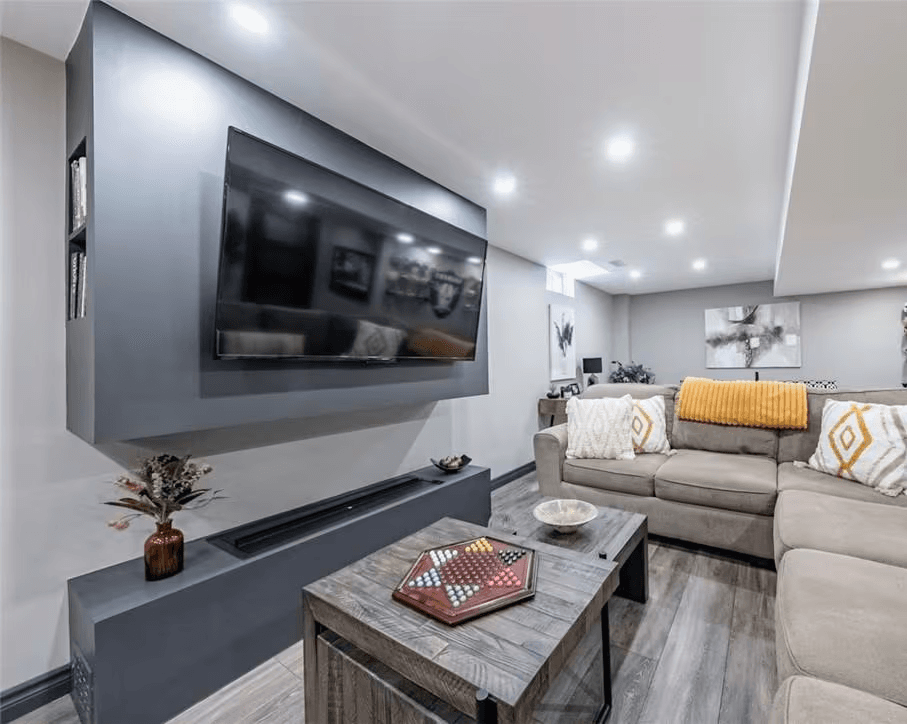
When completing the installation, take advantage of open walls to run electrical wiring and conduits, and make sure there are enough electrical outlets equipped with surge protection.
Planning these connections during the renovation rather than after the walls are finished can make the room cleaner and easier to configure.
Planning Your Home Theatre Lighting
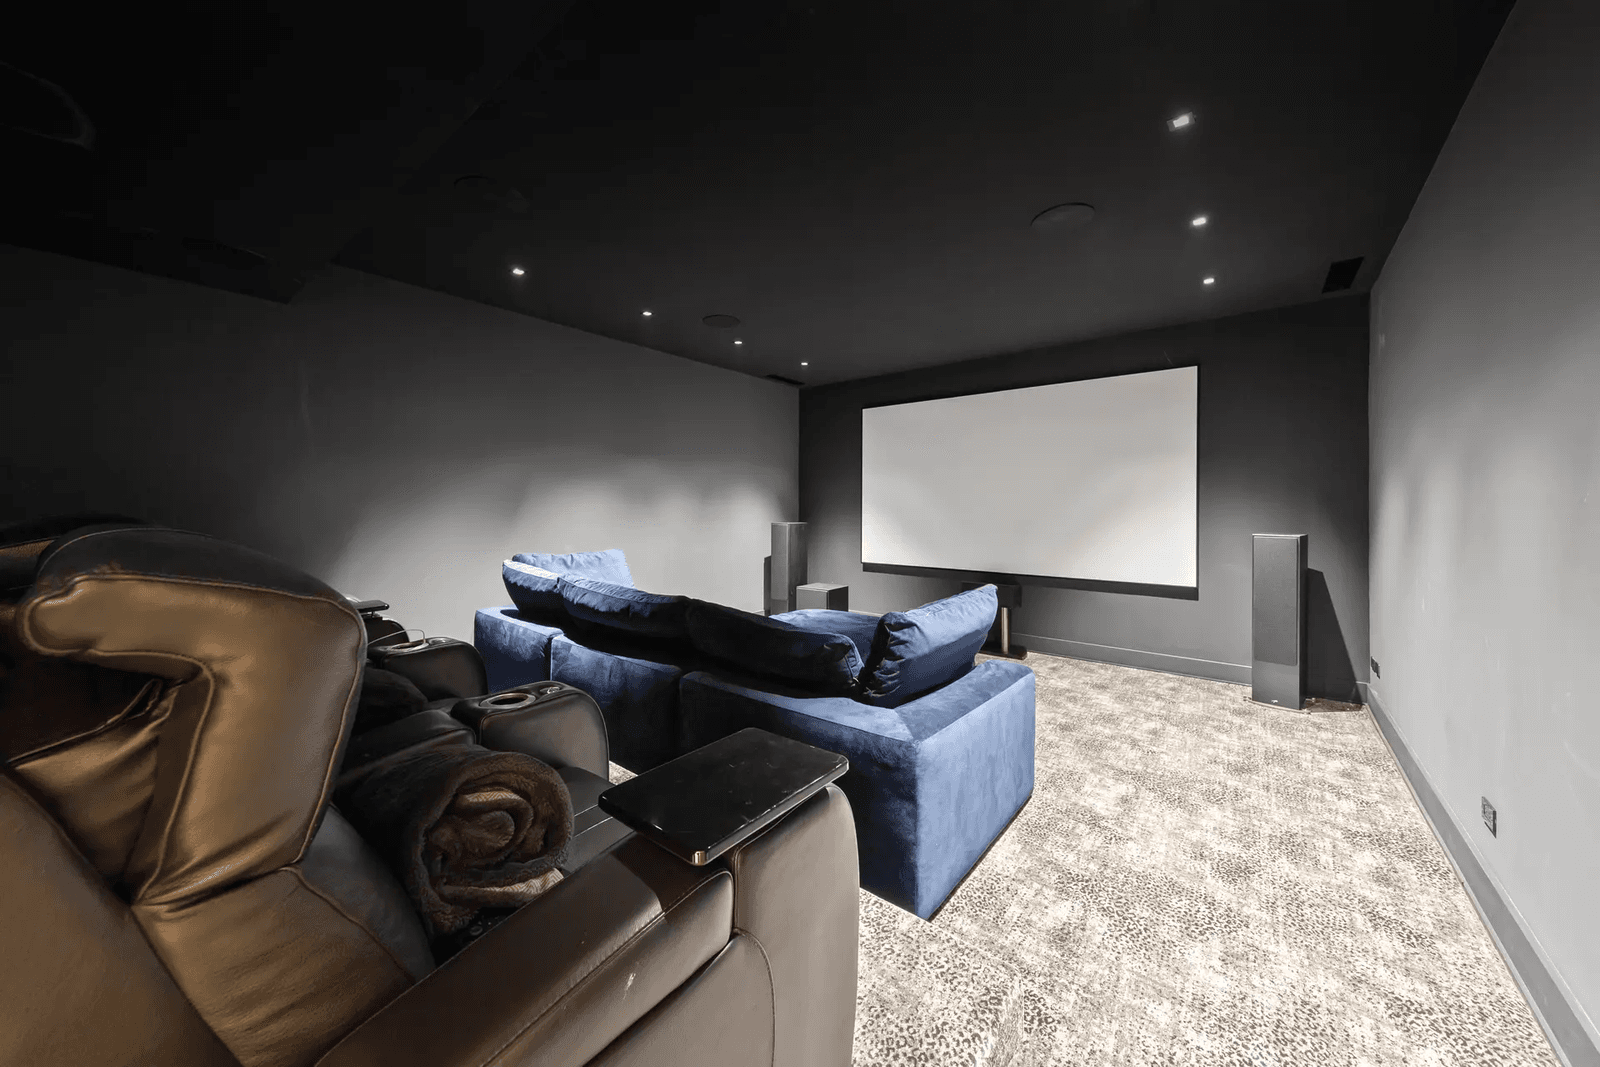
Source: Habikon Inc
Lighting plays an important role in creating the desired atmosphere. In a home theatre, lighting serves more than one purpose. It should create a comfortable and inviting environment for you and your guests while also highlighting the room’s décor, which contributes to the overall movie-watching experience.
You will also want to make sure that you and your guests can safely move around the room during a movie.
Ambient and Pathway Lighting
Wall sconces that direct light toward the floor can provide useful pathway lighting. They can also highlight framed artwork, movie posters, or other decorative elements in the room.
General room lighting can be provided with ceiling spotlights. However, avoid leaving high-intensity spotlights on for extended periods in a suspended ceiling if insulation surrounding the fixtures limits ventilation, as excess heat may shorten their lifespan.
As in a movie theatre, dimmed lighting can gradually give way to near-total darkness when the movie begins. To recreate this effect, recessed lights equipped with dimmers are an excellent option.
You can also recreate the illuminated aisle markings found in commercial movie theatres with LED light strips. Some models even allow you to adjust the light intensity remotely using a tablet or smartphone.
Choosing Furniture and Finishes
Source: les constructions W.A.V.E inc
Once the room layout and infrastructure are planned, you can turn your attention to the finishes and furniture that will define the look and comfort of the space.
Choosing Colours and Finishes
Choosing colours for your home theatre involves more than personal preference. Certain colours, such as pink or red, can affect how the image on the screen is perceived.
To help maintain a dark environment and minimize reflected light, avoid pale colours and glossy finishes. Dark colours with a matte finish are generally the best option.
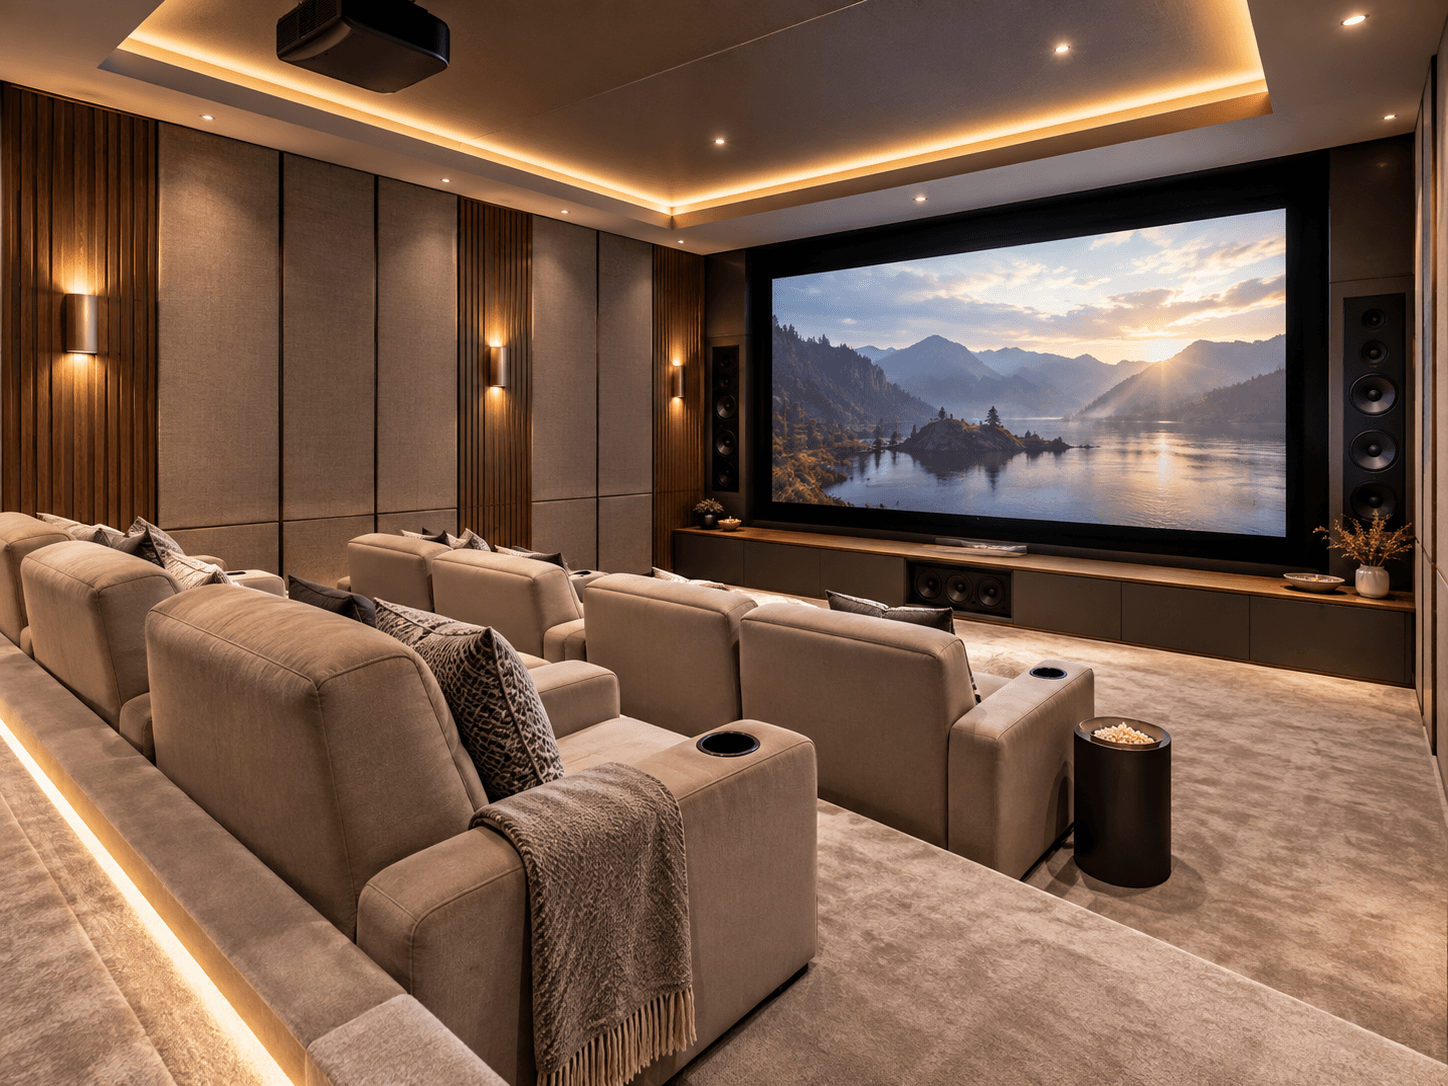
Choosing Home Theatre Seating
Because comfort is essential, seating also deserves careful consideration. Seats should not be excessively soft, as proper support helps maintain good posture.
Avoid choosing sofas with very high backs, as they may block sound coming from the rear of the room.
Some homeowners may prefer seats that resemble those found in commercial movie theatres, while others may favour modular sofas that allow seating positions to be adjusted.
You can also choose seats equipped with built-in cup holders for drinks. This can help recreate the atmosphere of a commercial movie theatre.
Planning Your Screen, Speakers, and Equipment
Source: Koretec
The performance of your home theatre will depend not only on the equipment you choose, but also on where each component is positioned within the room.
Speaker and Equipment Placement
Aside from the screen, the speakers are probably the second most important component of your home theatre. Their placement is especially important.
Speakers at the rear of the room should be positioned toward the rear corners, while side speakers should be placed approximately at listener height. As a general guideline, approximately six feet of distance should be maintained between the rear speakers and the first row of seating.
As for your audio-video equipment, you may choose either to conceal it or leave it visible. This is entirely a matter of preference.
In either case, the equipment should remain easily accessible for maintenance. Components should also have adequate space between them to allow proper ventilation.
Finally, the speakers at the front of the room should be positioned strategically. More specifically, their front surfaces should generally be aligned with the screen.
How to Choose a Screen and Where to Install It
It can be tempting to choose the largest screen possible. However, bigger is not always better.
A screen that is much too large for the dimensions of your home theatre may force viewers to constantly turn their heads to see the entire image. To avoid seating viewers too close to the screen, a viewing distance of approximately two and a half times the screen width can be used as a general guideline.
As a reference point, a home theatre screen should generally be at least 55 inches. To improve image visibility, the screen can also be tilted slightly forward when appropriate.
Finishing Touches for Your Home Theatre
Source: RenoQuotes
Once the main renovation and equipment installation are complete, a few additional features can make the room even more enjoyable.
Small Extras for Your Home Theatre
For many people, going to the movies immediately brings to mind the smell of freshly made popcorn and butter. Why not add a popcorn machine? Not only will you avoid having to go upstairs to prepare snacks, but it can also add to the overall character of the room. A small refrigerator can be equally convenient, keeping refreshments close at hand.
Don’t Overlook Heating and Ventilation Noise
Although it may seem like a minor detail, remember that your heating and ventilation systems can generate noise that interferes with movie viewing. Installing appropriate insulation or insulating ductwork can help reduce this unwanted noise.
Ready to Renovate Your Home Theatre?
A successful home theatre depends on careful planning, particularly when it comes to soundproofing, electrical work, lighting, room layout, and equipment placement. Addressing these elements as part of the renovation can help you create a space that is both comfortable and practical.
If you’re planning to renovate a basement or another room to create a home theatre, compare quotes from qualified renovation contractors to find a professional who can help bring your project to life.
Looking for something else?
Related articles
The latest industry news, interviews, technologies, and resources.

Christine Simard
•08 Nov 2023
Are you one of those people who tend to be nostalgic for past eras and not too fond of modern decors? If polka dots, bright colours and geometric forms are all things you like, maybe it's time to give your home a little retro makeover! Here are some examples that could inspire you!

Editorial Team
•14 Nov 2024
There's no way around it, keeping your house hot through harsh Canadian winters can be expensive! As a homeowner, it is important to know the most cost-effective and efficient ways to keep the air of your home comfortable without breaking the bank.

Christine Simard
•08 Nov 2023
When renting an apartment, either with roommates or by yourself, the bedroom quickly becomes our safe space. Not only does it reflect our taste, but also our personality and interests. However, even if your decor is perfectly curated, you might still want a new look after a while.

Editorial Team
•10 Sep 2026
Vermiculite, the insulation that every homeowner who bought a home built before 1990 dreads finding, has made headlines many times for all the wrong reasons.
Editorial Team
•27 Jan 2026
In Canada, winters are often long and harsh, so choosing the right heating system is important. On average, homeowners spend 64% of their household energy expenditures on heating, with bills skyrocketing to $1,200 for an average-sized home.