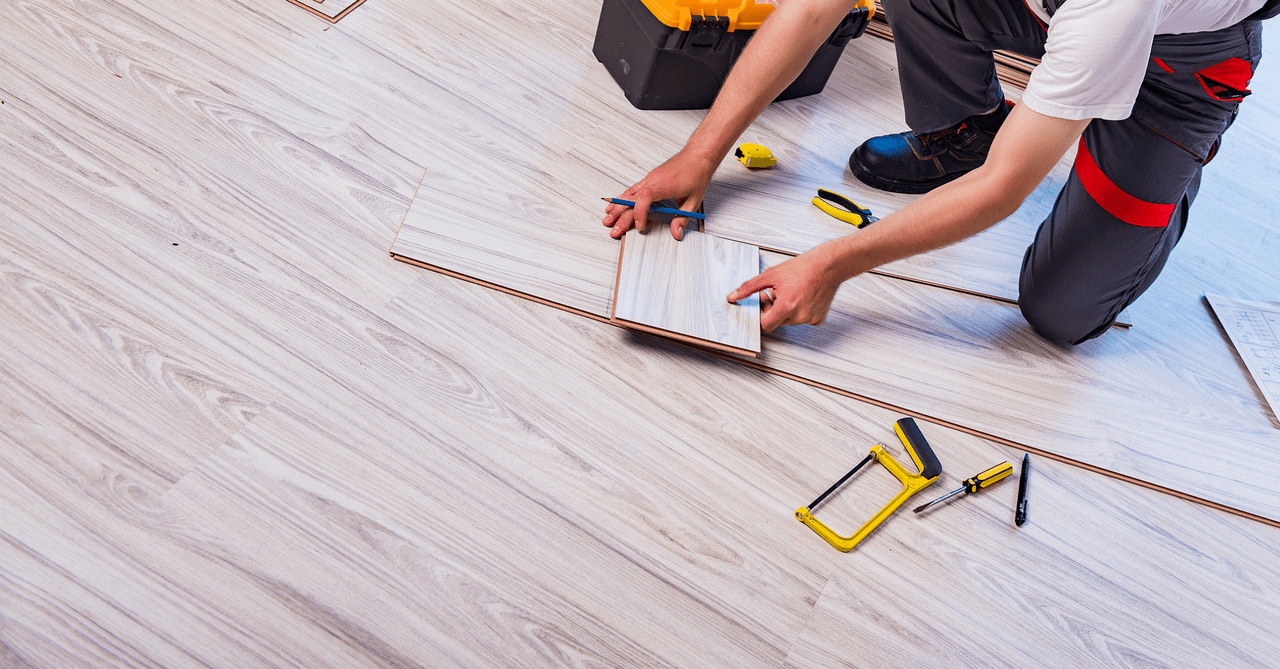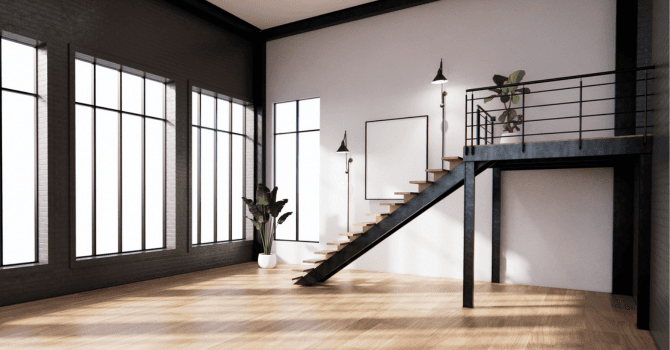
Installing a hardwood floor can have a huge impact on your house: it can transform a room and increase the value of the building. Timeless and durable, hardwood floors are also popular because they are known for their warmth and beauty.
It is recommended that you hire a professional for this type of renovation project. However, if you feel that you have the required manual skills, completing the installation process is quite accessible.
How to install a hardwood floor: preparation and humidity
Source: Canva
Installing a hardwood floor requires a certain amount of preparation, as well as a lot of patience. The humidity level of the room will affect the success of the installation process. If the room is too humid, the wood will tend to expand, which will cause swelling.
On the other hand, if the humidity is too low, the volume of the wood will decrease. Therefore, before you install the new floor, check the room’s humidity level. It is also recommended that you remove the wood from its packaging to let it become acclimatized with the room’s atmosphere for around 72h.
When you install the floorboards, each one should be perpendicular to the windows, to dissimulate the joints. They should also be perpendicular to the door’s threshold to ensure a harmonious transition between rooms.
Before you start installing the floor, there are a few other things to do: if needed, remove the old floorboards, use a lever and spread construction paper on the false floor. This construction paper will act as a vapour barrier and will make things easier for you when you start installing the new floor.
Are you thinking about opting for a hickory hardwood floor? Take a look at our article Hickory hardwood floors: installation and maintenance tips.
Steps to follow when installing a hardwood floor

Source: Canva
Tracing the main line
Start by tracing a line, using chalk or a piece of string. You need to trace this line to make sure that your floor is straight. If the first row isn’t straight, the rest of your floor will be affected.
Installing the first floorboards on the main line
To complete this step, you have to choose boards that are both straight and long to make up your first row. Install the board’s tenon on the main line.
Pierce
Pierce the holes, which will serve as guides, at ½ inch (12 mm) on one side of the board and repeat this process every 8 inches (232 mm). Once you have reached 2 inches (50 mm) from the board’s extremity, you can stop piercing holes. Plan a minimum of at least two holes per board.
Finishing the first row
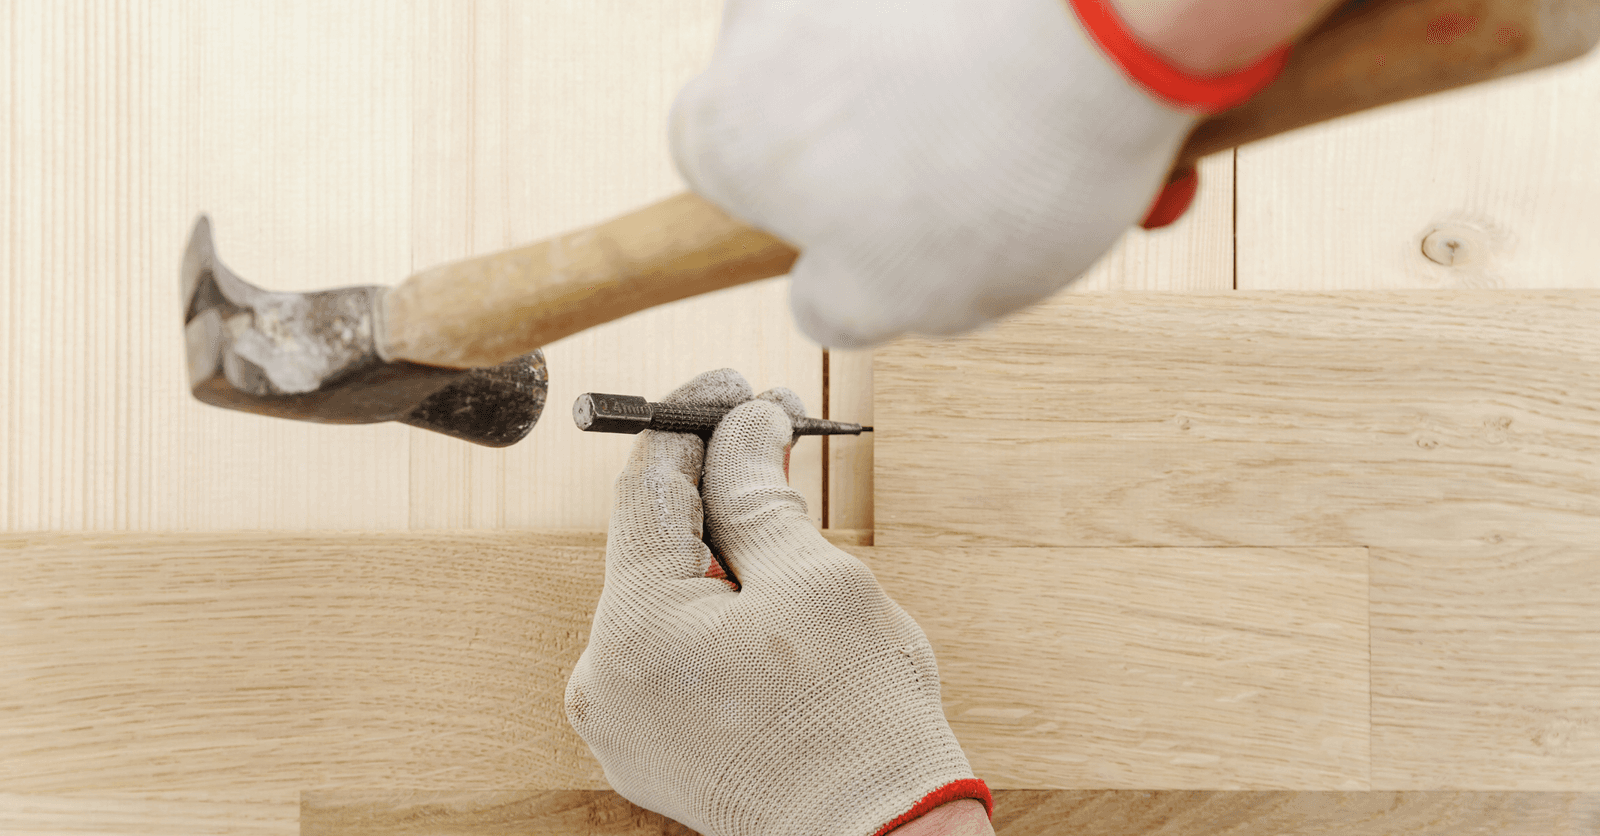
To complete the installation of the first row, you must fasten the boards that are used in your first row. To do so, use 2 inches (50mm) finishing nails and a nail punch. Don’t forget to hide the nails using wood putty. You should also insert spacers between the boards in the first row and the wall, to leave extra space if the wood starts dilating when the weather is hot and humid. Your baseboards will hide this extra space.
Pierce at a 45-degree angle
Pierce a hole in the tenon, at a 45-degree angle. This hole will serve as a guide. Repeat this process every 8 inches (200mm) using nails. You must ensure that the head of the nail doesn’t push out.
Install the other rows
To install and nail your rows, use a nailing gun and a mallet. Nail the boards every 8 to 10 inches (20 to 25 cm) and every 2 to 3 inches (5 to 8 cm) at the end of each board. If the board is 5 to 8 inches long, you will have to nail it in at least two spots.
Organize the floorboards
It is extremely important to make sure that the floorboards are not perfectly aligned. With this in mind, you can alternate between shorter boards and longer boards when assembling the floor.
The last step
The final step of the hardwood floor installation process is the floor finish. This includes mouldings, baseboards and quarter rounds.
If you want to know more about renovating your house with the intent of selling it, check out our article Renovation projects that will increase the value of your house.
Would you like to know about the hardwood floor and how to take good care of it? Read these articles:
Get 3 quotes for your hardwood floor renovation project
RenoQuotes.com will put you in contact with 3 reliable contractors for your hardwood floor renovation project. Fill in the form on our homepage (it only takes a few minutes), and you will receive quotes from trusted professionals.
Dial 1-844 828-1588 to speak with one of our customer service representatives
Looking for something else?
Related articles
The latest industry news, interviews, technologies, and resources.
Editorial Team
•03 Nov 2025
When it comes to the bathroom, the shower is an integral piece. As it’s central to day-to-day activities, it can help to define the layout of the space as well as the ambiance.

Editorial Team
•16 Nov 2023
The bedroom, a peaceful, rest and relaxation haven, is, for all intents and purposes, an area that’s particularly cherished. And, the feature that obviously conjures relaxation the most is, without a doubt the bed, which one slumps onto after a workday.

Christine Simard
•08 Nov 2023
When we talk about retro, the subject can be vast. The term mainly represents modern trends influenced from past eras, whether it be in fashion, interior design, graphic design, etc.

Editorial Team
•22 Mar 2024
Windows rank amongst the fundamental architectural features of a house, allowing daylight to filter in. With that in mind, bay or bow windows are a sure asset in all homes.

Editorial Team
•08 Nov 2023
Are you curious about changing the layout of your mezzanine to improve the design of this living space, and are looking for some ideas before you begin this project? Take a peek at these wonderful examples of mezzanines to offer you some inspiration.