Do you find yourself looking down on your vinyl floor, figuratively and literally, and wondering why it looks so worn out? If so, your first thought might be to head straight to the nearest hardware store to buy new flooring. While vinyl isn’t an especially costly material, letting it wear instead of restoring it would be such a waste.
Despite a few drawbacks, vinyl flooring is still worth maintaining, and proper upkeep can extend its service life for a couple more years. Here are some maintenance tips to give your vinyl flooring a fresh new look, that desired extra edge even.
Guidelines & Tool Kit for Repairing Damaged Vinyl Plank Flooring

How to Fix Vinyl Flooring that Is Lifting
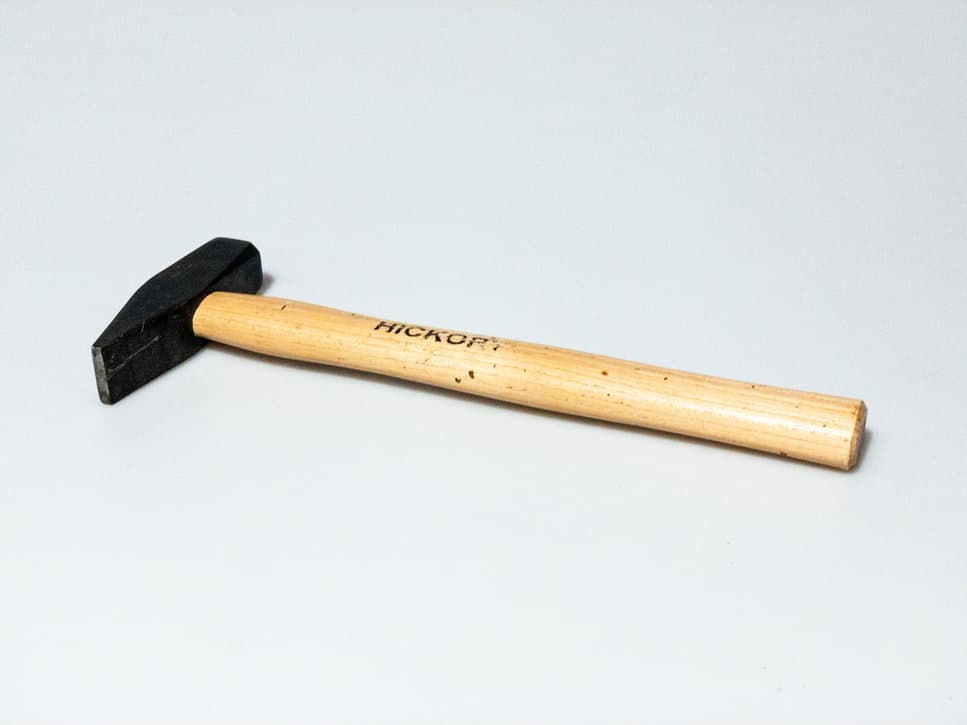
The guidelines are rather straightforward for repairing this type of wear and tear. Use a small trowel, and apply a thin coat of adhesive under the vinyl tile. Drive a finishing nail into the targeted area. Bear in mind that hammering with too much intensity further damages the tile, which you want to avoid at all costs.
To conceal the nail head, fill in the hole with a waterproof sealant that’s the same colour (or nearly the same hue) as the tile in question. That way, your flooring won’t show any visible markings or evidence of repairs.
How to Replace Individual Pieces of Vinyl Flooring with Glue
If the damage mandates replacing worn tiles or planks, proceed by running a clothes iron over the damaged area to loosen the flooring. The heat will melt the adhesive, ensuring the tile can be peeled back effortlessly.
However, avoid setting the clothes iron at maximum heat and placing it directly on the tile: set the device to medium heat and put a towel down between the tile and the iron. Then, using a utility knife, cut the tile into two equal parts and peel back both tile parts from the centre outwards.
You might see some glue residue where the tile was removed. Use a scraper to remove the glue remnants before laying the replacement tile. Otherwise, the surface will be uneven and the new tile won’t be level with the other ones.
Apply glue where the tile used to be using a V-notch adhesive spreader. Then, run a clothes iron over the tile to loosen it up a bit and ease the installation process. Next, lay the tile. Cover it with something rigid and add weight to the board for at least 12 hours to ensure it adheres properly and doesn’t peel back after a few hours.
How to Get Rid of Buckling in Vinyl Flooring

The fix buckling or swelling, simply cut along a 1 cm perimeter all around the targeted area. Once again, keep a utility knife handy when doing this. Then, cover the section with a piece of aluminum foil and apply pressure over the area with a clothes iron.
Lift the cut-out, then apply a small amount of glue to the area using a knife. Push down on the cut-out to glue it back down. The buckling should subside. Wipe any excess glue off the tile immediately.
Once again, lay something flat over top of the repaired area, and put something heavy over it. The pressure allows the glue to adhere to the subflooring. Wait 12 hours before removing the load weighing down on the tile.
Cautionary Measures When Fixing Vinyl Flooring
Use only a tile-specific adhesive. There are different types of glues and adhesives retailed, so be knowledgeable as to what you need before purchasing anything. Choosing the right V-notched applicator tool also merits careful consideration, as the wrong notch size can result in too much glue spilling out at once.
If you just bought a house that was built before 1984, and there's vinyl flooring inside, note that there might be traces of asbestos, which is a health hazard. To avoid breathing in hazardous particles, hire a professional service company to remove your flooring. The process is regulated and done safely. Otherwise, your only other option is to lay your new flooring atop the old one.
FAQ
How can I clean stains from a vinyl floor to restore its sheen?
Getting rid of stains on vinyl floors is pretty easy. Start by mixing baking soda with water to form a sort of paste. Apply said paste to the stain, scrubbing the surface gently until the stain disappears. It can take a few tries, but once the stain is gone, wipe off the paste and clean the area.
How can I get scratches out of vinyl flooring?
First, clean and dry to surface in question, and make sure there’s no debris around the damaged area. Then, polish the scratch in circular motions using a scrubbing sponge. Apply a wax putty on the scratch with a soft fabric, remove any excess paste, and polish the area. Lastly, allow the paste to sit for at least an hour.
Can I wax vinyl flooring?
No, avoid waxing a vinyl floor. It already has a protective layer.
Looking for something else?
Related articles
The latest industry news, interviews, technologies, and resources.

Léa Plourde-Archer
•08 Nov 2023
Depending on several factors, installing new floor coverings can either be affordable or incredibly expensive. Here is a list of 9 factors that you should consider to know more about the price of flooring and the reasons that explain why it can vary so much.

Editorial Team
•22 Jan 2025
You can now reap the unique benefits of marble while leveraging the functional qualities of ceramic tiles. The all-new marble-look tiles are suited to all rooms in a home, spanning traditional and modern styles. Whether used throughout or subtly, design and colour are both striking, resulting in a definite eye-catching result that resonates with all.

Editorial Team
•24 Jul 2025
Are you hoping to paint over your garage floor but unsure how to go about it? What type of paint should you buy? How should it be applied? What are the best products available on the market and their pricing? Rest assured, you’ve come to the right place! In the following section, discover all of our tips and tricks to successfully paint over your garage floor.

Cynthia Pigeon
•08 Nov 2023
Whether to revitalize your home or prevent heat loss, it may be tempting to replace your windows.

Léa Plourde-Archer
•05 Dec 2023
If you are looking to add brightness to your basement, there are many simple options available to you. Of course, the main source of natural light is always the window. Therefore, it is important to clear any windows so that the basement benefits from the natural light and not the furniture or curtains that block it.