Once you know which type of wood you want to install, the following step will be to determine which are the desired characteristics. One of the main things to do is to choose which type of essence you are looking for. Different options are available for all tastes and budgets.
Hardwood Floor Wood Types or Essences
Amongst the most popular essences are oak, maple and birch wood. Wood coming from deciduous trees will give off a more conventional look. For their part, coniferous trees, such as fir trees, will work for a look that is more associated with a rustic style.
Other wood essences that are available: Cherrywood, walnut tree and ash tree, to name only a few. If you have a generous budget, exotic woods are the way to go. For example, Mahogany flooring is a very classy option. Of course, it’s all a question of taste. Another interesting option, and eco-friendly to boot is bamboo.
Even though bamboo is not considered a tree, its resistance level is on par with that of other types of wood. It is also allergen-free.
Practical advice: If you’re having a hard time deciding, ask the manufacturer if you can take floorboard samples back home. This way, you’ll be able to get a better idea of the final results, testing with natural and artificial lighting.

Hardwood Floor Grades: What You Need to Know
Wooden floorboards are usually categorized by grade. Each type of wood has its own natural colour and even when it has been treated or coloured, wooden knots or stains can still appear. Manufacturers will grade the wood according to the uniformity of the colours, as well as the presence of knots.
Since this is a natural material, no two boards will end up being identical. These details end up giving the floor a more authentic look. If you’re looking for a rustic style, which is especially suitable in a cottage, hardwood floors with lots of knots will fit well with this type of look.
How to set up the floorboards
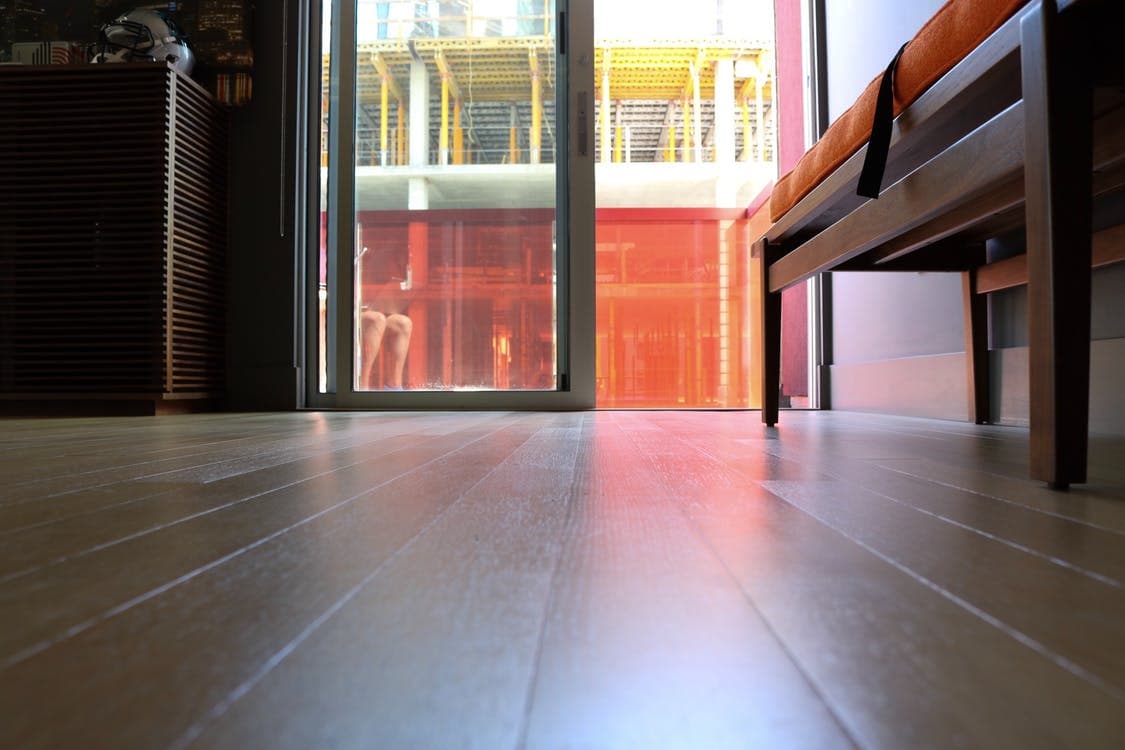
Depending on the length of the room, the way that the floorboards are oriented can give the impression that the room is either smaller or larger. Therefore, one should not underestimate the importance of finding the best way to set up the flooring. For example, in a room that is long, boards should not run across the room’s width. There would be too many boards and the result wouldn’t look as nice.
Don’t hesitate to ask for the opinion of an expert in order to make the right choice! Hardware and decoration stores often have qualified staff. The width of the floorboards itself affects the final appearance of the room. Boards that are too small or too large can have a considerable impact on the way the room is perceived.
The finish
Depending on personal tastes or the amount of foot traffic passing through the area, different types of varnish are recommended. This part of the process is important as it allows for a longer life cycle for the floor. To get a floor surface that is very shiny, a glossy finish is a way to go.
This option works best for rooms which already have a good amount of lighting, as the ground will reflect the light more than with any other type of finish. Somewhere between a glossy and a matte finish is the semi-gloss finish. This is a type of finish that is most commonly used on pre-varnished floorboards. For a room which sees a lot of traffic, or for homes which include children and pets, the best option is the matte finish.
As implied by the name, the surface is not as shiny as with the other types of finishes. However, in the long run, it will look nicer and will be more durable. In other words, it will not tarnish quickly. And since in normal homes, people tend to move furniture around, walk or run, scratches are bound to happen. On matte-finish floors, these scratches will be much less apparent.
Hardwood floor maintenance
Even if a floor is very durable, proper maintenance will help keep it looking good for as much time as possible. Ask the manufacturer if they recommend any specific product to clean it. Normally, vacuuming should be enough. Also: avoid using a wet mop directly on the floor. In the end, changing floors is a long and complicated process.
That’s why it’s so important to make the right choices and to pick the right people for the installation process. Whether you will be hiring directly through the manufacturer or finding your own floor specialist, make sure you get all the information you can about how the floor will be installed, as well as the warranty. Don’t hesitate to carry out quality control by taking out a few floorboards from the box to make sure that they have a certain level of uniformity. This could avoid a few bad surprises.
Cost of installing, restoring & purchasing hardwood floor materials
Hardwood floors have a long lifespan and therefore, are generally worth the investment that occurs during the installation process and in periods when they need to be restored. Here is a general look at how much you should expect to pay:
- Installing a hardwood floor: $4 to $12/square foot
- Removing an old hardwood floor: $2.50/ square foot
- Restoring a hardwood floor: $2.50/ square foot
Get 3 quotes for your hardwood floor renovation project
RenoQuotes.com will connect you with 3 reliable contractors for your hardwood floor renovation project. Fill in the form on our homepage (it only takes a few minutes), and receive quotes from trusted professionals.
Dial 1-844 828-1588 to speak with one of our customer service representatives.
Looking for something else?
Related articles
The latest industry news, interviews, technologies, and resources.
Cynthia Pigeon
•08 Nov 2023
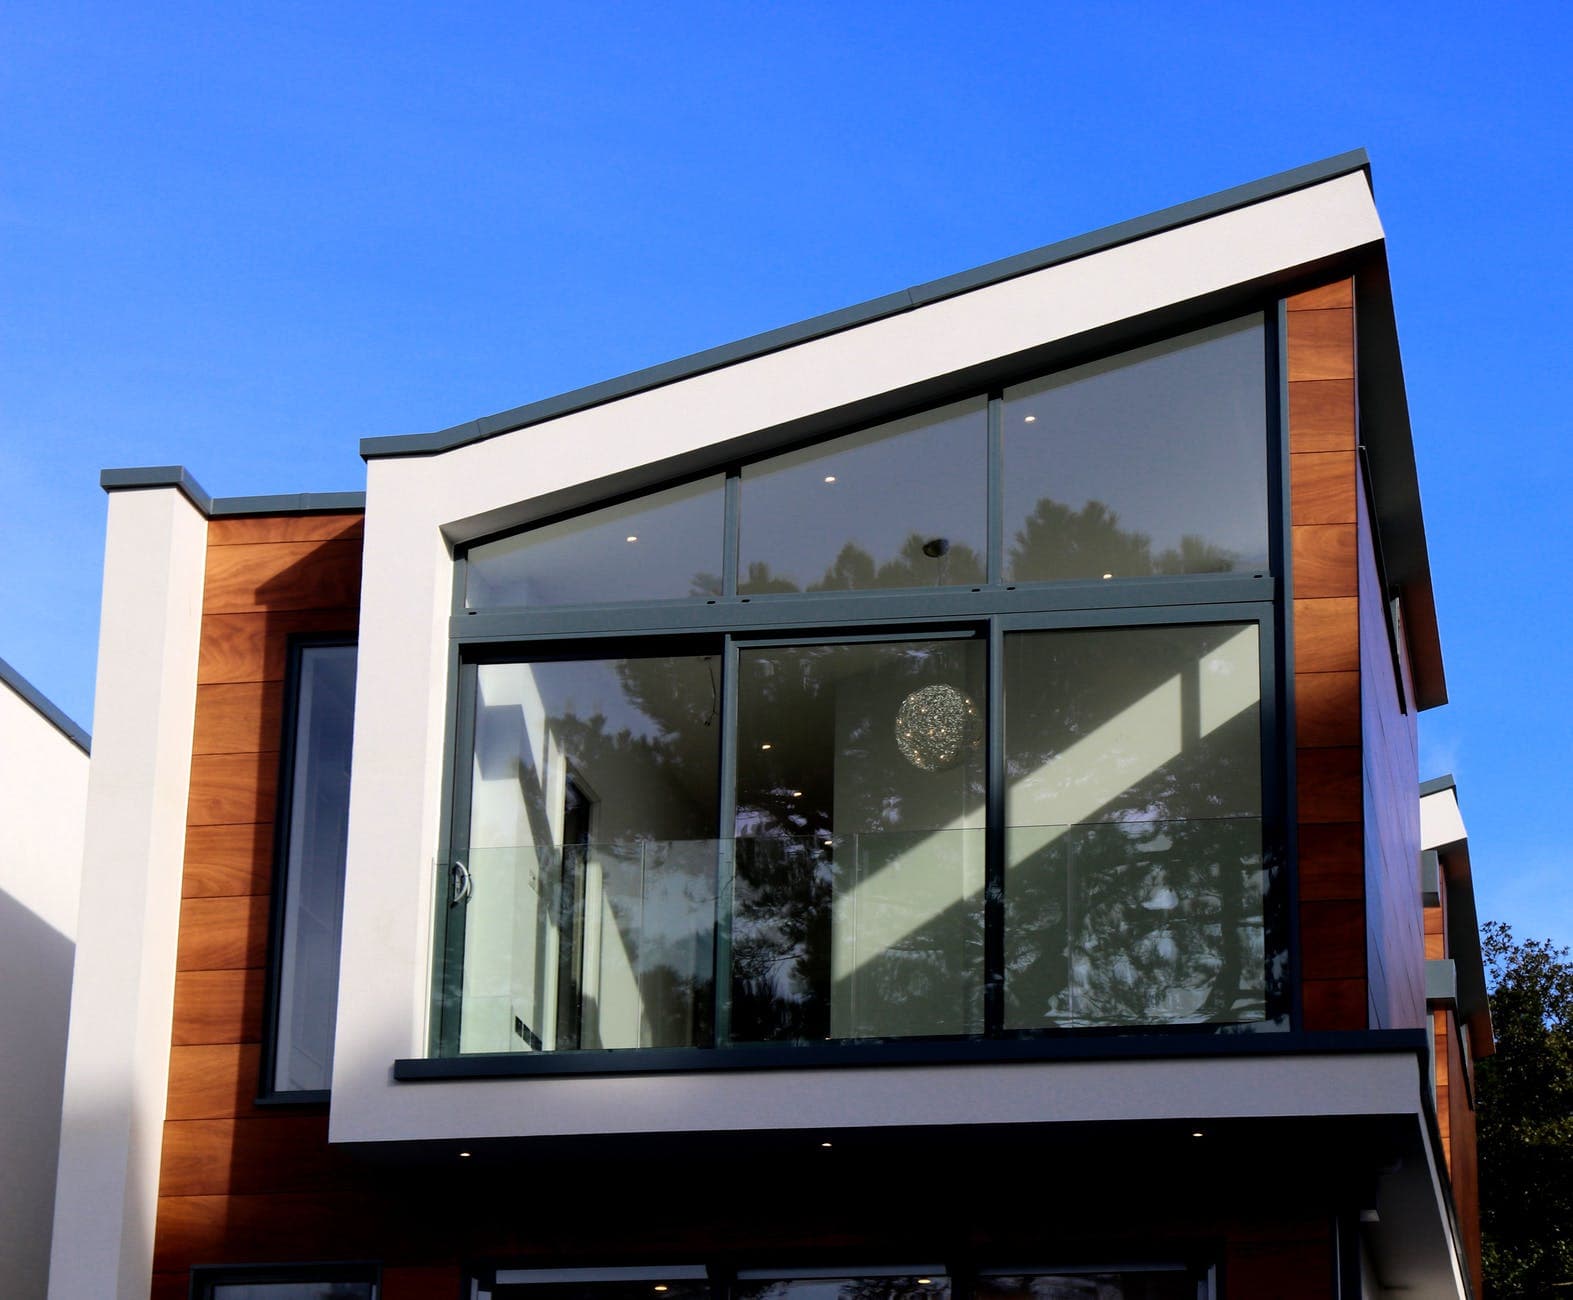
Besides opening up to the outside world, windows in a home also help maintain that precious warmth we so desperately crave during the winter months. When it is time to replace them, it is also important to consider the appropriate type of framing that will both meet your aesthetic and thermal needs.
Editorial Team
•08 Nov 2023
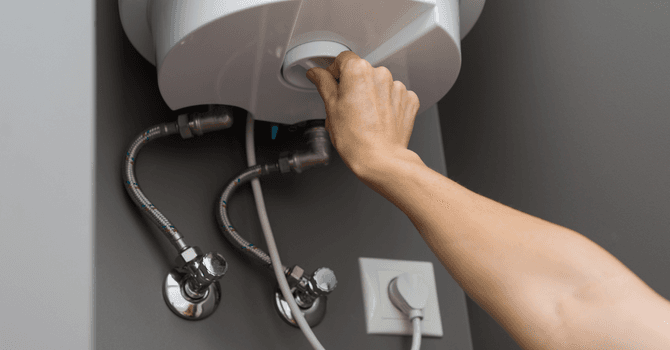
A standard water heater takes up a lot of space in a home since it has a hot water tank that supplies warm water needed for dishes, showers, sinks, and any other household needs. Also, the tank may run out periodically when the demand for hot water exceeds the tank’s water storage capacity.

Léa Plourde-Archer
•14 Jun 2024
Installing drywall panels (also known as gypsum boards) is a project that can seem complicated and tedious for people that don’t have the expertise of renovation specialists.

Editorial Team
•07 May 2026
Designing a backyard in Canada requires careful planning to turn your outdoor space into a true extension of your home. To successfully complete your project in 2026, you should divide your yard into functional zones (dining area, lounge area, play area), choose materials commonly used for outdoor landscaping due to their resistance to freeze-thaw cycles—such as interlocking pavers or pressure-treated wood—and comply with local and provincial pool safety regulations. A well-designed layout that incorporates plants suited to your hardiness zone will increase your property value while extending your outdoor living season.

Amanda Harvey
•08 Nov 2023
A new home is one of life’s most exciting ventures, and a common question that accompanies this purchase is should I buy it or build it? When looking for the perfect house, it may be difficult to find one that checks all the boxes.