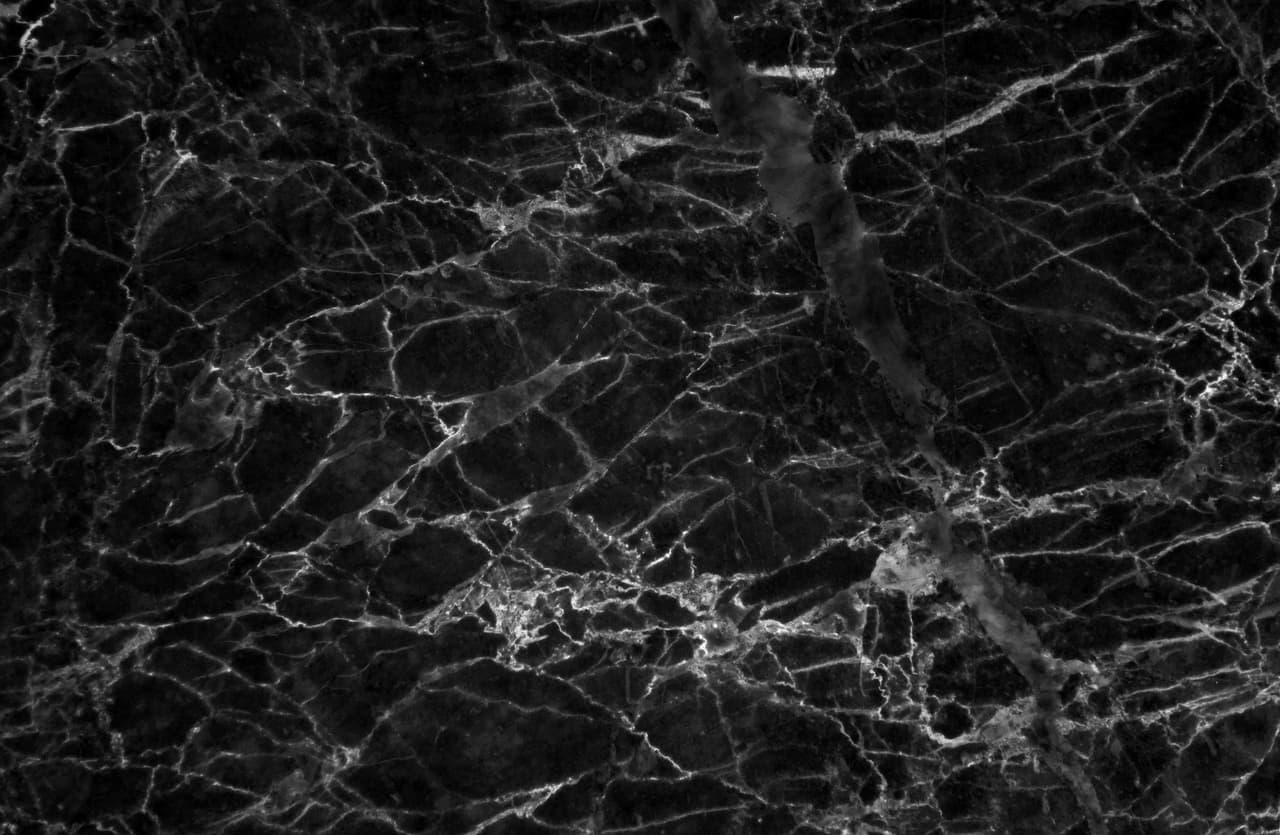
Marble has been praised for years, and not solely for its sleek beauty and stylish appearance. This type of flooring is, bar none, favoured by most.
Whether valued for its unique aesthetic aspect or sturdiness, marble floors have to be properly maintained to withstand the test of time with dignity.
Are you lucky enough that have a fantabulous marble floor? Discover our foolproof cleaning tips for this type of flooring!
Cleaning a Marble Floor
Daily Maintenance

So, let’s dive right into our regular marble flooring maintenance tips by highlighting the importance of sweeping your floors daily. Even though it might seem like an obvious maintenance tip, we still want to emphasize its importance.
Keep in mind that any dirt or dust particles (sand, gravel, or others) found on your floors can indeed scratch the marble surface. However tempting it might be to suck up those little undesirables with a vacuum, it’s really not recommended to do so. The reason why is that a vacuum’s nozzle may scratch the surface of the floor, and thus permanently damage it.
Besides this little piece of advice, we suggest you avoid using abrasive floor cleaners (such as bleach and anti-limescale products) and instead opt for a task-specific mild cleaning product.
That’s why using the latter (about a tablespoon) diluted in lukewarm water is the best way to clean marble floors. Afterwards, thoroughly rinse your floors (preferably twice over) and wipe them dry. So, best get yourself a good mop to effectively carry out this task without exhausting yourself.
How to Remove Stains From Marble Flooring
Since it’s highly probable that, if you have marble floors, your kitchen is where it’s at. Therefore, it’s quite susceptible to spills, and these may eventually stain your floor.
For oil stains, we recommend acting as soon as possible to avoid the stains becoming embedded in the flooring material. To effectively remove an oil stain, mix a small amount of hydrogen peroxide with soapy water. Once the solution is made, soak a non-abrasive sponge in the liquid and lightly rub the stain on your floor until it’s no longer visible. Then, rinse the area with clear water and wipe the floor dry.
When it comes to sugar stains, a hot water and soap mixture is all that’s required to get the job done. Just like oil stains, it’s best to use a soft sponge.
Now, for stubborn stains, to effectively clean these, you can use a paste made from baking soda and a water mix. The paste in question should be applied over the stain for 15 to 20 minutes. And, to avoid the paste from drying out, cover it with plastic film wrap. After the waiting period has elapsed, remove the cling film, rinse the area with water, and then wipe it dry.
Yearly Maintenance: Don’t Forget to Seal Your Floor

To ensure that your marble flooring keeps its elegance and doesn’t prematurely deteriorate, seal it (at least) once a year. To do so, you’ll need to purchase a stone waterproofing sealer at your local hardware store. Though you might choose to use a sponge for this process, using a mop is a much more efficient and practical tool.
To conclude this section, check if your floor was properly sealed. To confirm so, look to see whether a small amount of water on your floor beads or not. If you can’t see water beads, repeat the waterproofing process right away.
Is Your Floor Looking Dull?
If your floor is looking dull and no longer as lustre as it used to be, we suggest applying a light layer of vaseline to the surface with a clean, soft rag. With that done, your floor will once again shine and charm your guest, with little money spent on maintenance!
Want to learn more about white marble? Check out our article on the subject matter!
Get 3 renovation quotes for your marble flooring project
RenoQuotes.com can help you get quotes for your marble flooring renovation project. By submitting your project, we’ll put you in contact with top-rated contractors. Fill in the form on the homepage (it only takes a few minutes), and you will get estimates from trusted professionals.
Dial 1-844 828-1588 to speak with one of our customer service representatives.
Looking for something else?
Related articles
The latest industry news, interviews, technologies, and resources.

Editorial Team
•21 Aug 2025
Glued-laminated timber framing is tomorrow’s building material. Not only does it have numerous advantages, but it also reflects the environmental shift underway across the construction industry.
Cynthia Pigeon
•08 Nov 2023
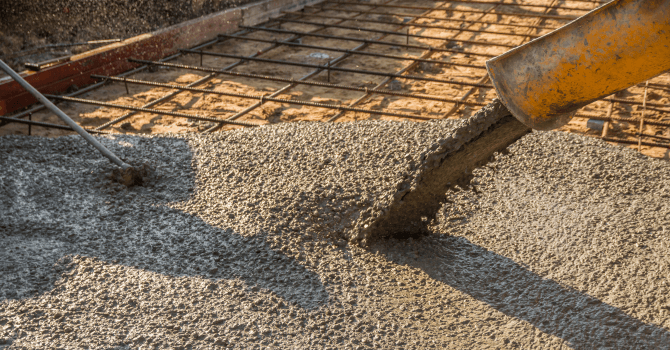
Whether for interior or exterior work, knowing how to pour a concrete slab is vital for anyone wanting to carry out major home renovations. This process can be a bit tricky, especially since you have to follow certain steps to a T, otherwise, the slab could crack prematurely.

Christine Simard
•08 Nov 2023
When renting an apartment, either with roommates or by yourself, the bedroom quickly becomes our safe space. Not only does it reflect our taste, but also our personality and interests. However, even if your decor is perfectly curated, you might still want a new look after a while.

Editorial Team
•28 Aug 2024
Pursuing a career in professional house painting isn’t as simple as picking up a paintbrush and hoping for the best. In fact, this is an excellent trade for all to pursue, especially if you have a knack for paying attention to detail as well as expert level patience. However, becoming a professional painter requires much more than simply making the surfaces of a home look attractive. So, if you’re interested in this trade or you’re already working in the realm of home renovation, how can you move towards a career in professional painting?

Editorial Team
•08 Nov 2023
Over the past few years, the Canadian economy has experienced highs and lows that have affected many sectors. Regarding the construction industry specifically, constraints and changes have occurred as a result of the Covid-19 pandemic, a dip in available skilled labour, as well as the rise of material costs. With the pandemic still looming, what trends can the industry expect in 2022?