
When properly installed, ceramic tiles are a beautiful resurfacing option. The complexity of a tiling project lies not so much in the execution but in the details required to do it right.
Albeit this type of project is easily done, you still have to be familiar with the steps involved to get a result that lives up to your expectations. Therefore, grouting can't be taken lightly.
What You Need to Know About Tile Grout
Whether used as floor or wall coverings, tiles are timeless and can add a touch of colour as well as an interesting contrast to any room.
Once installed, the gap between each tile can vary. As such, to bind them, apply tile grout in between each. Said product much be adapted to suit the specifications of the chosen unit.
The type of grout will, first and foremost, depend on the tile’s finish. No matter what, ensure that the grout you’ve selected won’t damage the surface of the tile. So as not to scratch polished tiles, chose an unsanded grout.
Most grout fluids are available in a sanded or unsanded version. The fine sand found in sanded grout prevents the fluid from cracking and shrinking while it dries. If the average gap between the tiles is at least ⅛ inch wide, use sanded grout and make sure the space is properly filled in. For smaller grout joints, you can use unsanded grout. Shrinking isn’t so much an issue here, since the gap to fill in is much smaller.
Also, make sure to choose a waterproof grout if you intend on applying the fluid between bathroom tiles.
Lastly, you can choose between cement grout and non-cement grout. Cement grout has to be mixed according to the manufacturer’s instructions, and non-cement grout is usually ready-to-use as is, or almost ready to use. As the name suggests, a non-cement grout is a non-cement-based fluid that’s suitable for different applications.
Although epoxy grout is a potential alternative due to its numerous qualities (including its waterproof, anti-bacterial, and durable properties), this type of product isn’t appropriate for residential use. It proves to be an even more unsuitable choice if your project isn’t carried out by a professional. It's particularly difficult to clean and can even damage furniture if not thoroughly applied.
Are you looking for general contractors for your renovation project?
Fill in this form to be connected with top-rated contractors!
Grouting Ceramic Tiles
1) Gather the necessary tools & products
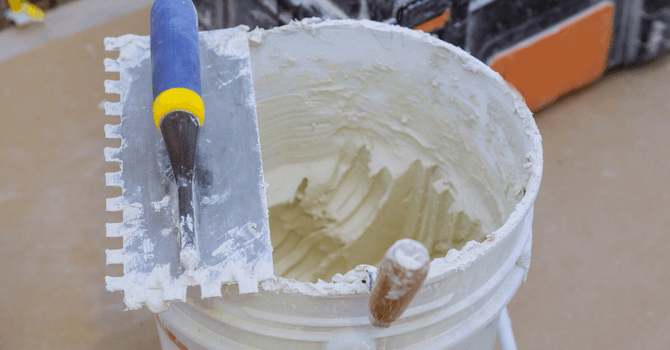
For an easy and hassle-free process, this project requires some essential tools. If you purchase cement grout, you’ll need:
A bucket or large container;
A trowel (to hand-mix) or a paint mixer fitted to a drill.
You’ll also need to get the following:
Masking tape;
Rubber gloves;
Float;
Sponge;
Rag or old piece of cloth;
Spray bottle filled with water;
Selected grout;
Grout applicator;
Sealer applicator or small paintbrush;
Sealant.
2) Prep surface area

If the selected work area is close to a wall or between two walls, it’s best to shield these surfaces with masking tape in case the fluid between the tiles overflows. Also, if you’re working above a countertop or on a piece of furniture that’s directly on the floor, make sure it’s properly protected with a plastic tarp.
Before applying the fluid, prepare the surface by cleaning it. Otherwise, dirt or fine particles can lodge in between the joints, which will negatively affect the overall look long term.
3) Mix grout (for cement grout)
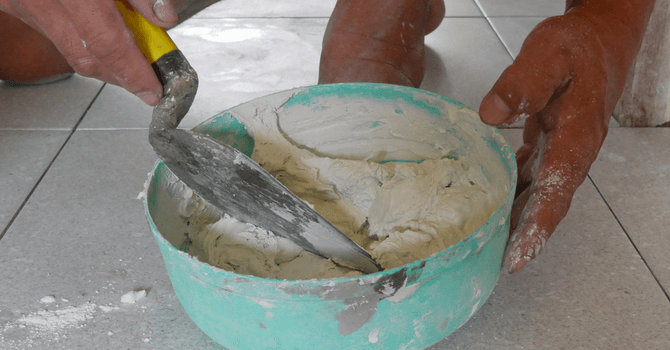
This step is simple enough: make sure to follow the instructions listed on the product. There's no real formula to determine how much fluid you'll need for the project, but we suggest adding an extra 10% to the mix. Once mixed, let the grout sit for 10 minutes and mix as needed until the desired consistency is obtained.
4) Grout between the tiles
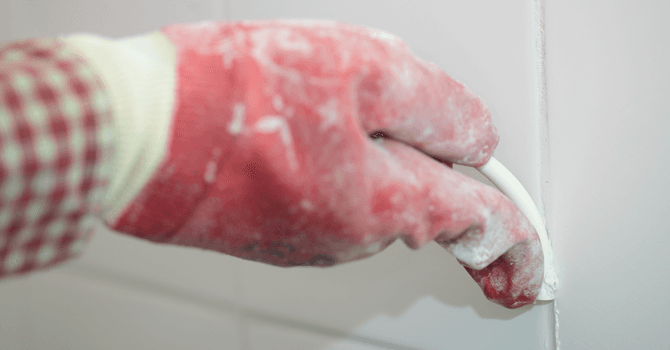
Start by dampening the tiles with the spray bottle filled with water to render the grouting process easier. Don’t spray too much water: If there’s too much water on the surface, the grout will dilute and be less effective.
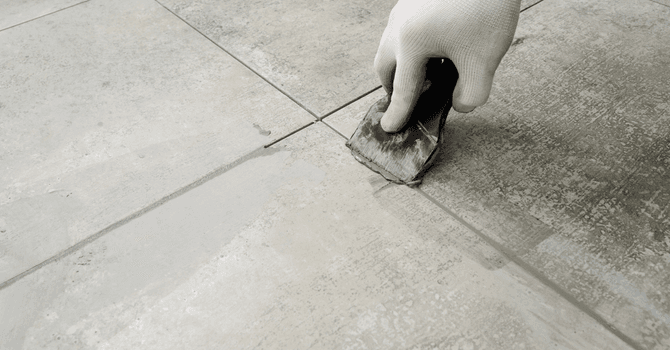
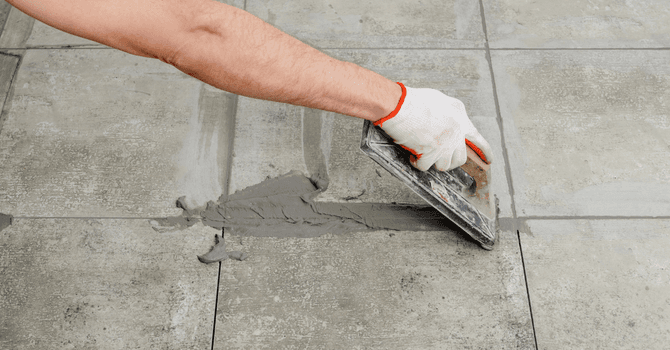
Focus on small areas at a time, and diagonally spread the grout with the help of a grout applicator, in a bottom-to-top motion, while also ensuring that you’re proceeding at a 45-degree angle. We say diagonally since this method will cause grout to be squeezed into the tile joints. When applying grout, remember to put some pressure on the grout to ensure that it'll fit snuggly between the joints.
5) Remove excess grout between joints
Once applied, repeat the process. However, this time, do so in a nearly perpendicular motion to the surface. This will ensure that any excess grout is removed from the surface of the tiles.
Wait about 10 to 20 minutes, the grout will have started to dry. Then you can start removing any excess grout with a float and damp sponge, which will allow you to clean the tiles simultaneously. Make sure to frequently rinse your sponge to avoid soiling the tiles even more. Avoid scrubbing the grout joint directly (or as much as possible) at the risk of removing the grout. Squeeze out the sponge to avoid diluting the fluid.
6) Clean tiles
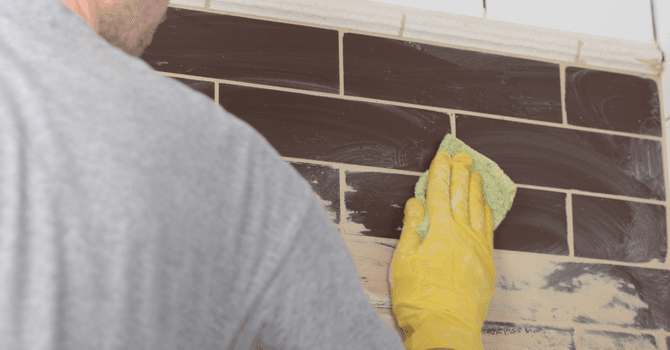
Once all the grout is removed from the tiles themselves, you can clean them with a damp cloth, otherwise, grout will visibly remain on the surface of the tiles. Wipe them down a second time with a damp rag or cloth, and subsequently, properly dry the tiles before applying the sealant.
For more details about this process, check out this article. (French only)
7) Apply sealant

Not all grout fluids have the same curing time, but the same advice applies: Follow the instructions as closely as possible and avoid treading on the surface.
If we’re talking about a wall, it’s not an issue you’ll have to worry about. However, if it’s a shower wall, it’s best to allow the grout to dry thoroughly before making use of the shower.
Apply the sealant with a paintbrush or a sealer applicator. Keep a rag on hand to wipe off any excess product on the tiles. Allow it to dry according to the manufacturer’s instructions (24h usually).
A quick word of caution about sealant: Some grout fluids don't always require a sealant, but do inquire about the specifics of your grout before applying a sealant.
Tile Grout for a Long-Lasting Covering
Ceramic tiles are low-maintenance and will last for years. However, the lack of waterproof joints can weaken the tiles.
Grouting isn't a difficult process. But, to ensure the most durable result possible, careful preparation and attention to detail are key!
Get the necessary tools and take your time to do it right to avoid having to do it again shortly thereafter. Remember to clean the grout if you want to preserve its beauty and appearance long-term!
Looking for something else?
Related articles
The latest industry news, interviews, technologies, and resources.

Amanda Harvey
•08 Nov 2023
Let's be honest, modern life is busy. Between work, cooking, cleaning and additional day-to-day activities, every hour's filled to the brim. It's normal that you don't have the time to think about out-of-sight household things like attic ventilation. But you may not realize how important proper roof and attic ventilation actually is, not only for the maintenance and lifespan of your roof but for lower energy bills as well as the longevity of your home. Lack of proper ventilation can lead to a world of problems, and we're going to offer some information on a common solution: attic ventilation!
Editorial Team
•21 Jul 2025
The kitchen is a living space where people enjoy spending time with family. This space should be warm, practical, and comfortable. However, it may sometimes need a little refresh to stay current. You might decide to renovate your kitchen to gain more space for meal prep, increase storage, or simply make the space more ergonomic.

Editorial Team
•18 Apr 2024
As technology continues to advance, there are more advanced and environmentally-friendly ways to heat your home during those chilly months. From the wood burning stove to electric and gas heating methods, nothing is perfect. It’s a familiar struggle in winter to want to trap the heat in your home while keeping utility costs down. But, does a heating system exist that is efficient enough to keep fresh air in the home while maintaining a comforting heat level? Enter the heat recovery ventilator!

Editorial Team
•25 Apr 2024
In terms of stylish décors and interior design, trends come and go, year after year. Some are timeless, like wood for example. Whereas, other decorative aspects or faux pas can quickly make a room look outdated, and go as far as lowering the resale value of your home.

Karine Dutemple
•07 Nov 2024
Whether we’re talking about small or large-scale projects, managing a building or a renovation project is not always obvious and it’s really easy to get overwhelmed. Whether it’s for organizing, reaching out to contractors or final decisions, everything can seem like a real puzzle.