Cherry Hardwood Flooring: Installation and Maintenance Tips
By Cynthia Pigeon
Updated on November 3, 2025

Are you looking to add hardwood floors in the common areas of your house hoping to create a rustic feel? Cherry wood flooring, although not the cheapest option, has an exotic essence and makes for a durable choice due to its sustainable material.
Installing such hardwood floors is a long-term investment and will be most beneficial in areas with the most foot traffic, such as hallways, the living room, and the kitchen.
It goes without saying, but this type of wood, although sturdy, is not indestructible; years of wear, natural light, and pets will wreak havoc on your floors. However, there are ways to prolong its durability by having your floors installed properly and by following a scrupulous maintenance schedule.
Cherry flooring installation
First off, it is paramount that you follow the instructions provided by the manufacturer when installing your brand new floor. The instructions can seem rather complex and difficult to understand if you are not well versed in the subject. However, if you are not comfortable with the instructions, note that many manufacturers offer skilled labour.

Photo: Flickr
Useful tips
Prior to starting, make sure that all other work in the vicinity (plaster, concrete, paint) is completed to avoid high levels of humidity in the room. Ideally, the room temperature should be around 20 degrees and the humidity level between 40% and 50%. Allow 48 hours for the cherry wood boards to acclimate to the room in which they will be installed.
Have the necessary tools handy:
Measuring tape;
Crowbar;
Hammer;
Carpenter’s square;
Hardwood flooring stapler;
Saw;
Drill;
Nail punch;
Flooring and finishing nails;
Touch-up pen;
Chalk and chalk lines;
Protection goggles;
Knee pads;
Broom or vacuum.
Next, make sure your subfloor is level and clean. Install ¾ inch spacers along the walls and, if needed, trim the bottom of your door frames the same size as the joint. Do not worry, the baseboards or mouldings will cover it up and you can always adjust the frames at the end.
Depending on the thickness of your floor and the manufacturer’s instructions regarding the required distance, with the help of chalk and chalk lines, draw a line parallel to your starting wall at a right angle to the adjacent wall.
When installing the first two rows of boards, use the straightest planks available. That way, the hardwood planks that have any imperfections can be installed in areas that are out of sight, like a wardrobe, where they can be resized to remove all imperfections.
Next step: fixing the planks to the ground. Lay down the first row by drilling holes an inch from the wall and leaving 12 inches in between every hole. Nail and conceal with a touch-up pen. Then, install the next few rows with a hardwood staple gun, and finish the last three rows with nails.
Once completed, position your baseboards, quarter round mouldings, and door sweeps by nailing them to the wall, not the floor. Throughout the process, keep an eye on the underside of your staple gun; ensuring its condition will prevent any damage to your planks. Take it one step further and test the staple gun on a discarded piece of plank to familiarize yourself with the tool and the required pressure to apply.
Also, ensure that your drill bits are smaller in diameter than your finishing nails. Always leave a quarter-inch space between the wall and the end board.
Start your rows with boards of various lengths so as to not have even board ends from one row to the next; the goal is to have alternative joints.

Photo: Pexels
Systematic maintenance of cherry wood floors
First, to remove dust, we recommend using a microfibre towel or pad. A broom will only move the dust around. On the other hand, a microfibre pad will trap the dust with its electrostatic material. A vacuum’s wheels and/or brush head can damage your floor.
Next, it is imperative that you use a hardwood floor cleaner but never pour it directly on the floor. Useless to say, since water and humidity are the nemeses of hardwood floors, using a steam cleaner or too much water is inadvisable. Furthermore, vinegar and wax-, oil-based soaps will leave behind a residue or will gnaw away at your floor. Damages to the surface on your floor will accumulate faster than expected and that does not pay off!
Other daily tips to consider:
In case of a liquid spill, clean it up right away before the liquid has any chance of being absorbed by the wood fibres.
Place floormats/carpets in at-risk areas, such as the entryway, where gravel and dirt tend to accumulate and scratch the floor, and in front of a work desk and underneath a chair with rollers.
Furthermore, to avoid scratches, stick felt pads at the bottom of your furniture and move your furniture with the help of a rug or carpet.
Also, it is worth knowing the maximum live and dead loads that can be applied to your floors. Get additional information in the joist table.
Cherry hardwood floors: long-term maintenance
Have you been diligently maintaining your hardwood floors, but they still need a little zhooshing? There are several solutions to help you out.
Option #1: Oils. You can sand your hardwood floors before applying a coating of oil that will act as a protective layer, which will improve water resistance and give it its former shine. Carefully read the instructions, as well as any guidelines, since certain natural oils can take up to a week to dry completely. Unlike flaxseed oil, which is not recommended in humid spaces or for outside use, nut oils have no risk of rotting and offer a matte finish.
Option #2: Touch-up kit. Ask a qualified employee before purchasing any product to ensure its adequacy.
Option #3: Return to its former state of glory. Ideally, you will want to hire woodworking professionals who will sand the wood before applying a new floor sealant and finish.

Photo: Flickr
Now that you are well-informed and equipped for your flooring project, you can get started!
Looking for something else?
Related articles
The latest industry news, interviews, technologies, and resources.
Editorial Team
•08 Nov 2023
Many homeowners who wish to renovate their bathroom are currently considering the possibility of opting for a walk-in shower to modernize the space.

Editorial Team
•12 May 2025
Most, if not all, homes are well insulated. This insulation exists to keep the heat within the home during the winter months, significantly reducing heat loss. In order to be well insulated, a home should be relatively airtight as to block the outside air from permeating inside.

Editorial Team
•08 Nov 2023
In Montréal alone, it’s estimated that approximately 300,000 residents are affected by a high level of lead in their water, in particular, due to the pipe connecting their home to the city’s water system. In 2007, the City of Montréal, therefore, committed to changing all of its lead water pipes in the public sector, totalling around 48,000 by 2030, recently investing about $557 million to accelerate the project.
Editorial Team
•08 Nov 2023
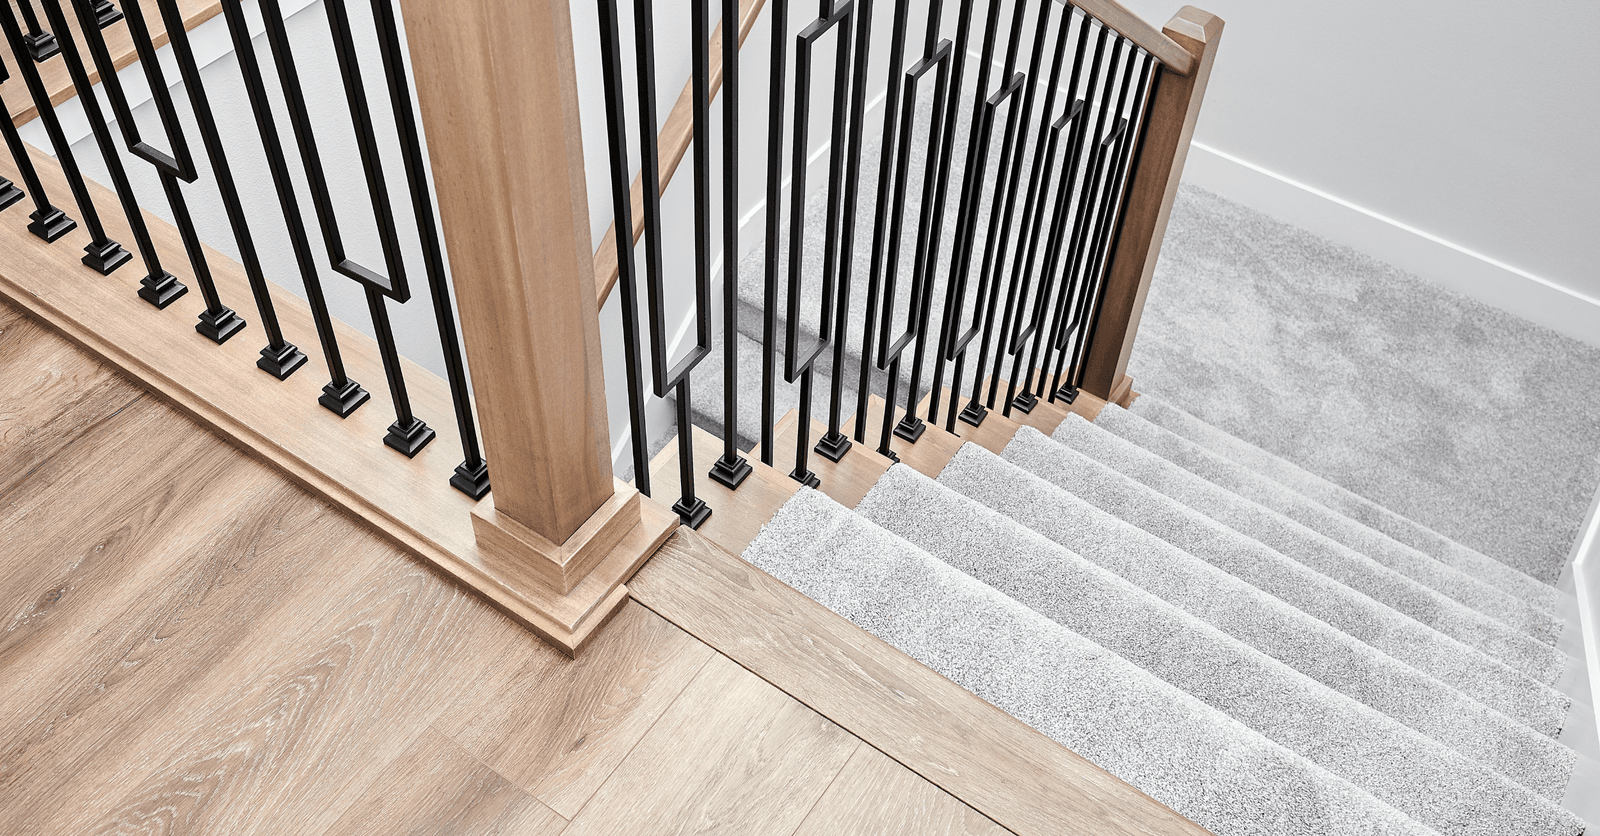
Immerse yourself into a world of safety and comfort with indoor stair runners. These accessories convey a warm aesthetic, while also improving staircase safety. Since carpets and rugs are non-slip, they can prevent falls and protect your treads. Find out how to choose and install a stair runner that meets your needs and suits your interior décor.

Editorial Team
•23 Jul 2025
The flat roof hasn’t always had the best reputation, particularly due to its waterproofing issues. However, it not only offers many advantages, but the construction industry now fully masters its design and installation.