How to Choose an Architect—3 Important Factors to Consider
By Editorial Team
Updated on November 4, 2025

Everyone envisions their ideal home with a specific idea in mind. For some, this means dreaming of a spacious kitchen, while for others, it’s an opulent bathroom or a complete structural transformation of a home’s floor.
Get Your Project Started Today
Submit your details and receive three free quotes from trusted contractors.
There seems to be an infinite number of possibilities for a custom-designed home, and the most ambitious homeowners will be ready to take on this type of project. Of course, for many large-scale or dream projects to become a reality, it’s necessary to consider working with an architect.
When it comes to choosing the right architect for a project, several factors come into play. You’ll want to work with someone who understands your vision and has the skills to bring it to life. If you’re unsure about the best approach, we’re here to offer advice on selecting the right architect for your renovation or home construction project.
3 Criteria to Consider When Choosing an Architect
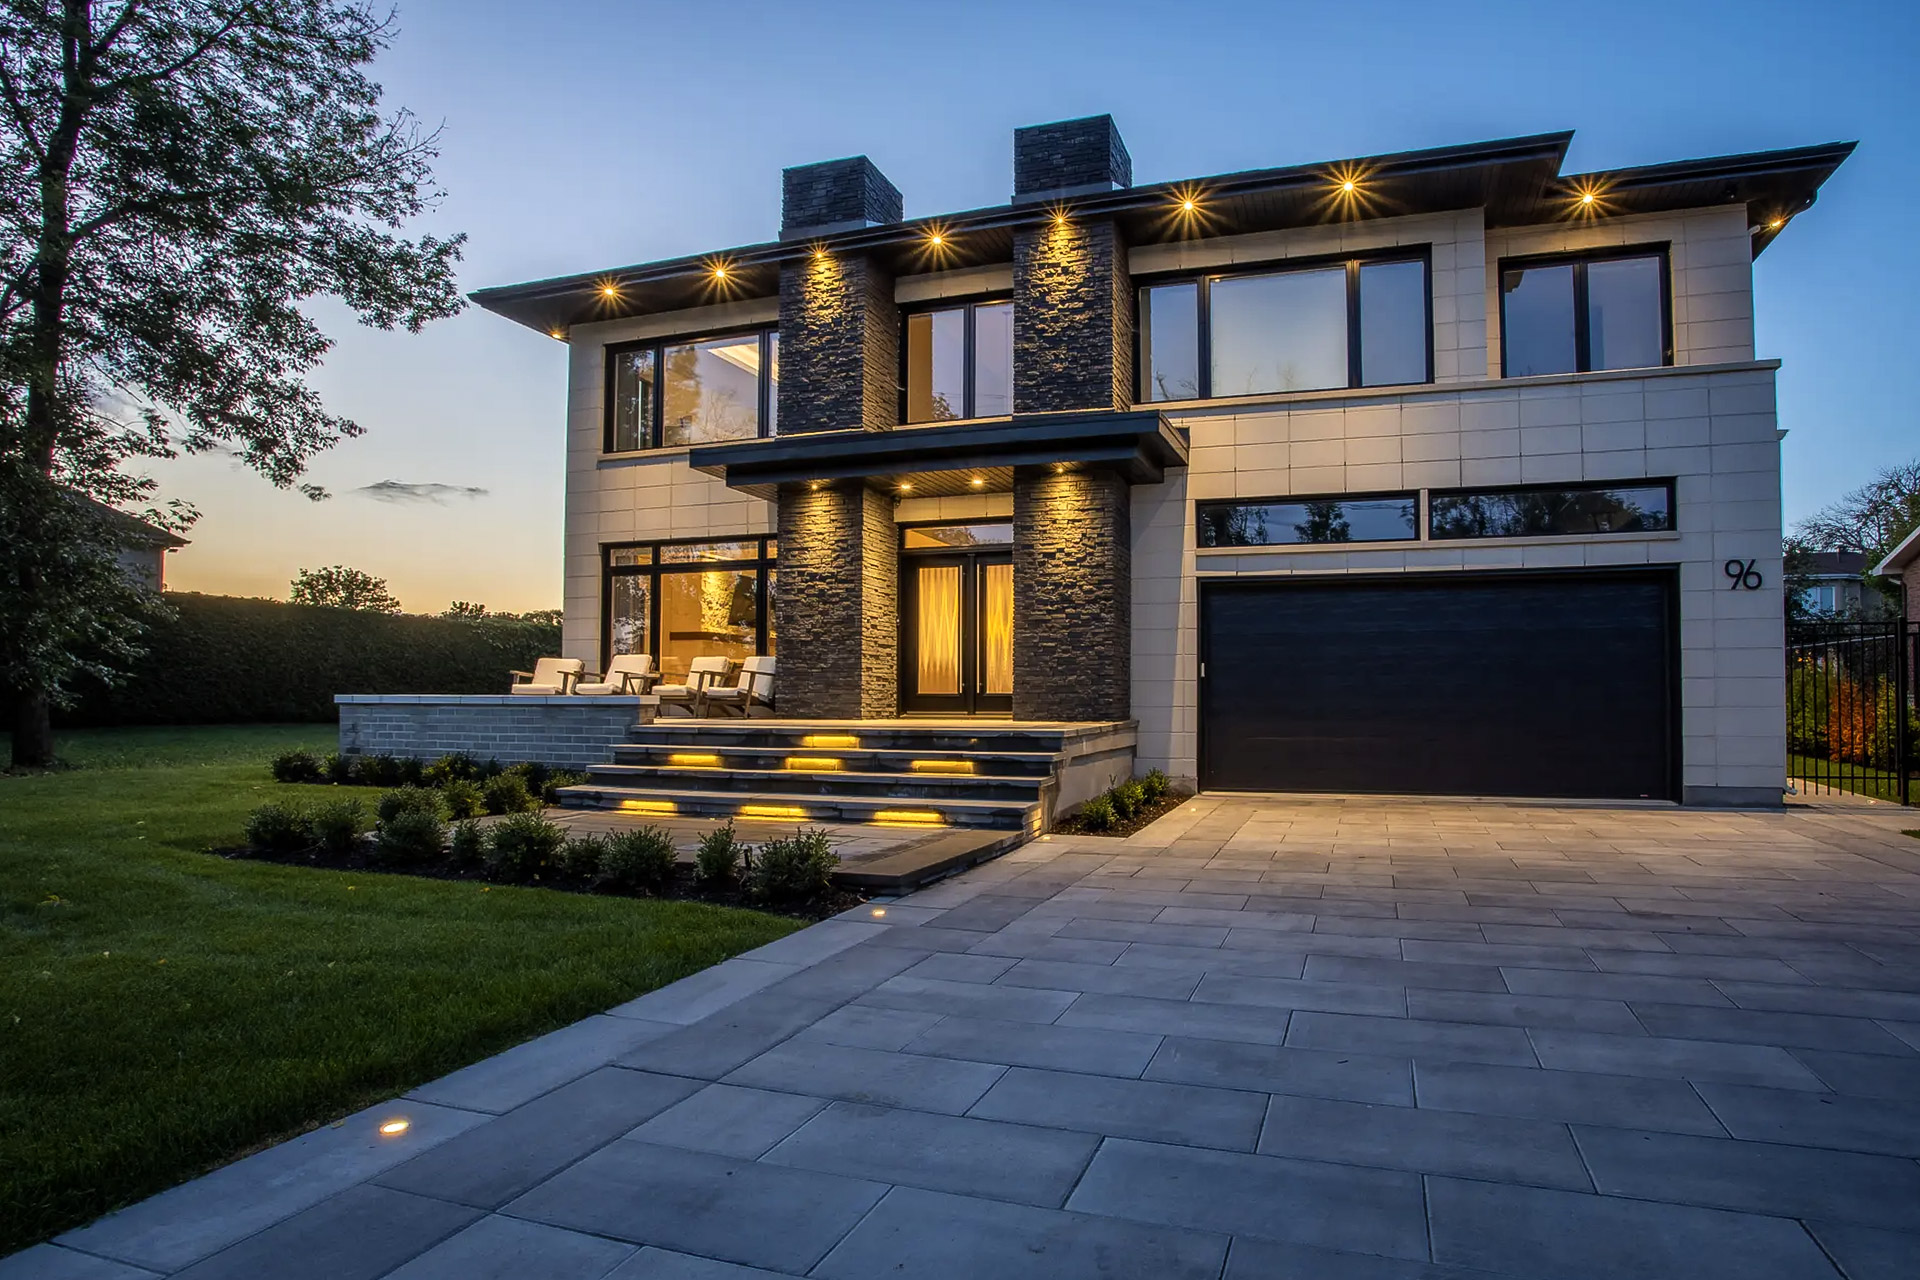
Source : 9515-2955 quebec inc.
1. Chemistry
Chemistry isn’t just reserved for the world of dating. In fact, interviewing architects for your project is the most important step because it will help determine if there is any chemistry between you. Keep in mind that you will be working with this person for an extended period of time on your home’s design, so you’ll want their personality and vision to be compatible with yours.
Allow each interview to last an hour, as this will give you a good sense of whether the person connects with you. If possible, arrange to meet at their office, where examples of their previous work will be easily accessible. If you prefer, conduct the interview at your home so the architect can get an idea of the space they’ll be working with. Be sure to ask if there are any fees for the meeting, as some architects charge for consultations.
For the interview, you should prepare some questions. Here are a few examples:
How busy is your firm?
Do you have the time to take on this project?
What is your firm’s design philosophy?
What approach do you plan to take for this project?
Also, make sure to discuss the budget during the initial meeting. Finally, ask the architect to provide references, as these can be essential in your decision-making process.
2. Why Hire an Architect—and How Architecture Expertise Enhances Your Project
In addition to designing plans and overseeing work, architects offer a range of specialized services that can enhance your project. These services include:
Feasibility studies: A thorough analysis to assess the technical and financial viability of your project.
Energy optimization: Designs aimed at reducing energy consumption by incorporating sustainable materials and eco-friendly solutions.
Comprehensive project management: Coordination between various trades to ensure smooth execution of work within deadlines and budgets.
Do they meet your needs?
When working with an architect, they offer a set of core services. These include:
Design development.
Preparation of construction documents.
Bidding and negotiation.
Beyond these basic services, you’ll need to determine the specific needs of your project. Some projects may require special fees or energy analyses, drawings, presentation types, or specific models. Naturally, your chosen architect should be able to offer these basic services and, in some cases, go beyond them.
In certain situations, you may have the necessary skills to undertake part of the work yourself, including aspects of planning and design. Once again, working with an architect means finding someone with complementary expertise. Consider what you already have and what you need to outsource.
3. Respect and Understanding
From the outset, it’s important to be honest with the architect about the budget. The architect you choose will need to be realistic and work within the established limits, as most homeowners don’t have money to throw away. If you discover during the interview process that some architects are trying to convince you to opt for architectural elements outside your budget, these candidates may not be right for you.
As a creative individual, the role of an architect is to develop and enrich the project based on your initial idea. Therefore, attentive listening and a deep understanding will be necessary. Make sure the expert you work with takes the time to listen to your entire plan, as well as your questions and concerns, so they don’t stray too far from what you originally wanted.
In the end, you’ll want to work with an architect who can bring your creative vision to life while being open to communicating about the logistical aspects of your project.
Why It’s Important to Find and Choose the Right Architect for Your Home
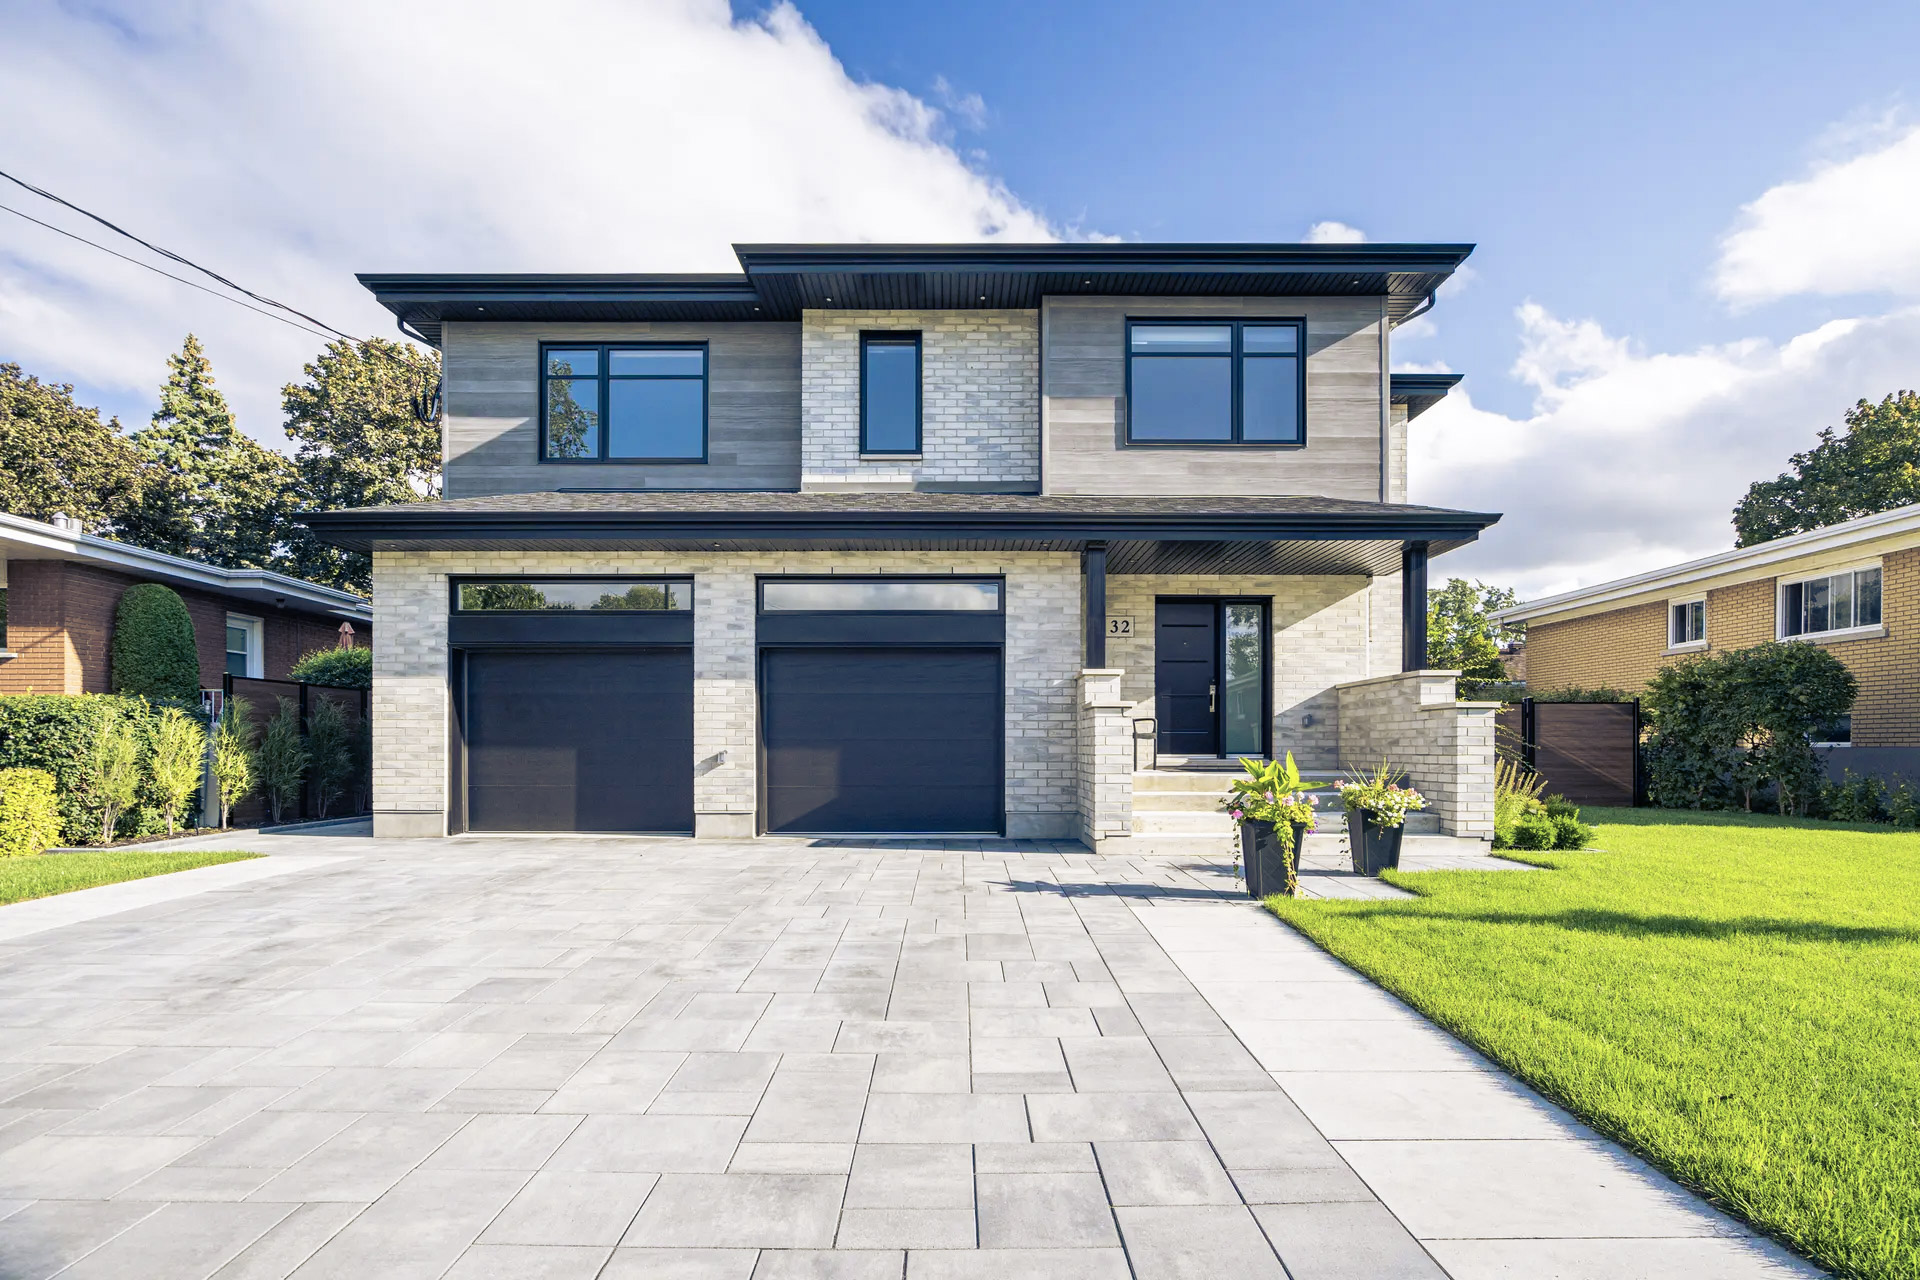
Source : AJG Architecture
Why hire an architect?
Let’s start by considering why it’s important to work with an architect. Some aspects of construction and planning for a major renovation project are often overlooked by those without experience in this field. An architect is a phenomenal resource because they can handle the complicated procedures of the planning phase with ease.
Additionally, they’ll know how to design according to the site’s specifics to maximize your home’s potential. This can include maximizing natural light, creating additional space and storage solutions, and finding the right materials, accessories, finishes, and lighting.
In general, an architect will seek to carry out work that enhances your home’s value—not just financially, but also by adding a sense of well-being and comfort that improves your quality of life. One aspect to consider is understanding your needs and how an architect can meet them.
Why is an architect's expertise essential for obtaining a building permit?
When a building permit is required, an architect’s involvement is often indispensable. They understand municipal regulations and ensure plans comply with zoning, safety, and urban planning standards. This expertise helps avoid costly mistakes and administrative delays. Additionally, an architect can advocate for your project with authorities if adjustments are needed, ensuring quick approval.
Directory: How to contact an architect?
The first step is to consult the website of the Order of Architects. Then, create a list of several architects you’re interested in working with and call each firm to confirm that the associated architects are available for your project (or use a service like ours to skip this step and let us handle it).
Outline the essential work. If a few firms confirm they can handle your project, be sure to request information that clearly highlights their qualifications and experience. If a firm is unable to take on your project, ask them to recommend someone for it.
FAQs: Everything You Need to Know About Choosing an Architect
How do you know if an architect is good?
A good architect stands out through attentive listening, the ability to understand your vision, and translating it into creative, practical solutions. They should have solid experience, a relevant portfolio, and be transparent about costs and timelines. Verify their registration with the Order of Architects and ask for references to gauge client satisfaction.
How do you find a good architect?
Finding a competent and reliable architect starts with thorough research. Check the Order of Architects of Quebec to verify registration and compliance. Don’t hesitate to ask for references and review completed projects. Take the time to meet several candidates to compare their approaches and assess their understanding of your project.
How do I decide if I need an architect's services?
An architect is necessary for complex projects involving structural changes, extensions, or new constructions. If your project requires a building permit or space optimization, an architect can help design functional, aesthetic solutions while adhering to regulations.
How can I find a free architect near me in Canada?
Finding a free architect is rare, as their work requires expertise and responsibility. However, some architecture competitions or educational programs offer ideas or plans at a lower cost. Additionally, many architects offer a free initial consultation to discuss your project’s feasibility.
Looking for something else?
Related articles
The latest industry news, interviews, technologies, and resources.

Léa Plourde-Archer
•31 Jan 2025
Stone is a timeless material that, in any setting, whether inside or outside, boasts both elegance and robusticity. However, for some homeowners, the challenges and installation costs that come with natural stone make for significant hurdles. Luckily, stone veneer is an affordable alternative that mimics to perfection the look of natural stone.

Christine Simard
•08 Nov 2023
While any good kitchen must be both practical and aesthetically pleasing, achieving both these goals might seem difficult when we're stuck with a smaller kitchen. However, this doesn't mean you have to give up on giving this room a makeover. With this is mind, here are some useful tricks to inspire you.

Editorial Team
•08 Nov 2023
Hot water heating systems are an integral part of our heritage and are still found and efficiently used in most centennial houses in Quebec. The main reason they’re not as common nowadays is that installation costs are steeper than that of other heating systems, which makes some homeowners reluctant. In older buildings, it’s rather tempting to opt for electric baseboard heaters. However, if you’ve already got this type of heating system installed, consider all your options before making a final decision. And for those who're looking for an efficient system to improve the overall level of comfort in their home, hot water heating may be the best choice for years to come.

Editorial Team
•03 Jun 2025
Underpinning is a technique that is essential to ensure the stability of a building whose solidity is compromised due to a natural disaster, upper floor renovations with excessive added weight to support, or due to a foundation being poorly adapted to the ground where it is set.

Léa Plourde-Archer
•25 Mar 2026
Windows are an important component of your home, serving as a point of entry for natural light into your space and allowing you to ventilate the rooms. There are several options available on the market, but today we are focusing on PVC windows.