Are your melamine cabinets starting to wear out and you’re inclined on giving them a little sprucing instead of swapping them out for new ones? In most cases, if the surface isn’t too damaged, you can definitely consider a coat of paint to give them a much-needed face-lift.
Whether it's kitchen cabinets, living room furniture, bed baseboards, or any other melamine surface, you can use paint to create a stunning new look!
Painting Melamine: What You Need to Know
This type of project is relatively affordable, although it's not without its challenges, especially if you're not used to working with this material. Since melamine is a material that doesn't absorb paint, it can take longer to dry than other finishes. Keep in mind that melamine surfaces are manufactured from thermosetting plastic, meaning that paint simply sits on the material instead of seeping into it.
Naturally, if you want to obtain an impeccable result, you can always hire an expert home painter or refurbisher. That said, throughout this article, we’re going to bring forth all the necessary know-how required to adequately prep for this type of renovation project.

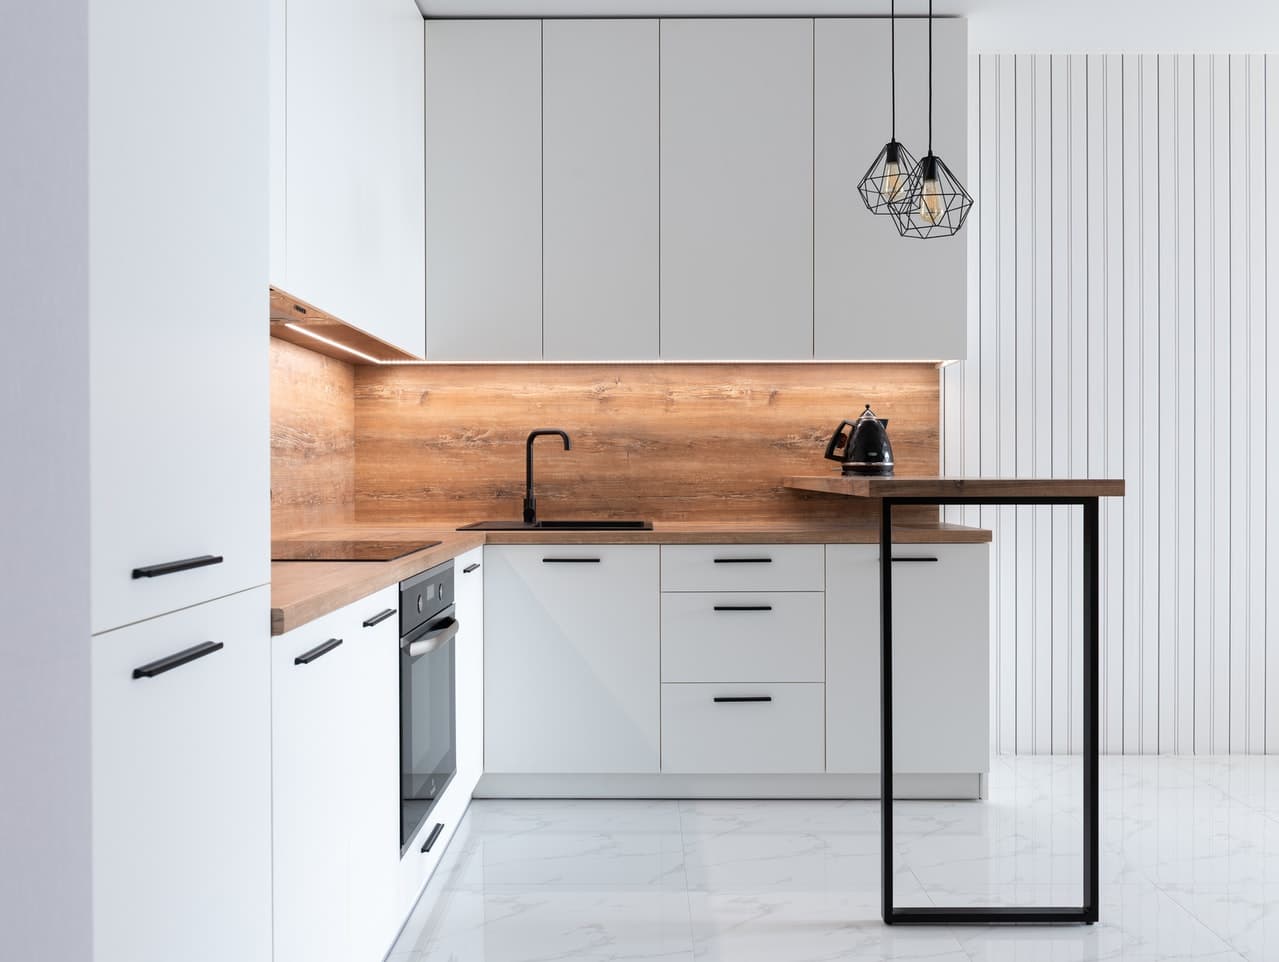
Source: Pexels
Revamping Melamine Furniture with Paint
We realize that the majority of people reading this article are looking for tips on how to refurbish their melamine kitchen or bathroom cabinets. However, note that the following information applies to all other types of furniture that feature a melamine surface. The following steps can be applied to other projects too.
Here’s a quick summary of the steps and we’ll delve into them further down:
Prep your workspace and gather your materials/tools.
Sand the surfaces and repair holes.
Wipe down surfaces to remove all traces of the sanding.
Apply a primer, starting with the edges (one or more coats, depending on the product used).
Once the primer has dried, remove all imperfections.
Apply the first coat of paint.
Repeat with the second coat of paint (or more, as needed).
Allow the paint to dry according to the instructions listed on the paint can.
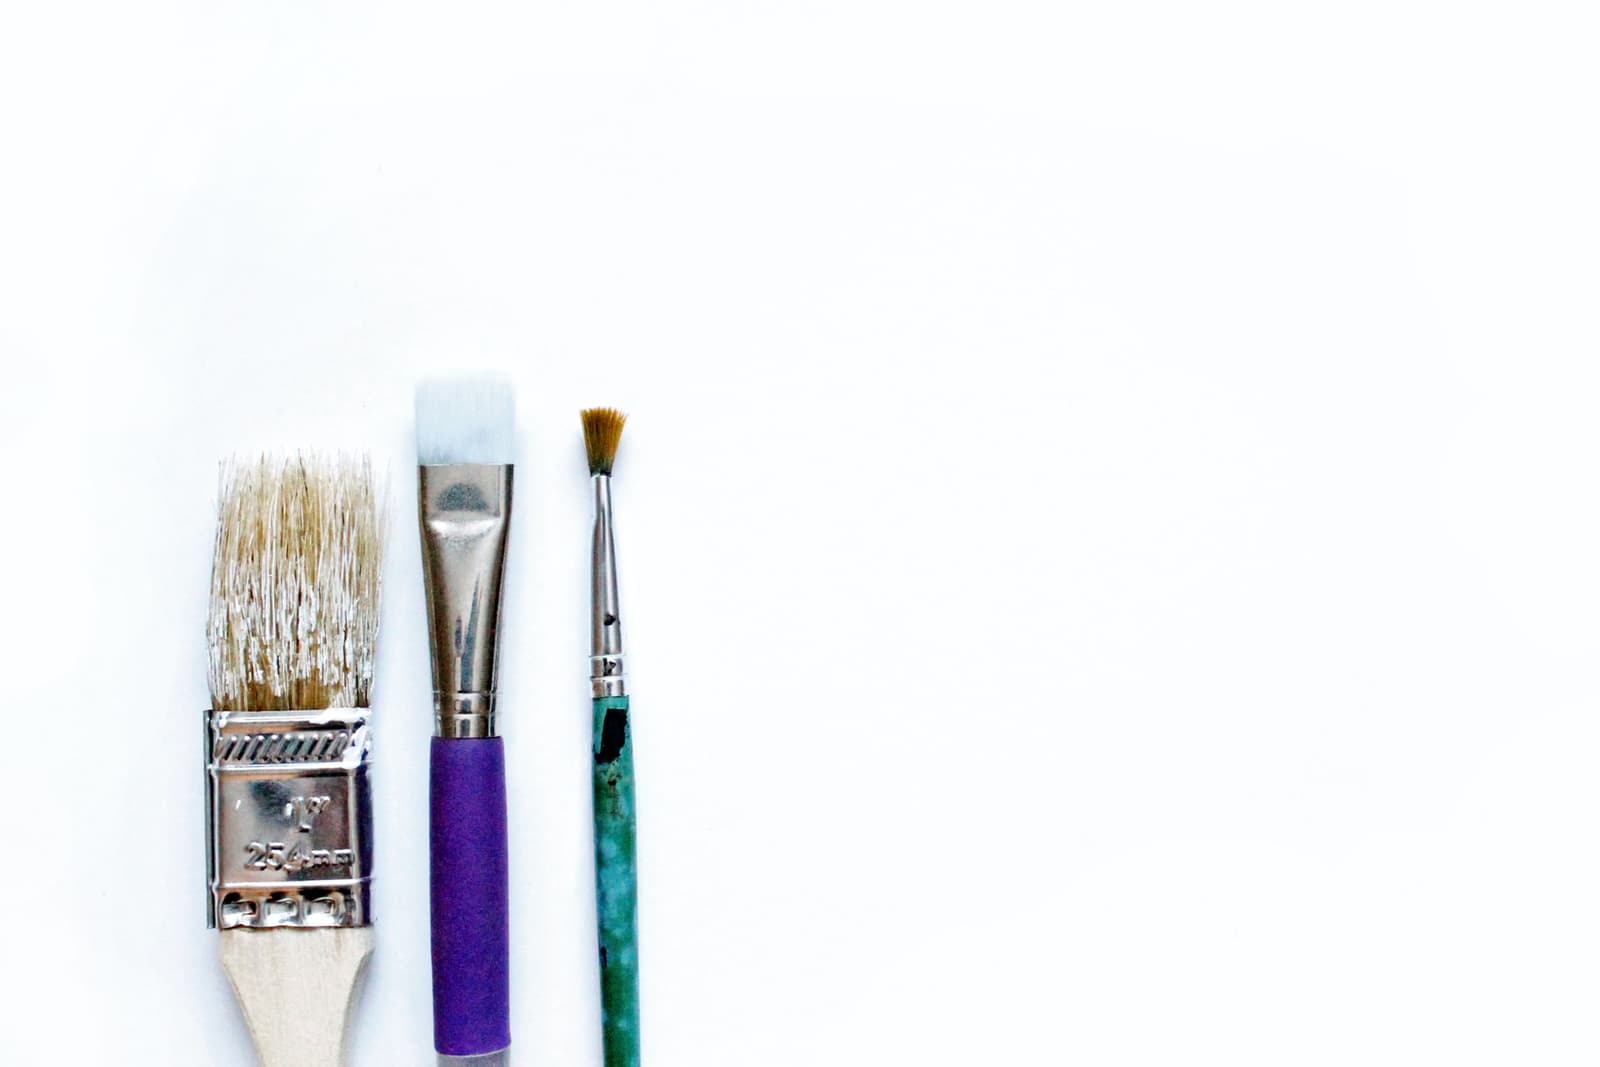
Source: Unsplash
1) Prep the workspace and materials
This type of project can be quite messy and does require you to have access to the right tools. So, before jumpstarting anything, make sure you have the right equipment and that the surfaces that won’t be painted are adequately protected.
Here’s a list of the equipment you’ll need:
Multiple paintbrushes (for narrower areas where the roller can't reach);
A paint roller (small or big, depending on the size of the furniture);
A spackling material if the surface has holes;
A sanding tool (sandpaper, sander, or product, based on your preferences);
Tarpaulins to protect your floors;
Any other accessories needed to protect the surfaces that won’t be painted (walls, door knobs, etc.)
Necessary products will be mentioned down below. But, in essence, you’ll need a primer and paint. And do choose your products carefully so as to get the best possible results.
2) Prep, repair, and sand surfaces
First, take a moment to remove all accessories that won’t be painted, such as door knobs, hinges, and so on.
If the melamine finish has imperfections, it’s the ideal time to repair them! Unless the holes or damage are really ingrained in the material, you can probably fix it with a spackling material (found in all hardware stores).
Once the prep work and the repairs are done, you can start sanding. Use either sandpaper, a sander, or a liquid sanding solution. Inquire with a skilled professional working at a hardware store for more information. They’ll be able to offer guidance regarding which technique is best used depending on the type of furniture you’re attempting to refurbish.
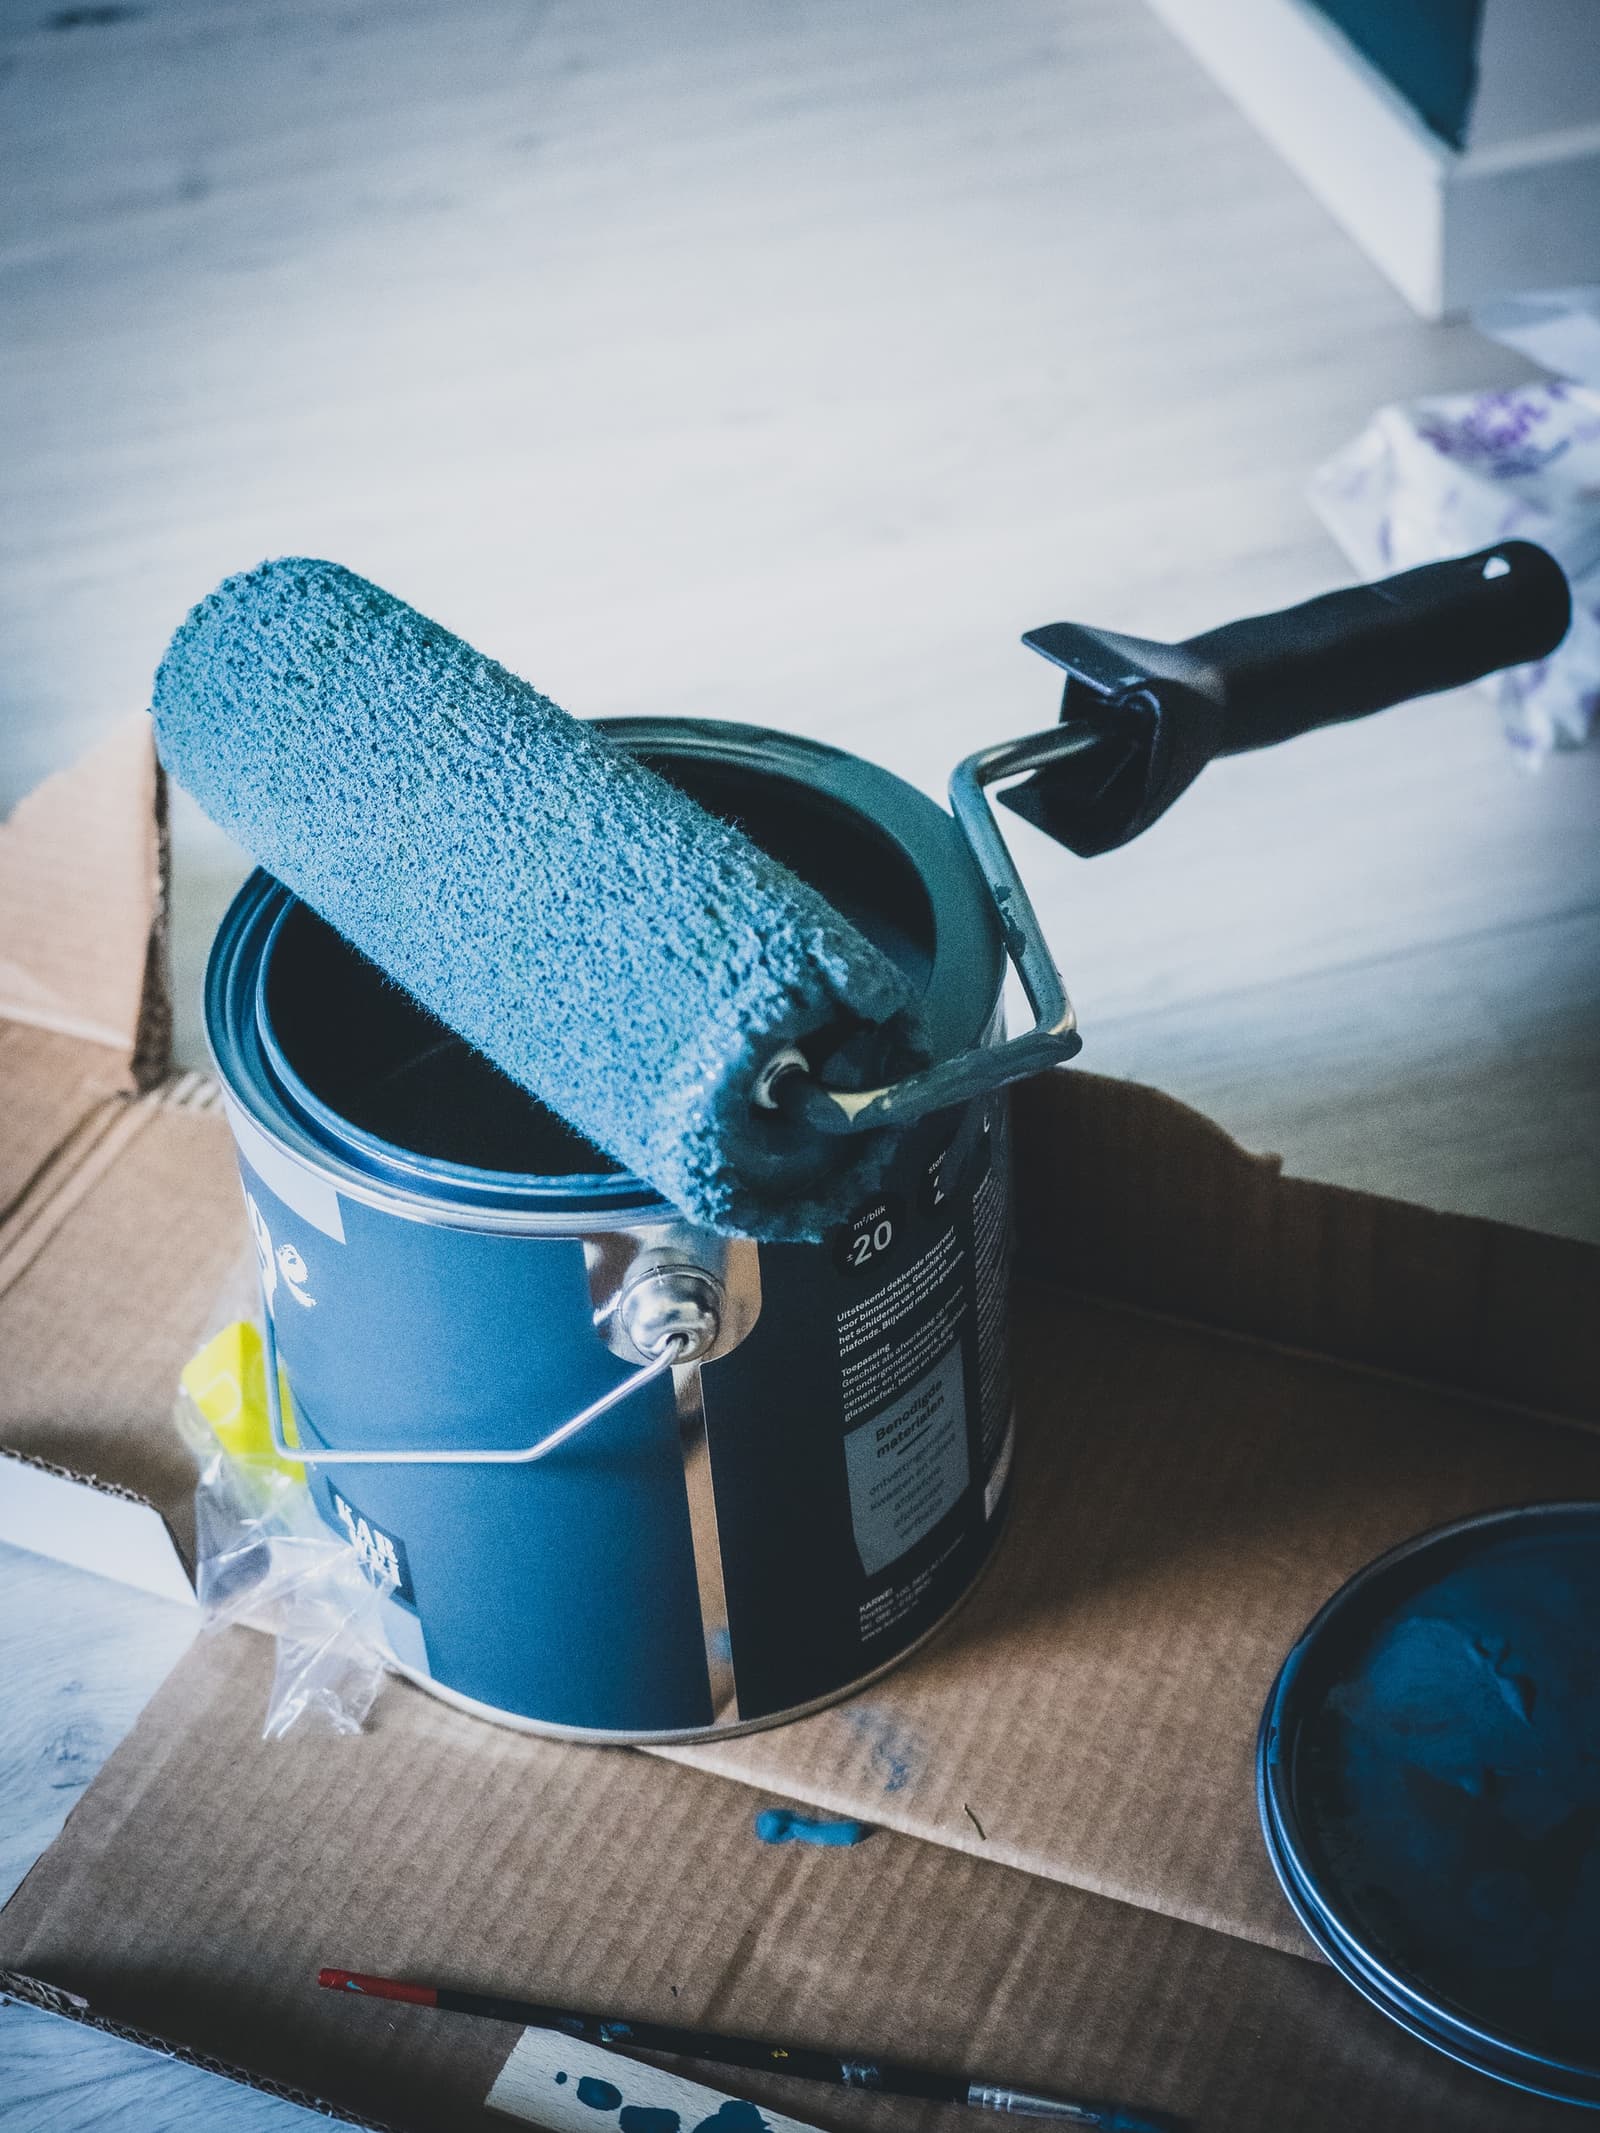
Source: Unsplash
3) Clean
Once you're through with sanding and repairs, clean everything up before moving on to the next step. Neglecting the cleanup step could result in finding residue in your subsequent coats of primer and paint, which would be a real bummer.
We suggest using an effective cleaning product, such as T.S.P. all-purpose cleaners (trisodium phosphate) to remove all the dust and grime. Be sure to wear protective equipment, since this product is toxic.
4) Apply a primer
To better your chances of a positive outcome, apply at least one coat of primer, especially if the original colour is very dark. You can start with a paintbrush and work your way into the areas that a roller can't reach. Then paint over the rest with a roller.
Allow for everything to fully dry, and consider whether another coat is needed before moving on.
It goes without saying, the primer purchased should be made for melamine surfaces. An oil-based primer may be most appropriate.
5) Remove all imperfections
When applying primer, small and unappealing pockets of air can sometimes form on surfaces, and these should be carefully removed before painting to avoid creating uneven surfaces. You can do so with sandpaper.
6) Apply the first coat of paint
Now it's time to really get down to business! First, you can start applying paint with a paintbrush in the corners and crevices that the roller won't reach. Then you can coat the rest with the roller.
7) Subsequent coats of paint and drying time
Depending on the type of paint you buy, the colour you're looking to paint over, and the colour you're looking to get, you'll most likely need to apply two or three coats.
Wait until the first coat of paint is dry! Since melamine is a non-absorbent material, unless the paint is sufficiently dry, applying the second coat will damage the surface at the slightest touch. Carefully look over the product's instructions and follow them to a T.
Source: Pexels
Best Types of Paint for Melamine
A lot of paint manufacturers now carry products specifically designed for melamine surfaces, so you can focus your research efforts by turning to this category of products.
Otherwise, water-based alkyd paints are very effective. Naturally, if you use a good primer, you can also switch to other paint products such as latex, magnetic paint, or acrylic paint.
How much does a melamine paint can cost?
For a gallon of melamine surface paint, budget about $50 to 80$. A gallon of paint will cover approximately 300 square feet. Before purchasing the paint, be sure to calculate the amount of square footage you’ll be painting.
Do you have to apply a primer to melamine cabinets before painting them?
Although there are some melamine paint products that are designed to work without a primer, most experts still recommend applying at least one coat of primer. Doing so will ensure a more durable finish for your cabinets (or other relevant furniture).
Naturally, newer products available on the market are steadily improving, so consider consulting with paint specialists. They can guide you toward the right product for your needs.

Source: Pexels
Budgeting for a melamine cabinet transformation project
For a standard kitchen transformation, plan for about $200 to $1,200. For a single piece of furniture, it should cost between $150 to $500.
In fact, three factors will influence the project's budget:
Whether you decide to DIY or outsource the work to professionals.
The complexity of the work.
The range of materials and products selected.
You can get by on a small budget by doing the work yourself and buying low-cost materials. However, taking this route is risky, because if you mess up while painting, you'll have to start over or hire a skilled tradesman to fix the damage.
For long-lasting results that you'll love, consider hiring skilled contractors. They'll know the best products to use and the right techniques to follow for results that exceed your expectations.
How long does it take to refinish melamine kitchen cabinets with paint?
For a medium-sized kitchen, plan for about three days of work. The time between coats will impact the duration of the work. The work isn't going to be ongoing, but you won't be able to use your cabinets in between coats, so you may have to find a temporary workaround in the meantime.
You should also make sure that you're set up with the right work conditions. Meaning the weather conditions are right and whether you can afford to wait around long enough for the paint coats to dry.
Source: Pexels
You can reach out to a residential painter or a furniture restoration specialist. Not all experts in the trade offer melamine refinishing services, but you can always inquire.
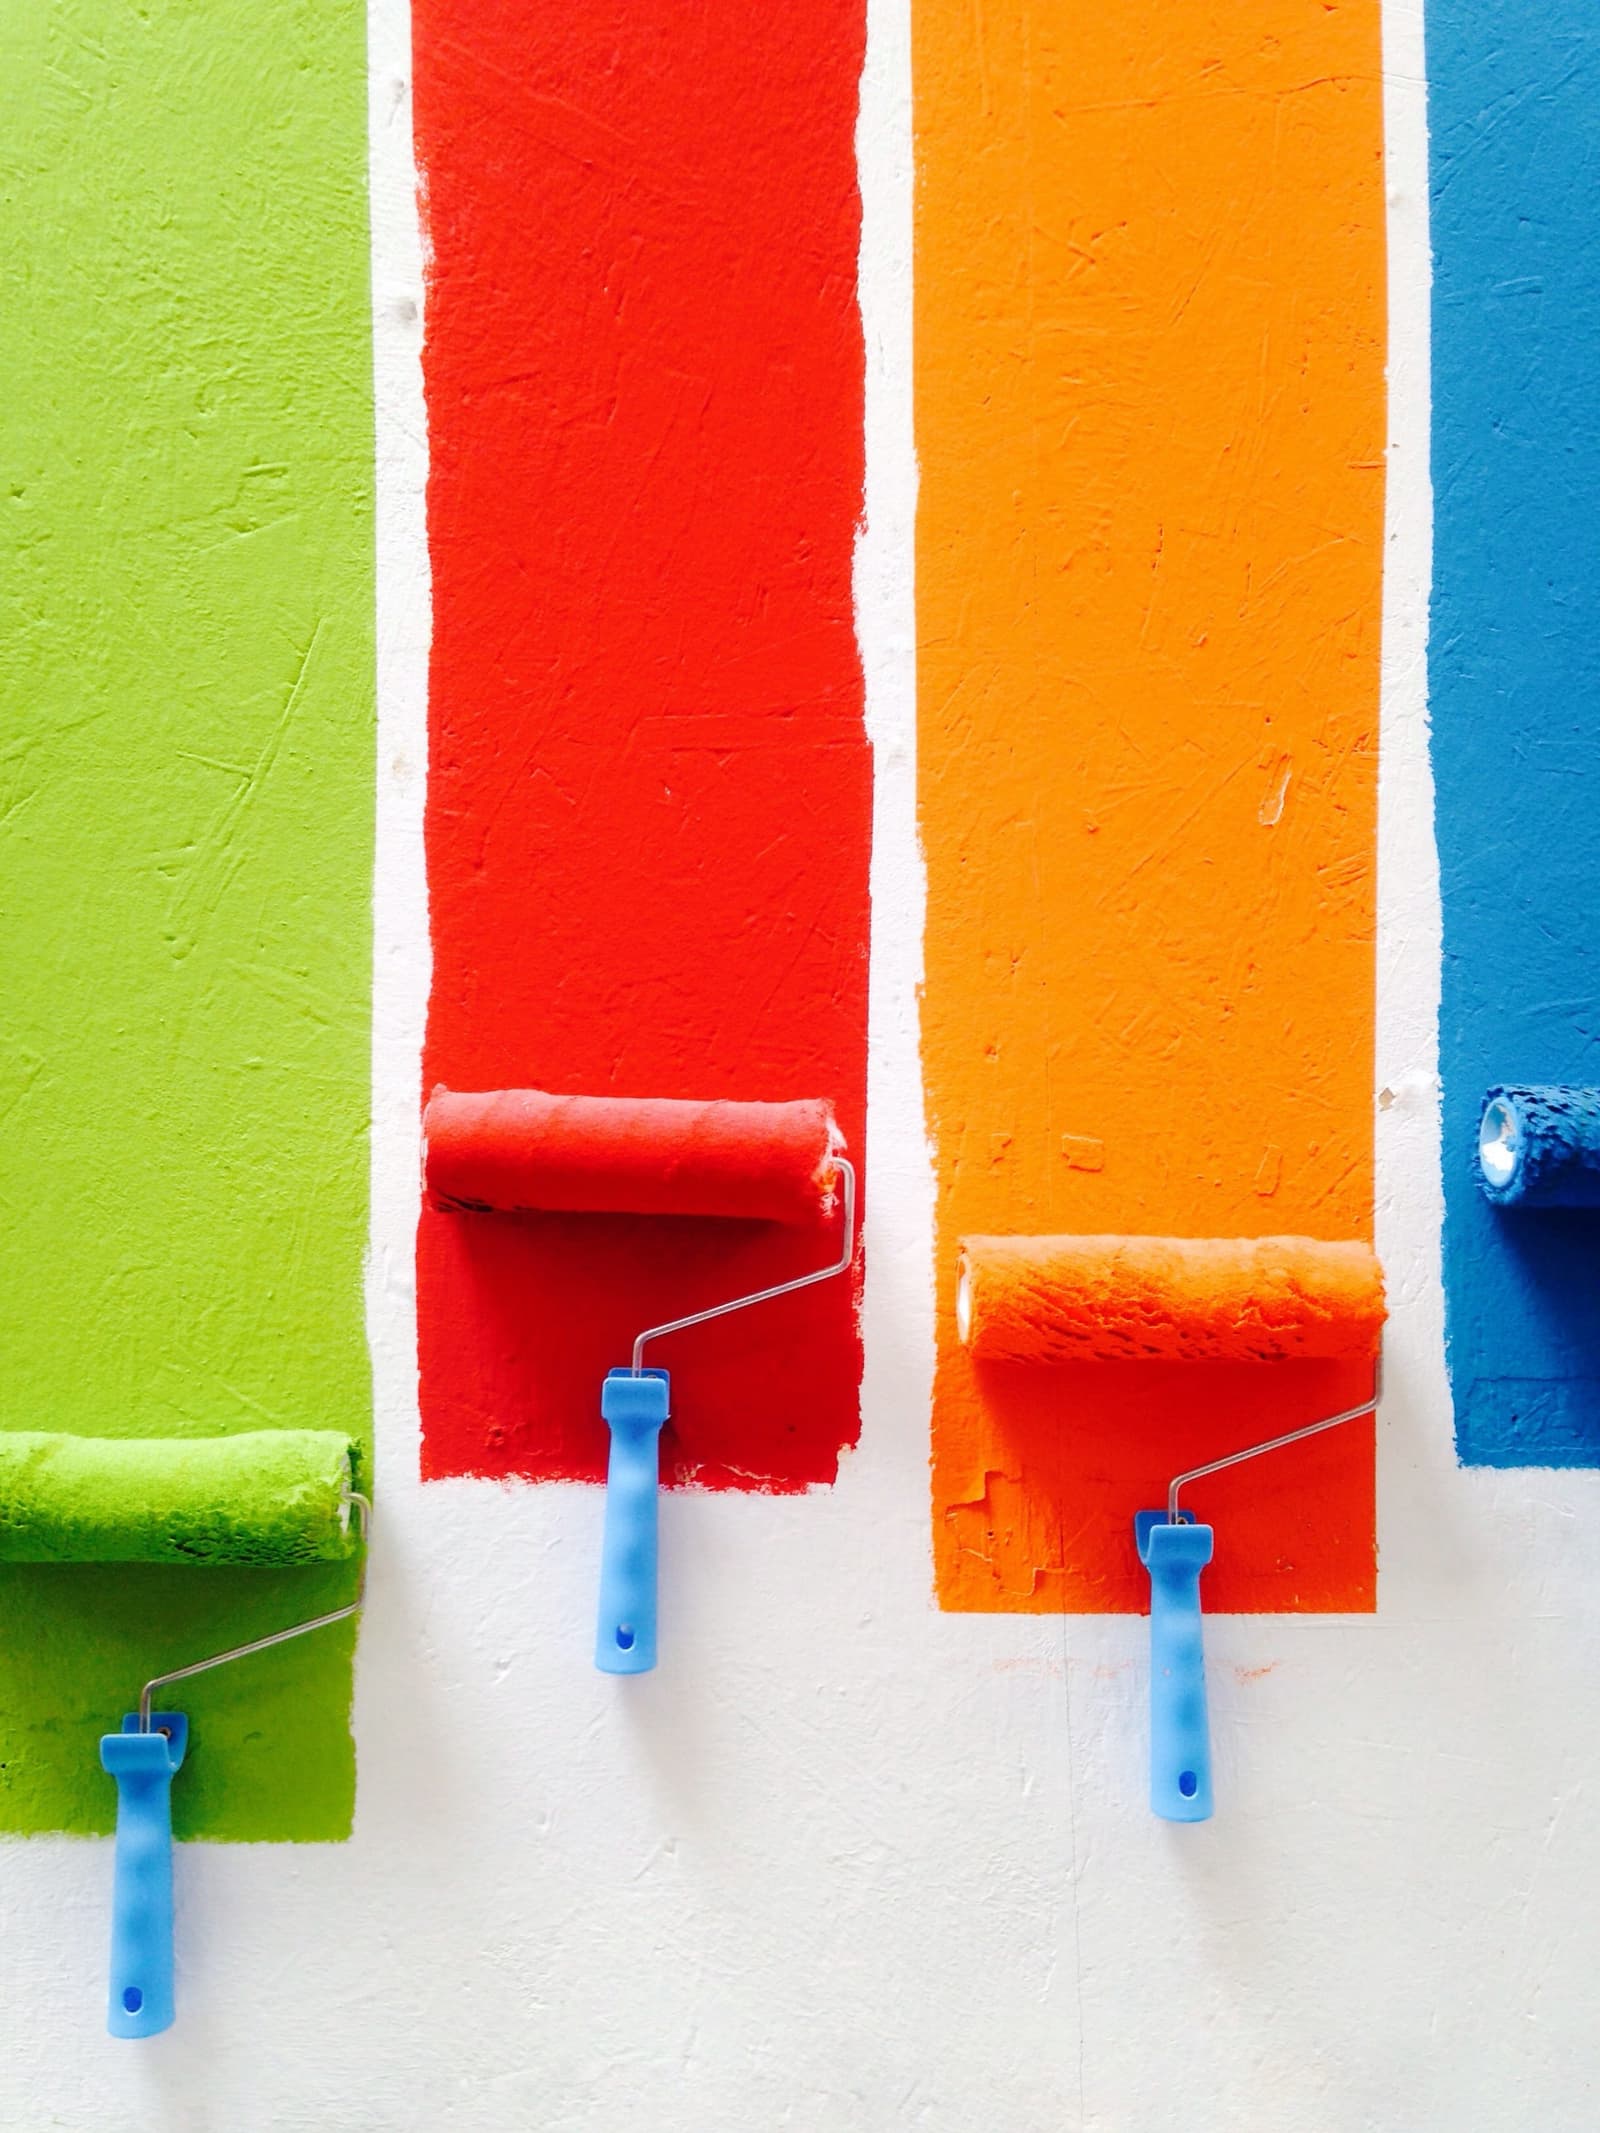
When it comes to revamping your melamine furniture, you're in luck! There are no constraints, simply a matter of taste and needs. There are thousands of paint colours to choose from, so you may be looking high and low before you find the right shade for you.
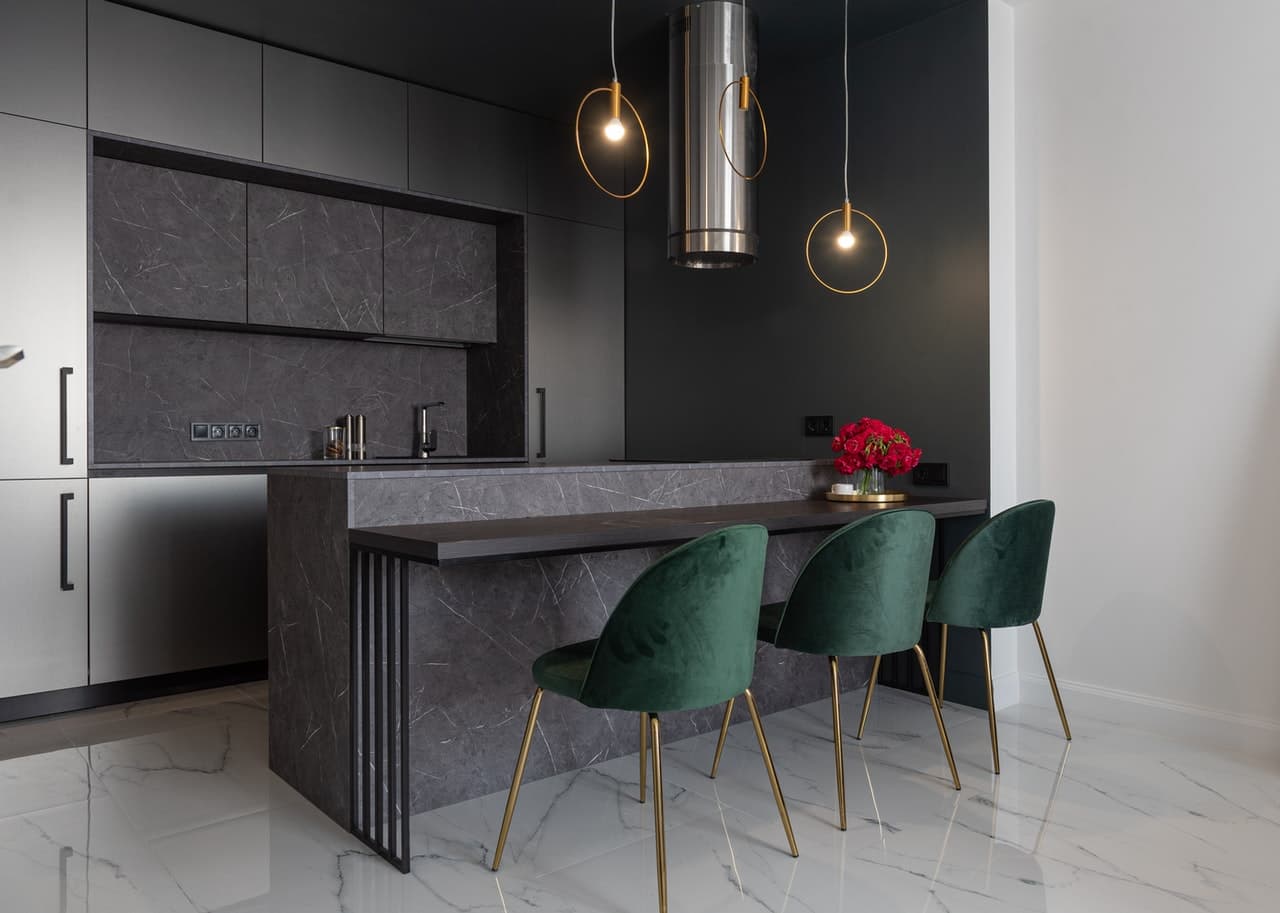
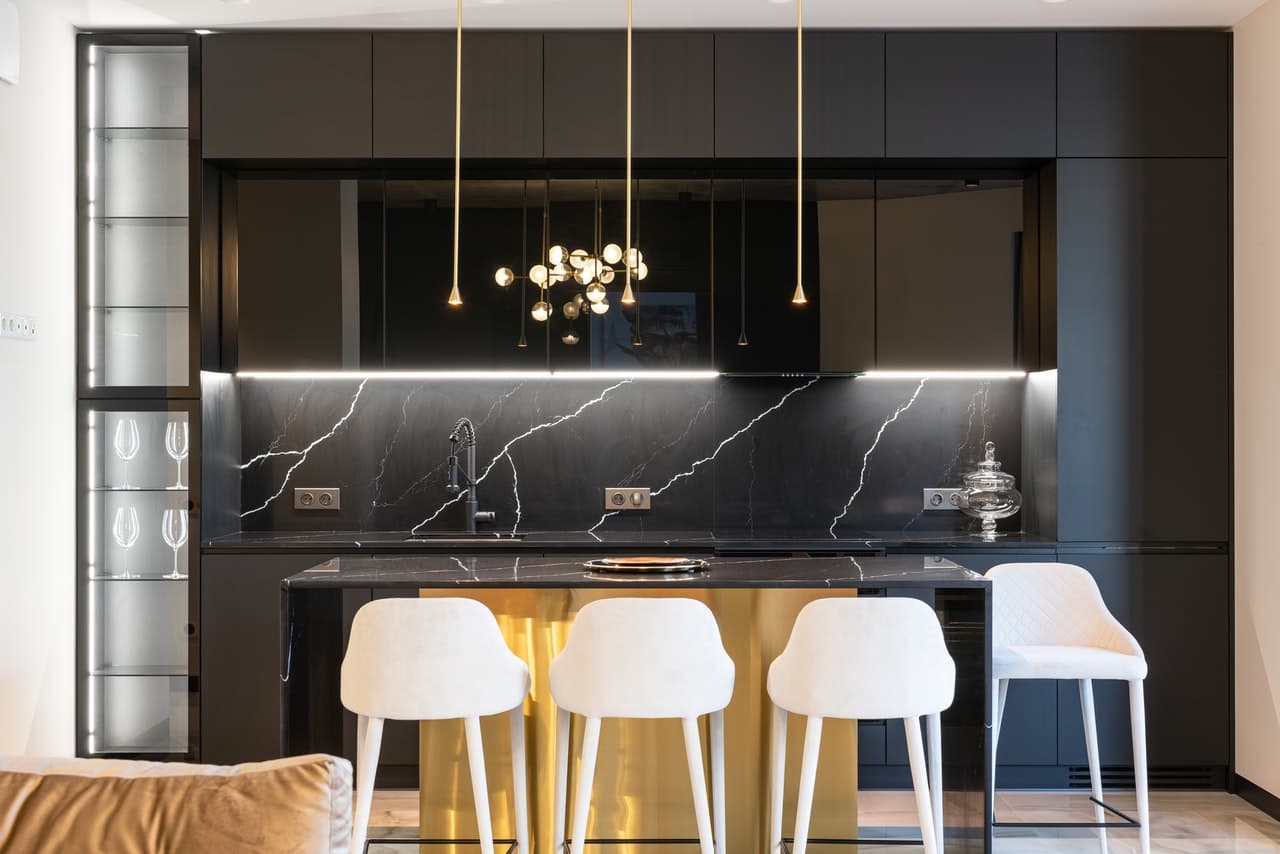
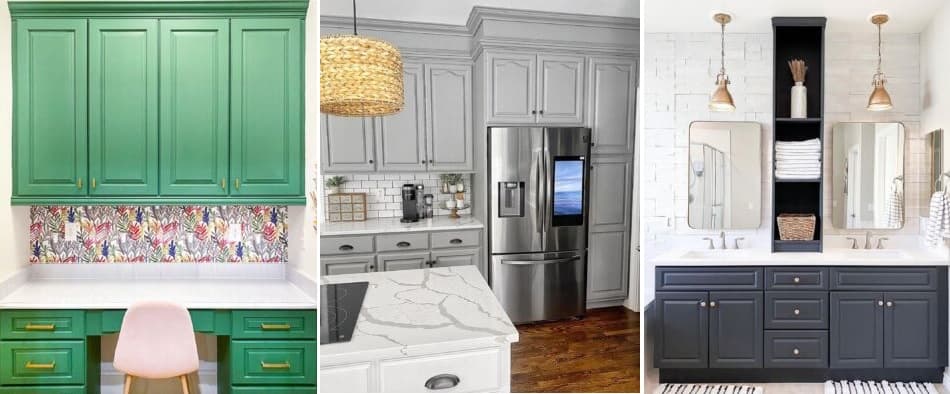
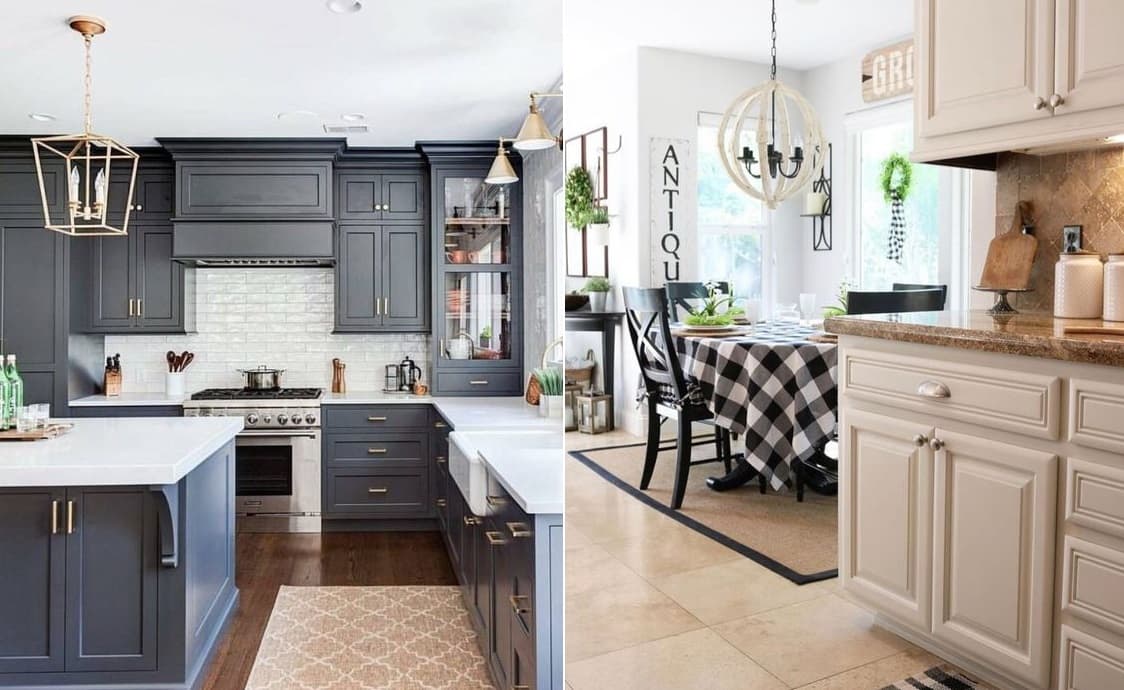
For contemporary-style kitchens and bathrooms, brown melamine continues to be a fan-favourite, as are white, beige, and cream finishes. Otherwise, you can go for darker shades like black, dark blue, or forest green. Check out the psychology behind colours to help you make up your mind.
If you’re drawing a blank in the ideas department, here are a few examples taken from Pinterest:
Source: FusionMineralPaint
To further your research about painting melamine furniture and cabinets, check out the following articles:
Get 3 renovation quotes for your painting project
RenoQuotes.com can help you get quotes for your painting project. By submitting your project, we’ll put you in contact with top-rated contractors. Fill in the form on the homepage (it only takes a few minutes), and you will get estimates from trusted professionals.
Dial 1-844 828-1588 to speak with one of our customer service representatives.
Looking for something else?
Related articles
The latest industry news, interviews, technologies, and resources.

Editorial Team
•26 Oct 2024
Not everyone is fortunate enough to have a big, spacious kitchen. Whether you’re renting your home or yours simply happens to be modest in size, chances are, you’re running out of room to be truly creative with your space.

Editorial Team
•18 Nov 2023
It's often said that small home improvement projects can make a huge difference. By opting for simple, yet visually interesting renovations, you'll revamp a room without having to deal with demolition, blueprint designs, and everything else that goes into a large-scale remodelling project.

Editorial Team
•23 Jul 2025
Many of us appreciate the great outdoors, soaking up the summer or cozying up in the fall outside on the patio. Hosting a backyard barbeque is a favourite spring, summer and fall pastime (sometimes even winter) but running back and forth between inside and out can get exhausting and take your mind out of the party.

Cynthia Pigeon
•18 May 2026
Since it was patented in 1930, fibreglass has become an important material in several industries. It is used in buildings and infrastructure, transportation, electricity and electronics, sports and leisure, and industrial equipment.

Editorial Team
•08 Nov 2023
While hairline fractures in your concrete countertop can give it character, some might prefer a sleeker surface. If you’re going for a pristine look, then look no further!