
Are you looking to revamp your furniture or completely redesign a room? Repainting is often the least expensive way to give your furniture a bit of a spruce.
What kind of paint should be used to repaint wooden furniture?
Selecting paint for wooden furniture largely depends on the result you want to achieve. We're not talking about quality here, but rather aesthetics. Each type of paint corresponds to a type of interior design:
Patina paint and cerusing wax for a shabby chic look;
Whitewashed look for a timeless effect;
Smooth and lacquered for contemporary art;
Metal sheen for an industrial feel;
Glitter-based for a kid’s bedroom.
Choosing a paint type or colour wisely brings one question to the forefront: what’s the desired outcome? To help you answer this question, first, let's highlight each type, before delving into the various techniques to achieve these looks.
Cerusing Wax or Patina Paint for a Shabby Chic Look
Do you have light-filled rooms in your house and are trying to seep in a bit of romanticism into the decor? Try painting your kitchen with a ceruse finish and then coat it with a beautiful patina paint. The ceruse will highlight the knots and grains of the wood, while the patina will give it a "distressed" look, adding to its character.
Wood furniture paint, which is specially designed to varnish your furniture, will work perfectly. White is often preferred to achieve this style, but pastel colours can also be added to the mix.
Although this style, which came about in the ‘80s, originates from the United States, this aesthetic is slightly reminiscent of old England, as its largely inspired by the whole British aesthetic: old clocks, lace, china dinnerware, etc.
If you are also trying to replicate this trend, which is relatively sober and measured, yet still atypical, you’ll need to purchase the following:
Cerusing wax;
A patina paint for wooden furniture.
Whitewashed Wood: A Timeless Decor
Back to wax in the desperate search for timelessness. Creating a whitewashed effect on furniture means you can easily transition from one style of interior design to another.
Timeless decors, those based around colours like white, gray, black, or navy blue even, have the added benefit of transcending from one trend over to the next. Giving your solid wood furniture, which is known for its durability, a cerused effect will enhance its timelessness.
The cerused effect doesn’t only apply to repainting furniture. If you happen to have a finished attic space or are thinking of turning it into a functional space within your house, give the exposed beams a ceruse effect to further give the framework and the room an ever-lasting aesthetic.
Are you looking for experts for your painting project?
Fill in this form to be connected with top-rated contractors!
Embrace a Sleek, Contemporary Look

Source: Pexels
Getting that sleek look is achieved with none other than traditional acrylic paint. And, there’s no need for sanding! Simply apply two coats of paint to the furniture and you’ll obtain that desired sleeky-smooth look.
This effect is the epitome of a contemporary style. Oftentimes, white paint will be your first option to achieve that bright shade that’s most sought-after for a modern aesthetic.
However, limiting yourself to this colour with unjustly thwart your creativity, as a contemporary style has a lot more to offer. For example, blue paint can create an interesting contrast, as would gray or ashwood moss.
Want to know how to paint kitchen cabinets? Check out our article: How to Paint Kitchen Cabinets.
Metal Effect: For an Industrial Vibe
Have you just bought a condo in a revamped industrial building? Or is your downtown condo already embellished with the necessary elements to create an industrial look:
Big windows;
High ceilings;
Brick wall(s);
Exposed ironwork.
If your condo has one or several of the above-mentioned features, don’t think twice, and dive right in by repainting your furniture with an industrial-like effect. To achieve this result, there’s nothing better than a casein-based paint, over which you can apply a metallic finish.
The result can mimic that of aluminum, cast iron, copper, or zinc even. To balance out the effect with a contrast, forgo revamping the drawers to keep their original colour.
A Glitter Effect On Kids’ Furniture
Interior decor shouldn’t bypass kids. Repainting the furniture in their room with glitter paint can have an appealing result for young kids. A glittery pink could give the room a princess-like vibe, as darker colours could create the effect of a space filled with planets and stars. The glitter finish can be combined with a wide range of colours.
How to Give Your Furniture a Cerused Wood Finish

Source: Pexels
Cerusing is a wood finishing technique that involves filling in the open wood grain. As a result, to employ this technique, it’s best to opt for ring-porous woods (oak, ash, chestnut, etc.) also known as “diffuse porous” trees.
To create a cerused wood finish to your furniture, you’ll need:
Random orbit or sheet orbital finishing sander;
Four sandpaper types: 120, 150, 180, and 220 grit;
Sanding block;
Vacuum;
Dust mask;
Cerusing wax;
Varnish;
Standard universal dye;
Paintbrush;
Brass wire brush;
Cotton blend.
Start by sanding the furniture in question with the 120-grit sandpaper, then move on to the 150-grit. To achieve a smooth finish, you can finish sanding down the material with a sanding block. However, you’ll have to sand twice: once with a 150-grit and once again with a 180-grit sandpaper. Work in the direction of the wood grain to remove any and all traces of the sander.
To achieve a decent cerused finish, ensure that the cerusing wax used fully permeates the wood grain. For that, use a brass wire brush, and vigorously stroke the brush against the wood fibres (again in the direction of the grain). By scrubbing the wood, you’re enhancing the wax’s adherence to the material and thus further highlighting the contrasting effect. Avoid using steel brushes at all costs, these will scratch the wood.
Are you lacking inspiration when it comes to revamping your decor? Check out our article: 8 TV Shows to Inspire Your Interior Decor.
When Should You Paint the Wood Prior to Cerusing?
The purpose of applying wax is to achieve a pleasing balance between the colour of the wood and the white of the wax. However, some woods, including oak, are naturally very light. To achieve a better result, the wood must be painted.
You can pick a shade that will solely stain the wood a darker shade or opt for an actual colour, but this is very dependent on the desired effect or the interior design look you’re trying to achieve in the room where the furniture in question will be featured.
A trick of the trade: add a standard universal dye to the cerusing wax to alter the cerused finish. Jot down the amount of dye and wax used to achieve a similar result with other furniture pieces.
Why Varnish the Wood Before Applying Cerusing Wax?
Once the above-mentioned steps are done, apply a coat of varnish to protect the wood, then allow it to dry for a few hours.
Applying a coat of varnish will accomplish the following:
Avoid getting a whitish film on the wood;
Easily remove excess wax from the wood grain.
Once the varnish has completely dried, use 180-grit sandpaper to sand down the dry varnish and remove the remaining asperities. With a vacuum, remove all the dust found on the wood so that the varnish will better adhere to the wax.
Tip: Water-based varnish works perfectly fine, but, if you’re using a solvent-based varnish, we highly recommend you wear a mask to protect your respiratory ways.
To apply bright colours or not? Check out our article: Expectation vs. Reality: Painting an Interior with Bright Colours.
Applying Cerusing Wax
When opening your container of white (cerusing) wax, you’ll notice that it needs to be mixed prior to using it. To do so, simply grab a wooden spoon and stir until the wax is uniform and smooth.
With your gloved hand and some cotton blend, apply a thin layer of wax to the wood in small, circular motions. Going about this step at a slow pace will result in a better finish. And, to ensure that the wax settles only in the wood’s veining, wipe it off afterward.
Now comes the 220-grit sandpaper. Sand along the wood grain of your furniture piece to remove any excess wax which crusted outside the wood pores.
Adding a Protective Coating to Cerusing Wax

Source: Pexels
This is the last and perhaps most important step. Why is it so important, you ask? Well, because after all this work, surely you don't want the result to wear out over time.
To prevent your furniture’s deterioration after a short period of time, apply two coats of varnish. That way, your wax-coated furniture will be protected from external factors.
For “vintage” pieces, you’ll need the materials listed below to paint over your furniture:
Wax remover or sander;
Paint of the desired shade;
Patina paint (old-fashioned paint).
Stripping Furniture Before Repainting It
To know whether your furniture is coated in varnish or wax, grab some cotton blend and a bottle of wax remover. Soak the cotton with the product, then run it over the furniture. If the cotton doesn't stain, you're dealing with varnish.
On the flip side, if the cotton does come out colour-stained, then it’s definitely wax. Should the furniture be varnished, follow the steps detailed in the paragraph above on varnish and cerusing wax. If it’s wax-coated, check out the following.
There are several techniques, which involve chemical products (such as wax removers or heavy-duty strippers) or eco-friendly alternatives. The most commonly used technique remains the one relying on applying a wax remover. To do so, you can use steel wool or a bronze all-purpose brush to avoid scratching the wood.
When applying the product, do so in the direction of the wood grain. Once the product is applied, simply wipe it off with a rag to remove the wax. Always wear gloves and a mask while using the wax remover or heavy-duty stripper. Note that fine steel wool can leave metal particles inside the wood, which could cause the wood to rust down the line. So, non-metallic abrasives or sandpaper are good alternatives to steel wool. Once the wood has been stripped, use a soft bristle brush to remove any wax residue.
As for more eco-friendly techniques, you can rely on the following mixture:
One part baking soda;
One part hot water;
White vinegar.
By part, we simply mean the same amount of water as baking soda. Once mixed, you'll get a paste that you can then spread out on the furniture you want to strip. Once you've added white vinegar to a spray bottle, simply spray the white vinegar onto the paste. Within ten minutes, the vinegar will react with the water and baking soda mixture to lift the wax off the wood.
To remove the paste, a putty knife and a sponge should do the job all right. To reach the edges of the grooves and engravings, either a sponge, an engraver, or a piece of wood will work just fine.
Is your exterior fencing in need of a fresh coat of paint? Our article How to Paint a Fence has a bunch of helpful tips.
Giving Furniture a Distressed Look in 4 Steps
First, when the wood of your furniture is bare, you should apply a primer. It’s an essential undercoat that’ll allow you to paint your furniture. One or two undercoats should be enough.
Note that using a paint roller will prevent dripping and visible brush strokes resulting from the initial undercoat, which was applied with a paintbrush. Once you’ve chosen the most suitable paint colour, subsequently apply two coats of said paint to the furniture.
On vintage/antique pieces, apply an anti-tannin undercoat before priming. Once sanded, note that antique furniture can be susceptible to sap build-up.
At this stage, you can start creating a distressed look. The goal here is to give the wood an aged look. Therefore, focus on the areas that would naturally wear over time:
Door frames;
Around keyholes;
Corners;
Diamond points;
etc.
Once you have identified these features, you can either apply the patina paint directly to the area or lightly sand them down. When applying the patina paint, use a damp clean rag, dip a part of it in the patina and apply it to the marked areas. Make smooth, irregular strokes. Then, smooth out the strokes with a clean part of the rag.
A final detail: varnish. Just as you would add a final protective layer to cerusing wax, you should also think about protecting the wood of your furniture by applying a varnish afterward.
Repainting an Old Piece of Furniture: Challenges

Source: Pexels
While we’ve gone over tips and tricks to repaint a piece of furniture to then give it a waxed and distressed finish, there are still some more tricks of the trade to consider.
Remember to remove the handles and knobs on your furniture before you start working. On one hand, this will allow you to work more efficiently and, on the other hand, you'll avoid damaging said accessories.
However, apart from this practical advice, focus your attention on one key factor: the value of your furniture. There's a whole world of difference between refinishing a piece of laminate furniture and an original Louis XV.
After all, you've certainly realized what it means to repaint a piece of furniture. It requires sanding, stripping, opening the wood pores, and applying new primers and decorative paints. In other words, it affects the intrinsic quality of an antique piece of furniture, both in terms of its workmanship and finish.
And, that's exactly why a refinished piece of antique furniture immediately loses its market value 10 times over. Whether or not you apply a primer won't change anything. The furniture may not absorb the paint, but it won't be the original work done by a carpenter two hundred years ago. So here's the real challenge: making the case — is it worth it?
If repainting your antique furniture is an absolute no-brainer, as you would otherwise gladly get rid of it, then don't dilly-dally, and give it that anticipated revamp. Why? Simply because furniture is made to be used!
However, rather a family heirloom is preserved and refined in accordance with current trends than disposed of, or worst of all, sold. Beyond the market value of such a piece of furniture, sentimental value alone warrants a complete makeover.
Cover image source: Pexels
Get 3 renovation quotes for your painting project
RenoQuotes.com can help you get quotes for your painting project. By submitting your project, we’ll put you in contact with top-rated contractors. Fill in the form on the homepage (it only takes a few minutes), and you will get estimates from trusted professionals.
Dial 1-844 828-1588 to speak with one of our customer service representatives.
Looking for something else?
Related articles
The latest industry news, interviews, technologies, and resources.

Editorial Team
•08 Nov 2023
Outfitting a small bathroom can be a design challenge. Having multiple appliances fit into the same space in a comfortable and functional way is just half the battle.
Cynthia Pigeon
•13 Apr 2026
In 2026, the cost of finishing a basement in Canada typically ranges between $60 and $110 per square foot, depending on the scope of work, materials selected, and whether features like a bathroom or custom spaces are included. For a 1,000 sq. ft. basement, homeowners should generally budget between $65,000 and $95,000 for a full renovation, including partitions, a family room, a compliant bedroom, and a bathroom.
Léa Plourde-Archer
•15 Apr 2026
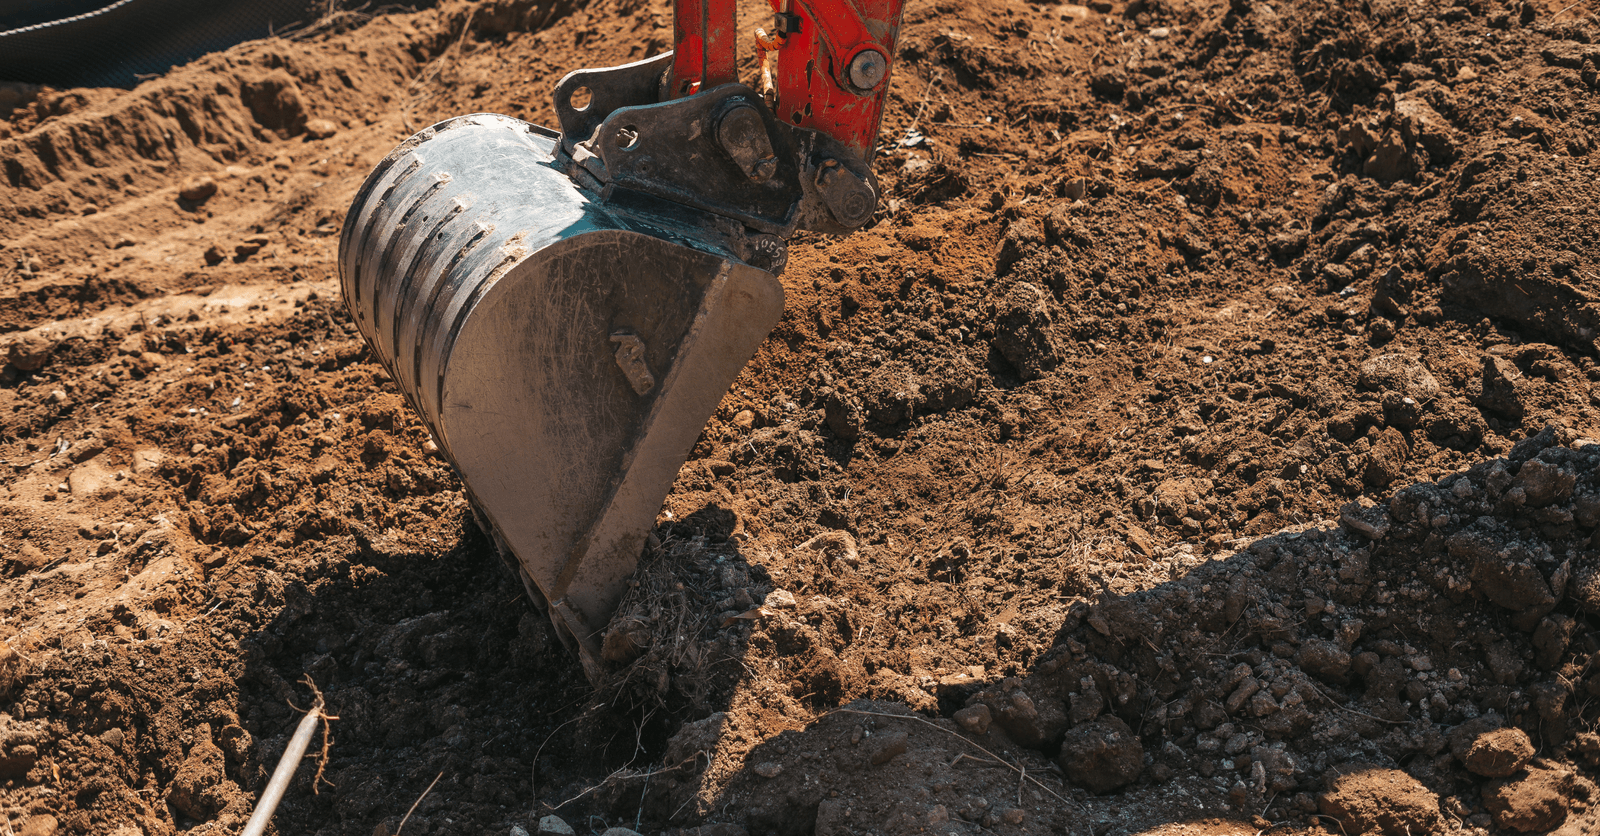
Many different renovation projects require doing business with an excavation company. Without knowing the specific information relating to the project, it’s hard to give an idea of the final cost. However, we’ve assembled a list of all the different factors that could affect the price, to give you an idea of what to expect.

Amanda Harvey
•18 Jun 2024
Plumbing problems quickly shake up our day-to-day habits. Since we're used to having access to clean water, as soon as a situation complicates this process, many of our daily tasks are affected.

Cynthia Pigeon
•15 Jul 2026
Given the harshness of Quebec’s climate, where temperatures drop drastically in winter and humidity rises sharply in summer, keeping your home comfortable is a constant financial challenge. In 2026, the financial assistance landscape has changed, particularly with the closure of the main federal programs to new applications and the growing importance of provincial and municipal programs.