
When it comes to re-roofing, your main concerns are likely to be preventing future water infiltration and choosing a durable coating.
Depending on the shape of your roof, look into installing roof valleys and ensuring they are properly designed and watertight. Now the question is, what exactly are roof valleys?
Roof Valleys 101

Source: Flickr
Also simply known as ''valleys'' (and not the fun, hiking kind), these refer to the area on a roof where two slopes meet at a concave angle, between 180° and 360°. For example, you will find these if you have a dormer window, portico, or a house with different roof slopes. Due to its V-shape, this junction will inevitably collect a lot of rainwater before channelling it to the gutters.
Roof valleys, which help strengthen, insulate, and seal gaps, should never be discounted. Otherwise, you risk unfortunate (and costly) repercussions.
Depending on the type of roof you have, a poorly chosen, installed, or sealed valley can lead to moisture retention, which creates corrosion and eventually leads to water infiltration. This will cause the frame to rot or the ceilings to bubble. Thus, you should ensure that the hired roofer pays special attention to these exposed areas.
Roof Valleys: Types & Features
There are quite a few types of roof valleys available on the market, and the one best suited for your roof will largely depend on your roof’s slope, shape, materials, and amount of rainwater that trickles down the drip edge and gutters.
To prevent water from accumulating in these areas, valleys need flashings, which are usually made of zinc, aluminum, or copper metal cladding, and can be reinforced with a watertight membrane. Ideally, the flashing used should have similar durability to the selected cladding, like asphalt shingles, in order for future repairs to be done at the same time. Also, make sure that the flashing is shaped in a way that is most useful; a curved flashing may be more practical than a straight one for asymmetrical roofs.
Ideally, installing open roof valleys is preferred when both sides of the roof meet at, or near the same angle, within 15° of each other. Whereas, when the roof angle is greater, a closed valley installation method (cut or woven) is best to create a line perpendicular to the steepest slope.

Source: Flickr
Open Roof Valley
With open roof valleys, the idea is to leave the metal valley as is to create a channel for water, snow, and ice to trickle off. Manufacturers will occasionally recommend open roof valleys as their use may be necessary with certain types of shingles. Although exposing valley flashings may seem off-putting, but the result can be appealing if the colours are well coordinated.
An open valley installation method is more effective and will last longer than its counterpart, the closed valley, due to the metal used, which allows any liquid to glide down more easily without losing its benefits, even with frequent water runoff.
Closed Roof Valley
This method is a little riskier given the potential for premature shingle wear nearing the valleys. A closed valley, unlike the previously mentioned option, is covered by roof shingles (covering). Depending on the type of shingle, there are two ways to lay closed valleys: with and without overlap (cut or woven).
If the closed-cut technique is used, note that the shingles are likely to curl and damage over time as the trimmed edge of the shingles runs right down the centre of the valley. As the name implies, these do not overlap and are cut off at the base of the roof valley. Subsequently, water will wear them down, thus causing more water infiltration through the roof.
In contrast, the woven valley, which consists of overlapping shingles, results in less frequent but still significant damage. Any damage might be reduced or at least delayed since the edge of the shingles is not directly in line with the rainwater buildup. However, if a tile needs to be replaced, it will be more difficult to proceed without having to remove several tiles, due to the weave pattern.
How to Install a Roof Valley
Since we are talking about the metal flashing that sits on top of open valleys, if you want to lay shingles around it, check out our article: How to Lay Roof Shingles: 5 Steps, for more details.
If you are DIY-ing the flashing installation, the first step is to purchase a watertight membrane and glue it along the entire valley. Then, install the metal flashing pieces by nailing them to the battens (wood strips that run the length of the roof) starting from the bottom of the valley. Avoid using too many nails and make sure that the flashing pieces overlap by at least 6 inches, and use an asphalt sealer.
For closed valleys, the proper way to install the tiles over the flashing varies depending on the type of shingle present (clay, concrete, channel, architectural, asphalt, etc.) Therefore, hiring a qualified professional is your best bet. Otherwise, if you fail to respect the dimensions and the weave pattern, it can lead to serious consequences, especially if the nail heads are insufficiently inserted, set too close to the centre of the valley, or the shingle tiles are not cut/trimmed at the right angle.
Normally, for this type of valley, the shingles are fixed to one side of the roof and extend 12 inches beyond along the opposite slope. The shingles on the other side cover the first layer, extend beyond the valley and are cut 2 inches from the centre of the valley. The top edge of the shingle should be cut at a 45° angle.
Note:
It is essential to press down and seal the shingle tiles.
Nails should not be inserted closer than 6 inches from the centre of the valley.
Architectural shingles are not recommended for a closed woven valley installation since these are thicker and may not adhere well to the said valley.
Avoid California (or Long Island & New Jersey) valleys, even if your roofer mentions them, they are not made to withstand Quebec's harsh weather.
Get 3 renovation quotes for your roofing project
RenoQuotes.com will put you in contact with 3 reliable contractors for your roofing renovation project. Fill in the form on our homepage (it only takes a few minutes), and you will receive quotes from trusted professionals.
Dial 1-844 828-1588 to speak with one of our customer service representatives.
Looking for something else?
Related articles
The latest industry news, interviews, technologies, and resources.
Editorial Team
•08 Nov 2023
Canada's weather conditions make life particularly hard for homes. Fortunately for us, new buildings are much more efficient in terms of preventing air and water infiltrations from happening. However, old buildings may experience significant deterioration due to changes in temperature.
Cynthia Pigeon
•08 Jul 2026
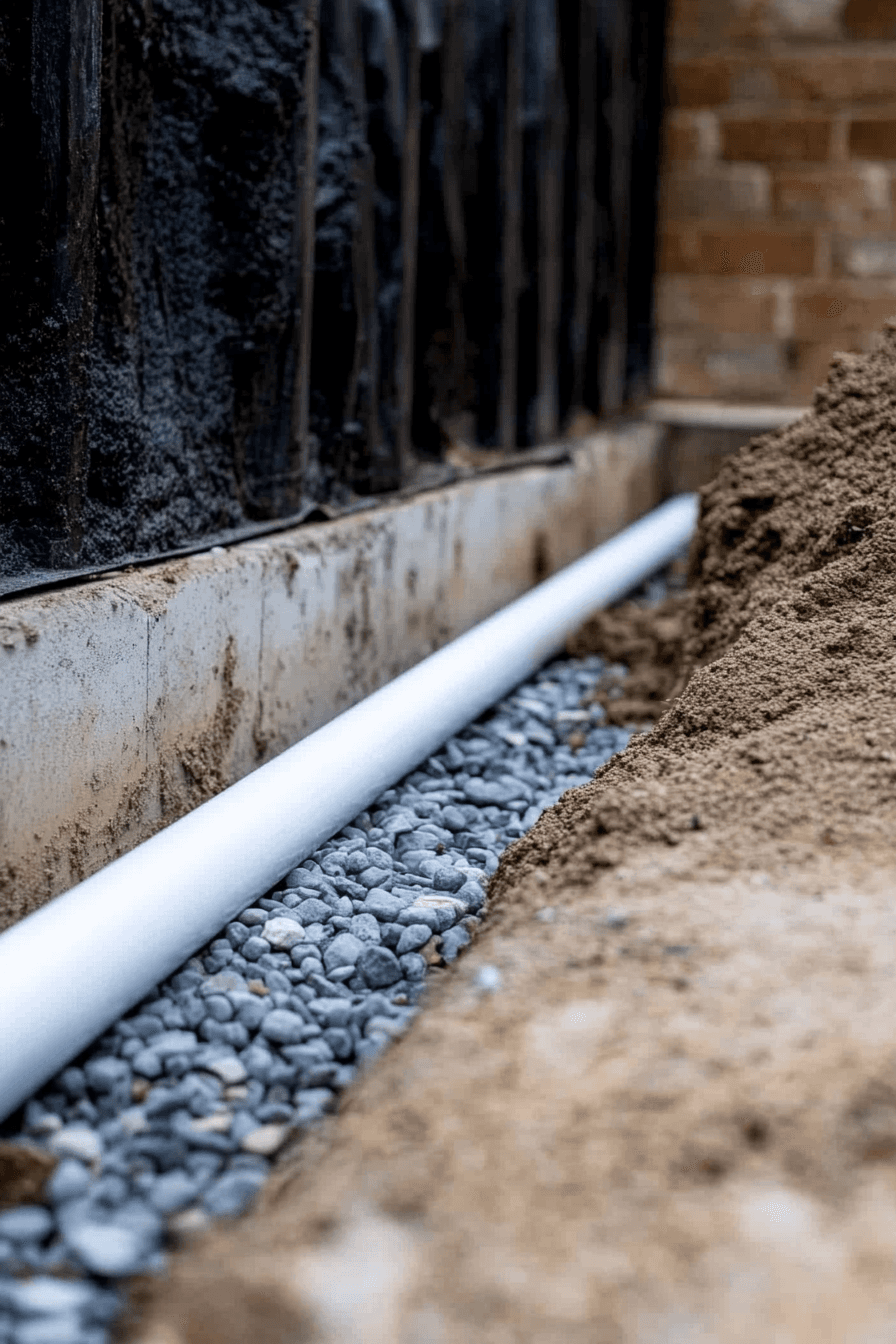
In Quebec, the foundation of a single-family home is exposed to extreme climatic and geological pressures. Between abundant rainfall, snowmelt, and changing soil composition, the drainage system plays an essential role in protecting the home against moisture. When the foundation drain, commonly known as a French drain, begins to clog, water accumulates around the foundation footings, increasing the risk of water infiltration in the basement.

Cynthia Pigeon
•28 May 2026
Planning home renovation work in Quebec requires rigour and a strong understanding of the local economic reality. Whether you own an older duplex in Montréal, a modern condo in Québec City, or a single-family home in Estrie, using price benchmarks adapted to the Quebec market is essential.

Editorial Team
•08 Nov 2023
Hello, and welcome back to our monthly entry about the best articles on interior design, decor and renovations! If you are new to this series, here is a quick recap: each month, we dedicate ourselves to finding the best articles on the internet to inspire you in your design and renovation projects.

Christine Simard
•08 Nov 2023
There are a few options available to you in order to add a brick wall in your living room for a nice, rustic touch. Among these, you have the choice of moving to an abandoned factory, knocking down a wall to uncover the original stone and/or rebuilding it in bricks or finally, installing decorative textured wall panels in a brick pattern.