Painting project: 3 things to know about colour psychology
By Christine Simard
Updated on November 8, 2023

In our day to day lives, we're constantly surrounded by thousands of different colours who, each in their own way, have an impact on our moods and our feelings. Whether it is the vibrant green shade of grass or the warm colours of autumn leaves, each colour emanates a different energy and provokes varying reactions in people.
This is why the colours you eventually pick for your walls will play a huge role in the ambiance of your home decor. Not only will these reflect your personality and tastes, but also the energy you want the rooms to emanate.
While some colours don't necessarily match all interior decor styles, that shouldn't stop you from experimenting with different hues that you wouldn't normally use. Here is some practical information that might help you before you embark on your house painting project.
Painting project: 3 things to know about colour psychology

1. Starting by understanding the basic tones
The world of paint colours is never-ending and, without exaggeration, we can confidently say that it's almost impossible to make a quick and easy pick. In addition to important factors like warmth or intensity, each brand will have custom versions of colours that will sometimes look similar when comparing swatches but will look very different when applied to your walls.
This is why it's good to know in the very beginning in which tone group you will want to find your perfect colour:
Whites: A complex process in itself, white has a wide and varied palette that will add brightness to rooms where you are looking to create this type of effect. While white is a good idea, it will be good to determine beforehand whether you prefer a warm shade or a cool shade.
The reason is that warmer whites are great for a calming and visually relaxing vibe, while cooler hues are best in rooms where you are looking to be more active and alert.
Neutrals: For tones that will match with many different colours and inspire calm and relaxation, neutral tones like browns or beiges are great for people looking for more than just a white room, but who wouldn't dare to step out of their comfort zone with brighter and bolder colours.
These shades will emanate down-to-earth energy and be a perfect match for your productive workdays.
Pale Colours: In the world of painting, every bright colour inevitably has its watered-down version, either pastel or simply paler. Just like neutral shades, this option will be perfect for people who are still hesitant to take the plunge towards darker colours. Let yourself be charmed by shades like powder blue, sage, pale yellow or a subtle pink.
Dark Colours: Contrary to popular belief, using dark colours in a well-lit room will not make you feel like you have a smaller room. On the contrary, when well paired, the space will seem elegant and grand.

Source: Thesefourwalls
2. To each room its own colourful message
No matter the size of your home, each room has a specific purpose and its own character. For example, the bedroom will not have the same role as your dining room, and your office will not have the same use as the kitchen.
Therefore, when choosing a colour, it would be best to apply the previous point to avoid choosing a shade that might distract or tire you in rooms where you need concentration.
For the bedroom, consider tones that will give you a sense of calm and relaxation. With colours too vibrant like red or yellow, your mind will have a hard time resting. Instead, if you like these hues, consider going for their pastel or diluted versions for a less imposing effect.
However, for rooms like the living room or the kitchen, a vibrant and bright yellow will give life to these areas which are perfect spots for gathering and spending time with family. If, for you, the living room is a place of rest, a dark green hue like forest green or even a dark gray are shades that can create a feeling of comfort.
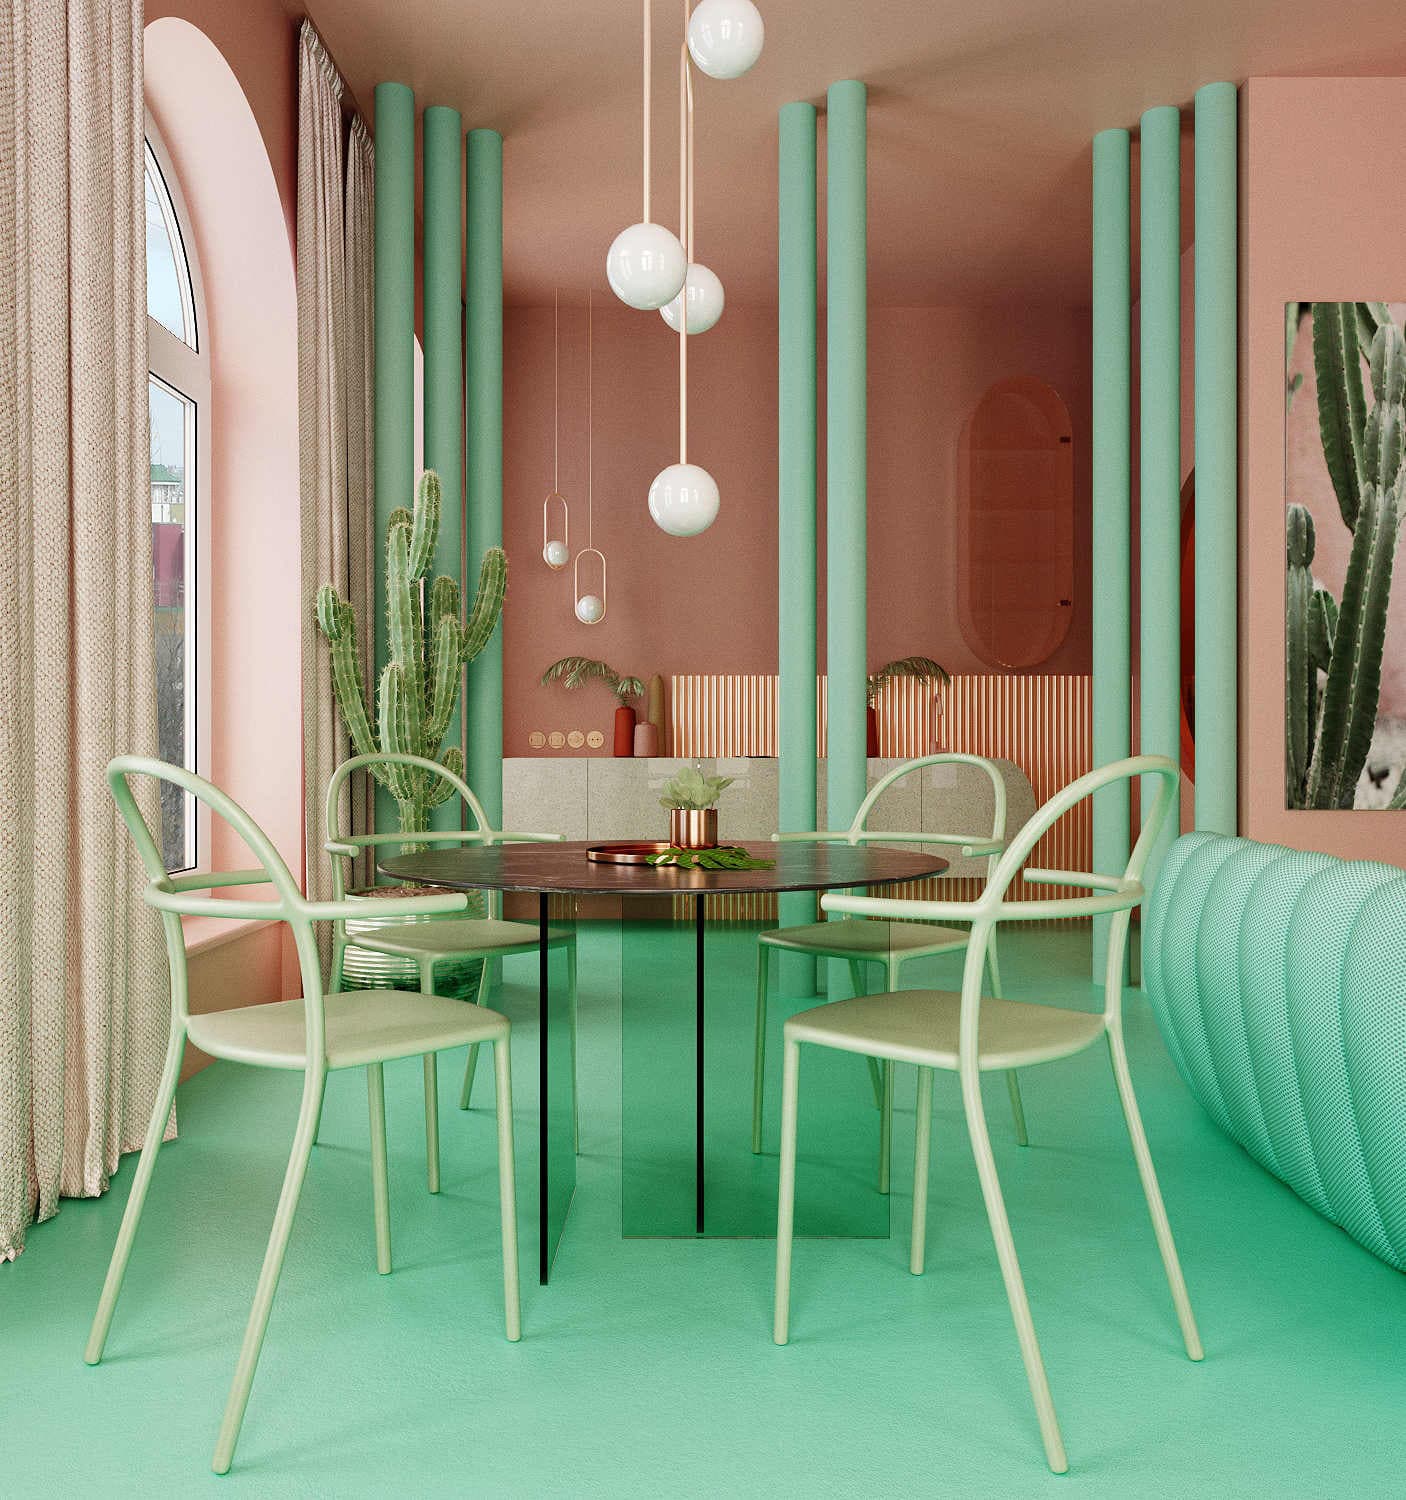
Source: Italianbark
3. In the end, choose colours that represent you
Your personality will play a huge role in your decor and while the above tips should be taken into account, it's just as good to listen to your inner artist and let go. In the end, you'll be the one living in your home and that's why you should tailor it to your preferences.
If you are a cheerful and inspired person that is always on the move and would like your space to reflect this dynamic, find vibrant colours that go well with each other, without going too overboard. To better understand this, you can read our article on expectation vs. reality: painting an interior with bright colours.
Otherwise, a space made of pale and neutral tones, even in common rooms with high traffic, will create a beautiful softness and will go well with practically any type of furniture or materials. This is perfect for people who like to keep it simple!

Source: Mydomaine
For other paint colour ideas, here are some cool articles to check out:
Get 3 renovation quotes for your house painting or wall covering project
RenoQuotes.com will put you in contact with 3 reliable contractors for your house painting project. Fill in the form on our homepage (it only takes a few minutes), and you will receive quotes from trusted professional painters.
Dial 1-844 828-1588 to speak with one of our customer service representatives
Looking for something else?
Related articles
The latest industry news, interviews, technologies, and resources.

Christine Simard
•02 Dec 2024
In Montréal or Québec City, the unique architecture of buildings and apartment complexes is a part of the city’s visual design signature. Some of these buildings are so important that a good deal of them are protected by laws when it comes to renovations, stemming either from neighbourhood rules or municipal bylaws.

Editorial Team
•04 Nov 2024
Nothing compares to immersing yourself in a great book in the comfort of your home, nestled in a cozy and perfectly designed reading nook. Whether it’s next to a window overlooking the backyard or a cozy spot near the fireplace, creating a customized reading nook may be the missing link that ties your home's design together. No matter your home’s layout, whether it be a small house or a spacious loft, of modern or traditional design, you’ll find the best-suited solution for you below. Here are 10 inspiring ways to transform a corner of your house into a genuine, tranquil literary sanctuary. From the simplest of designs to the more luxurious options, the following ideas can be adapted to all home sizes and styles, creating a dedicated reading space that mirrors your personality and lifestyle.
Editorial Team
•08 Nov 2023
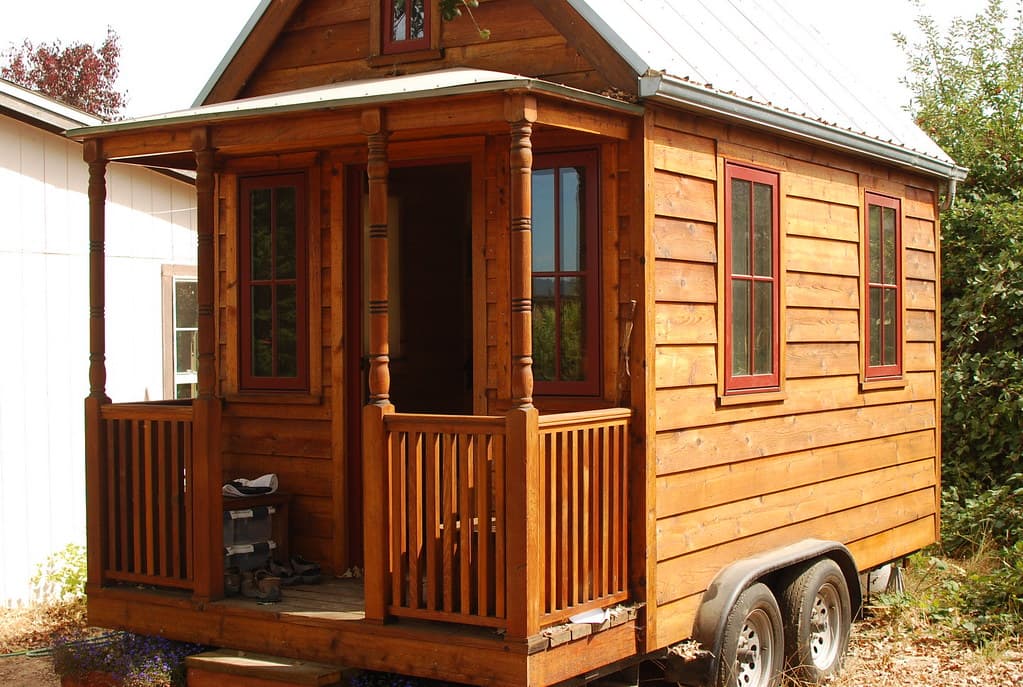
Thinking of taking the plunge and buying a tiny house? There can be many reasons for this choice: the desire to live more simply, to spend less time on maintenance or to become a homeowner on a modest budget.

Editorial Team
•14 Apr 2025
Home renovation trends are all about sustainability, smart technology, and innovative designs that blend functionality with aesthetics. Whether you’re considering a major remodel or just a few updates, these top eight ideas, plus one bonus, will help you transform your house into a modern and stylish haven. Careful planning and adhering to a clear renovation budget are crucial to achieving these goals without overspending. Let’s dive into the top home renovation designs.
Editorial Team
•06 Feb 2025
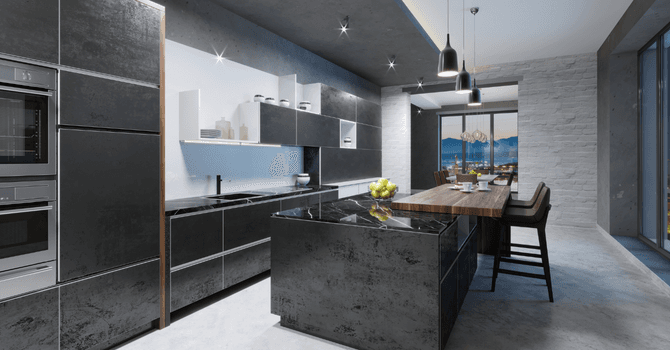
When designing a luxury kitchen, nothing is done haphazardly. From material to colours, with layout and finishes in between, everything is thoughtfully crafted. From the most minute detail, everything counts when building a dream kitchen. Are you looking for ideas for designing your custom-built, high-end kitchen? Keep reading for key insight!